全铝 CNC 机身+Alice布局 Keychron Q8 上手
As an 18-line author who often sits in front of the computer and codes, besides staring at the monitor every day, the keyboard should be one of the most contacted objects. If you want to type comfortably for a long time, there are a few more important points:
The keyboard feels comfortable
Convenient shortcut key setting reduces operation intensity
The ergonomic design of the keyboard can avoid fatigue and injury caused by long-term bad posture
The traditional keyboard arrangement is more concerned with input efficiency. When typing, the wrist will be folded inward to varying degrees. From the current point of view, it is very lack of ergonomic design. In order to fit the natural posture of the human body, the keyboard arrangement requires a tilted V-shaped (outside 8) layout, and the Alice layout is one of them. Recently, I bought the Keychron Q8 with Alice layout, all-metal body + Gasket design, even apart from ergonomics, it is still a very good product in terms of appearance and design. Today, I will briefly share with you the hands-on experience, for your reference when purchasing keyboards in the future~
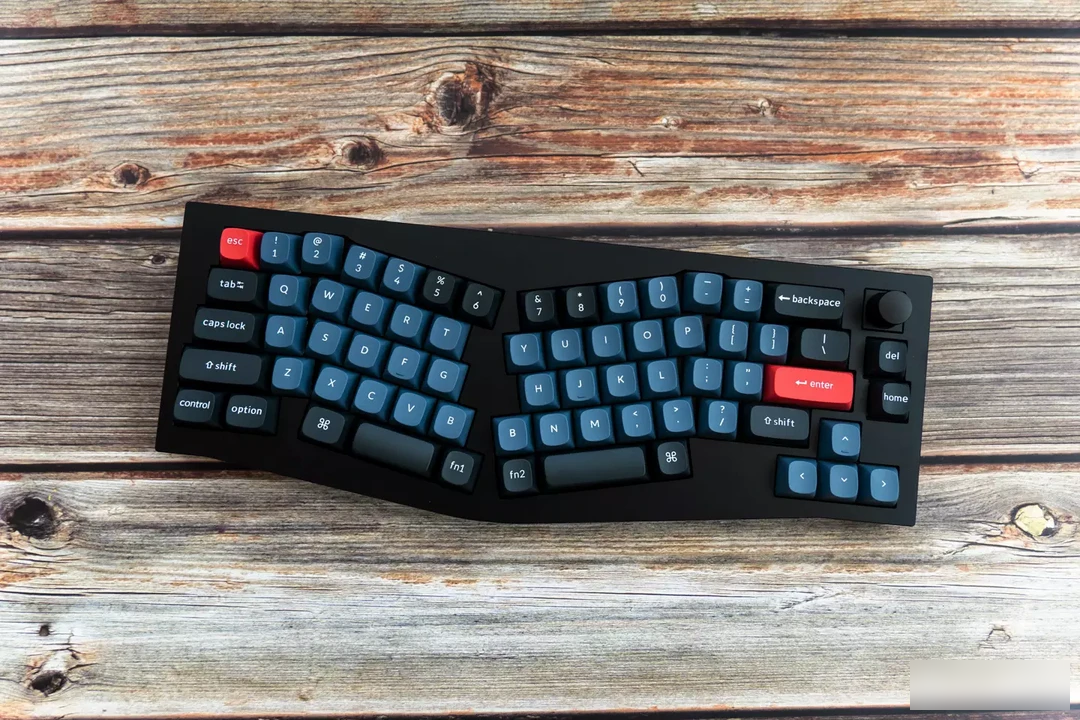
▼Keychron Q with Alice layout8
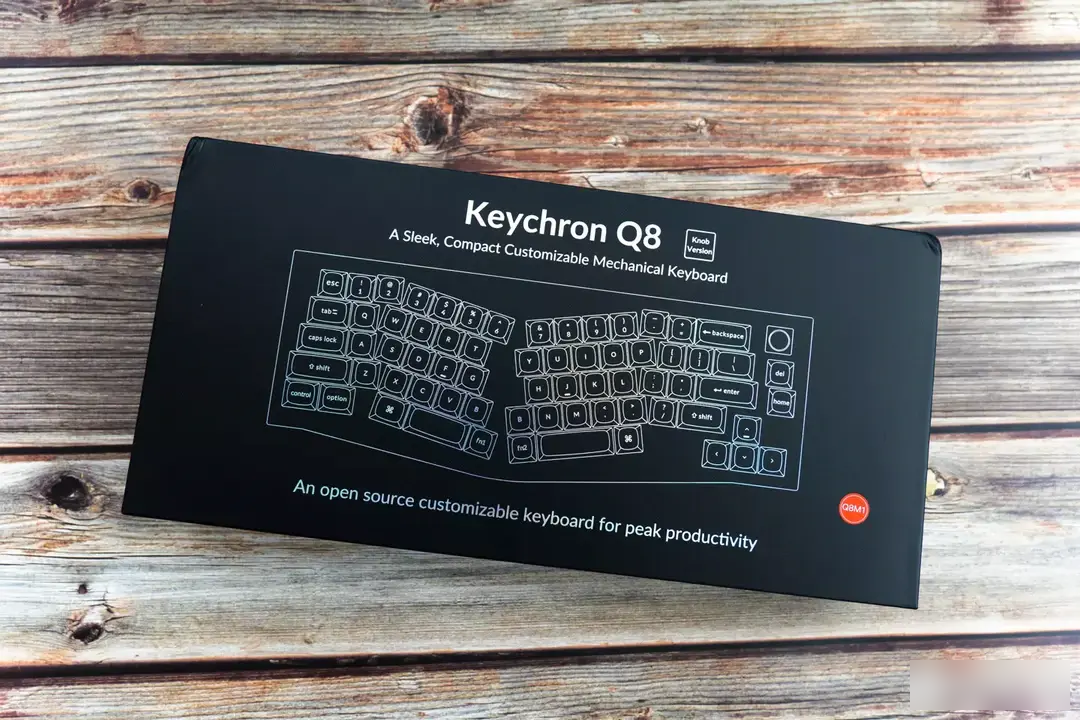
In terms of packaging, Keychron adopts a simple black color, and the standard layout of the series is printed on the front. According to different user needs, there are knobs and ordinary versions to choose from. Considering that zooming in/out is often used in LR, and adjusting the time axis in editing software, I chose the knob version here.
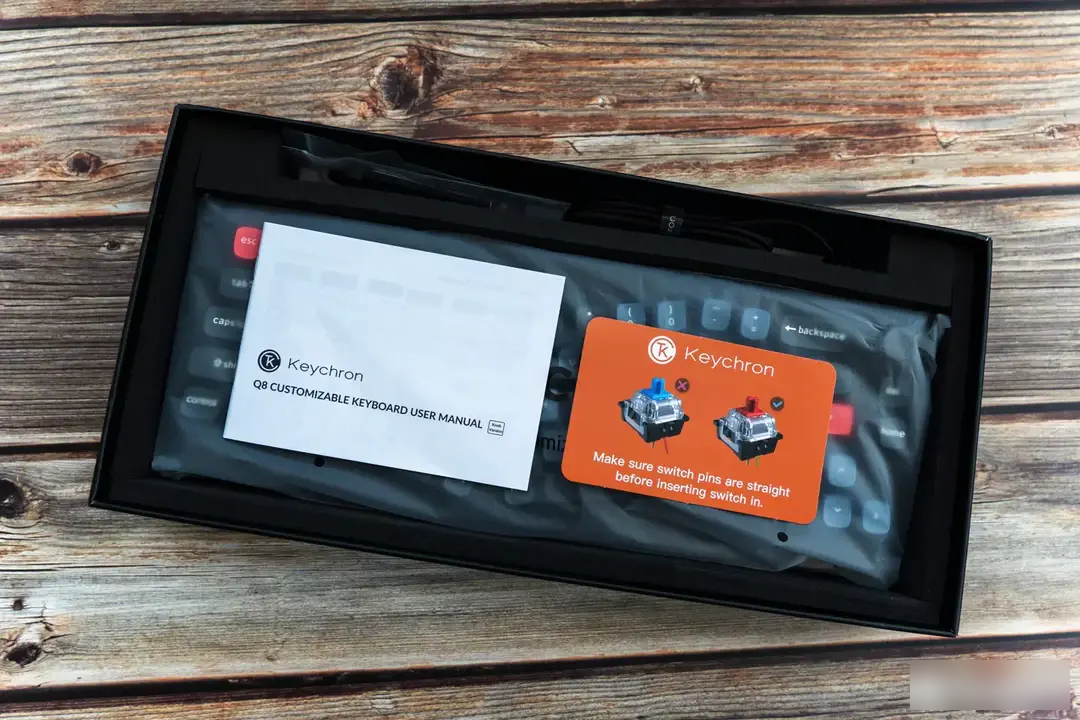
▼Open the packing box and you can see the user manual and the prompt to remind the plug shaft body to pay attention to the vertical pins
The accessories part comes with a braided USB Type-C to USB Type-C/A cable, foot stickers, Win keycaps, screwdrivers, hexagons, key pullers, and shaft pullers, which can basically meet the needs of users for disassembly and assembly.
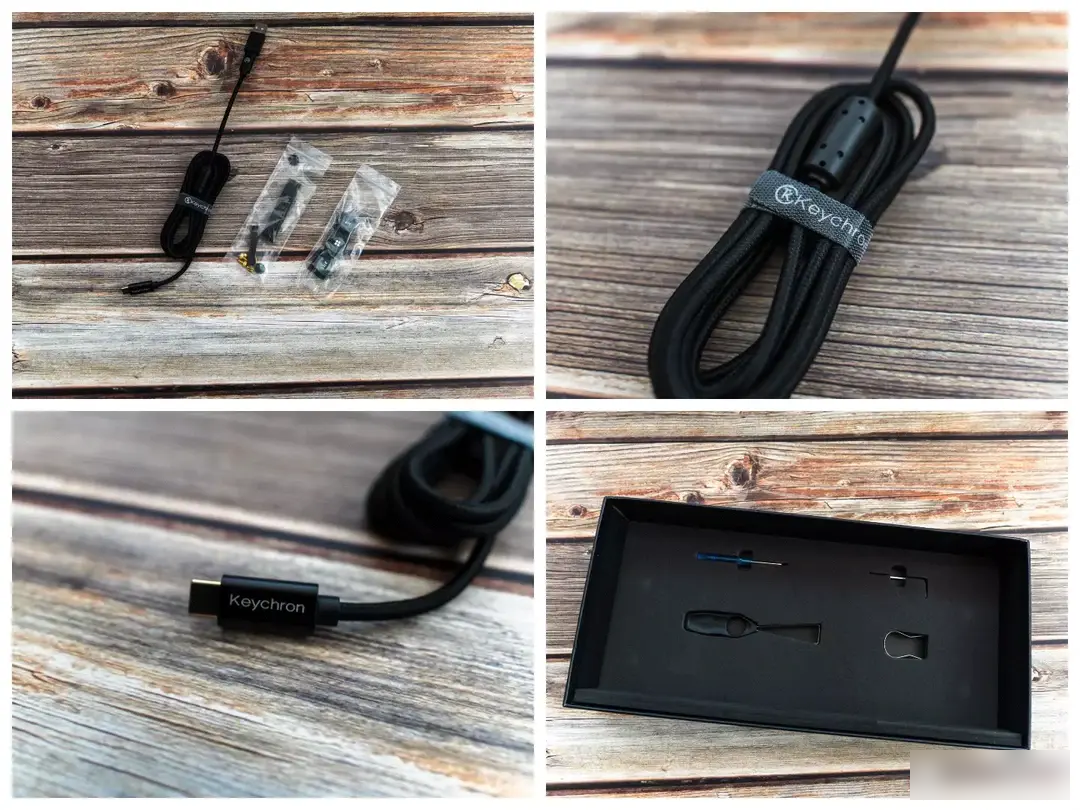
▼The outer packaging also comes with an additional noise-reducing cotton interlayer
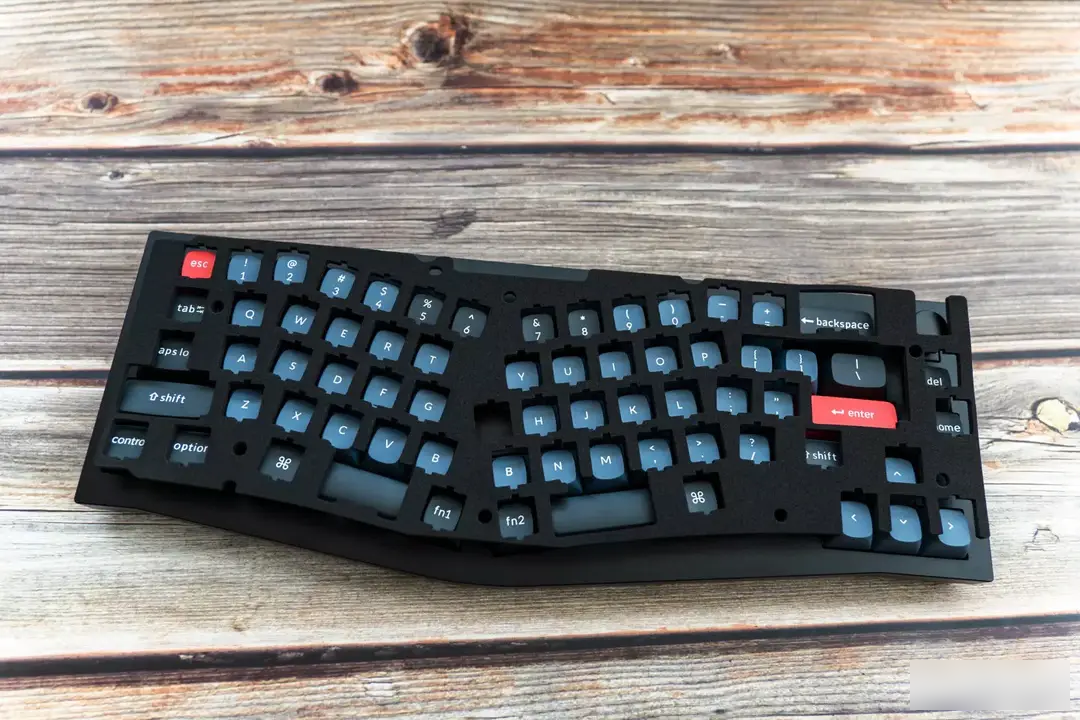
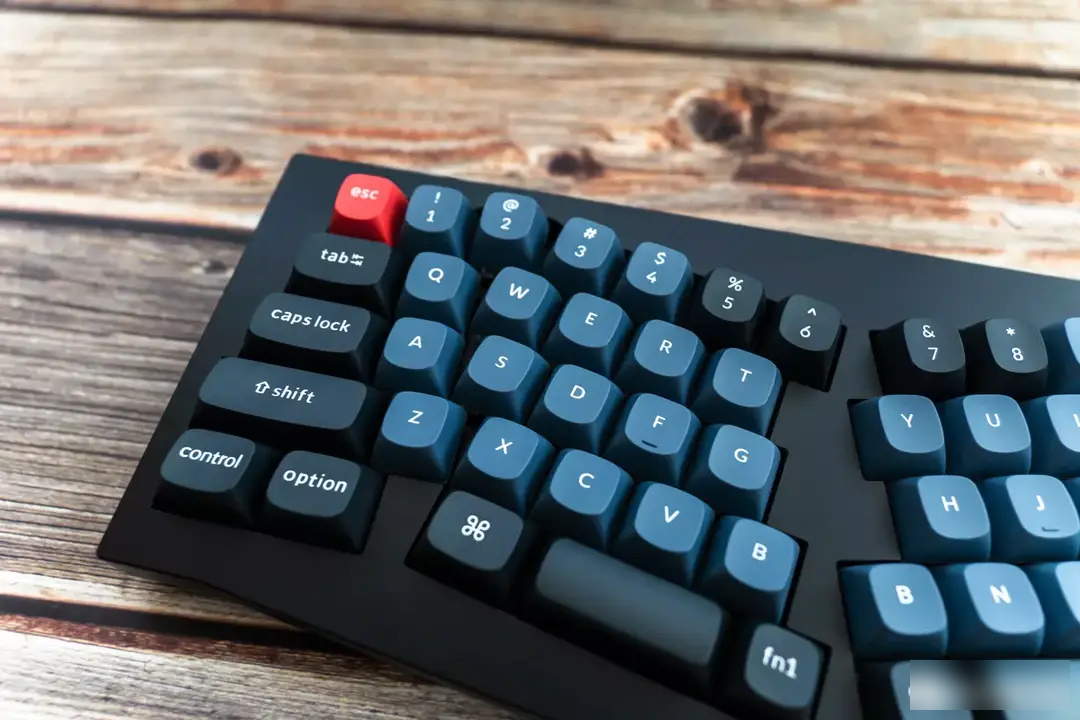
The appearance of the keyboard body is still very high. The 6063 aluminum alloy shell has been polished, anodized and sandblasted, and the texture of the metal material has been treated very well. The CNC edge cutting and interface processing is also very smooth, and there is no cutting feeling at all. The Alice layout is adopted in the layout, the lower right provides direction keys, and the upper right key is replaced with a knob (supports rotation + press).
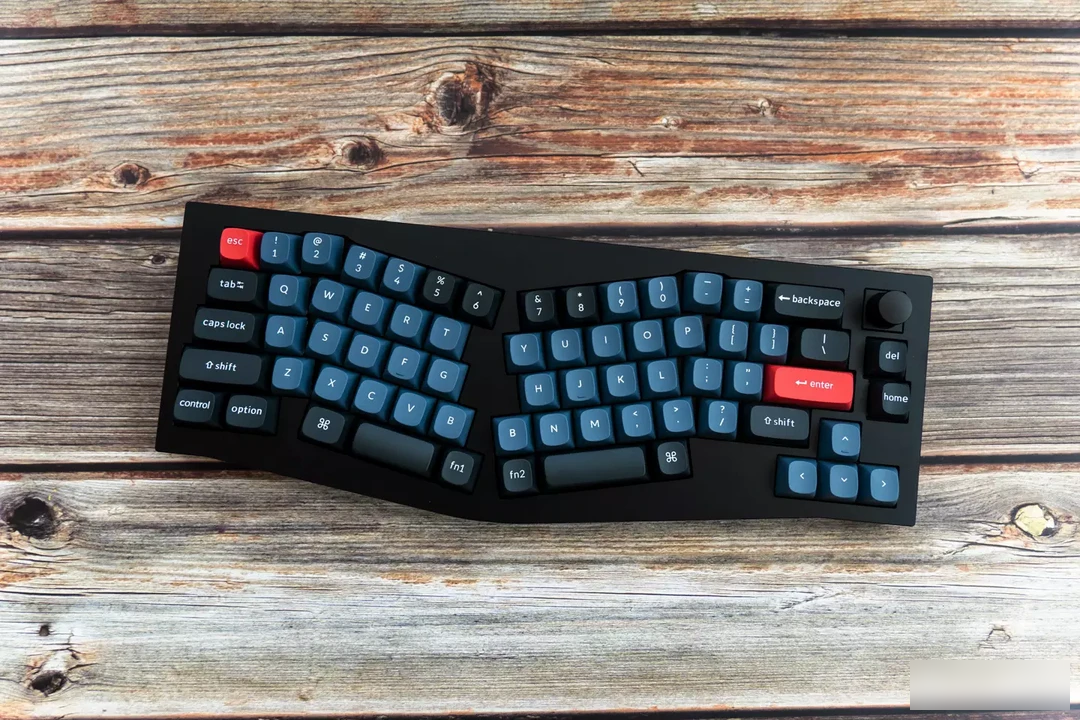
The default keycap is designed in red + blue gray + black. Personally, I think it fits the main color of black very well. Of course, as a customized keyboard, you can still DIY freely. The Alice layout is actually a more classic left-right split design. The left and right hands are responsible for half of the keyboard area. By default, there is a B key placed in each of the left and right areas. This part can be replaced/set to other keys according to the usage habits.

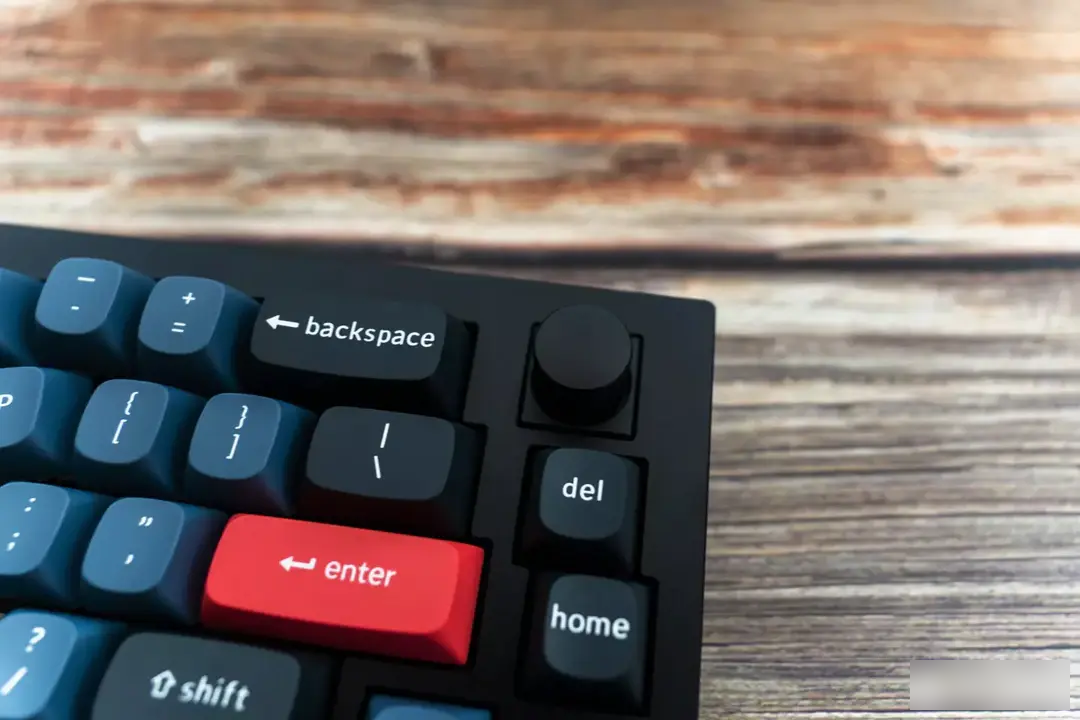
The upper right corner is a knob button, which is used as the volume adjustment of the Mac by default. I currently customize it to zoom in/out (Command plus +/-), and press it to adjust to a screenshot. The knob is also made of metal, and the surface is made of non-slip texture. The touch feels quite good, and it is more appropriate to adjust the torque and pause.
▼From the side view of Keychron Q8, the height of different rows of buttons gradually changes, and the keycaps are also adjusted according to the position.

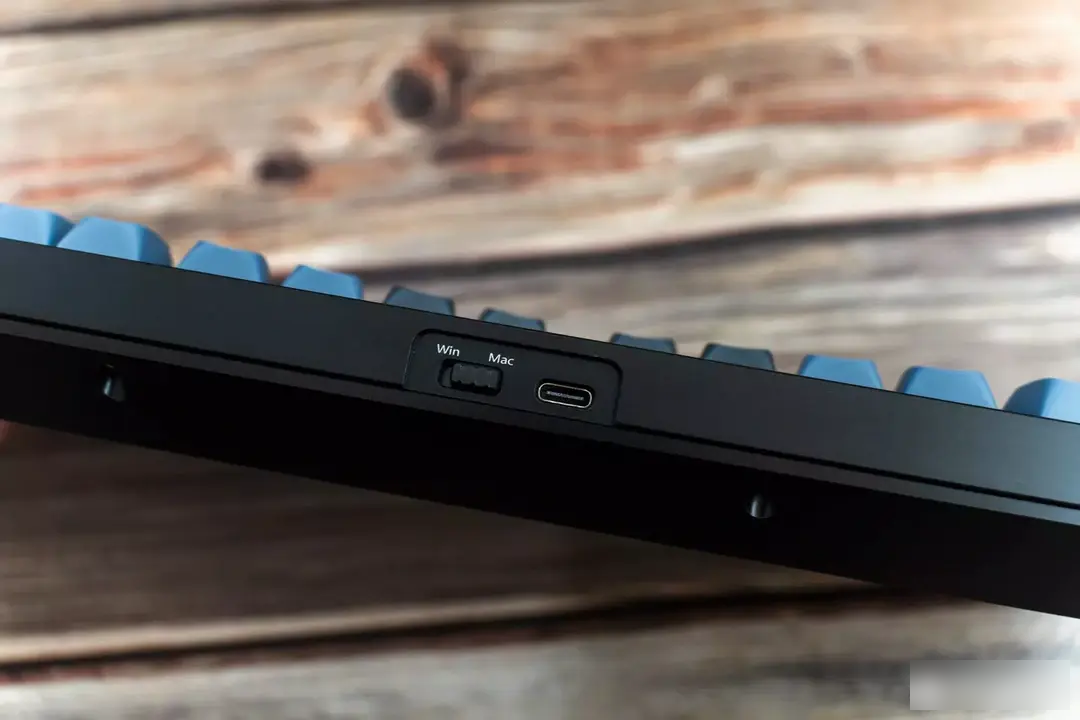
▼In addition to the USB Type-C interface on the top of the keyboard, there are Win and Mac layout switching buttons
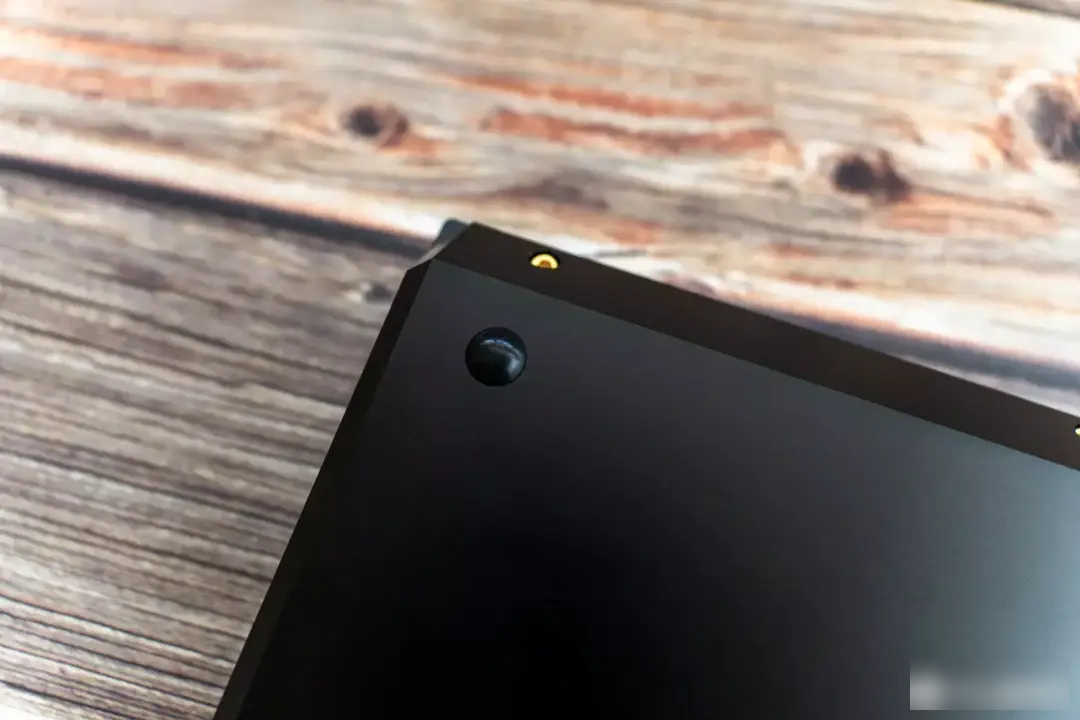
The underside of the keyboard is also a single piece of CNC-cut aluminum, with fixed feet at the corners. Players who are familiar with mechanical keyboards should have heard of the gasket structure. I believe that many high-end players have a deeper understanding of the structure than I do, so I won’t make mistakes here. For users who have not experienced it, you can consider buying a gasket keyboard to experience it. Personally, I think the soft and elastic feel is very suitable for text input.
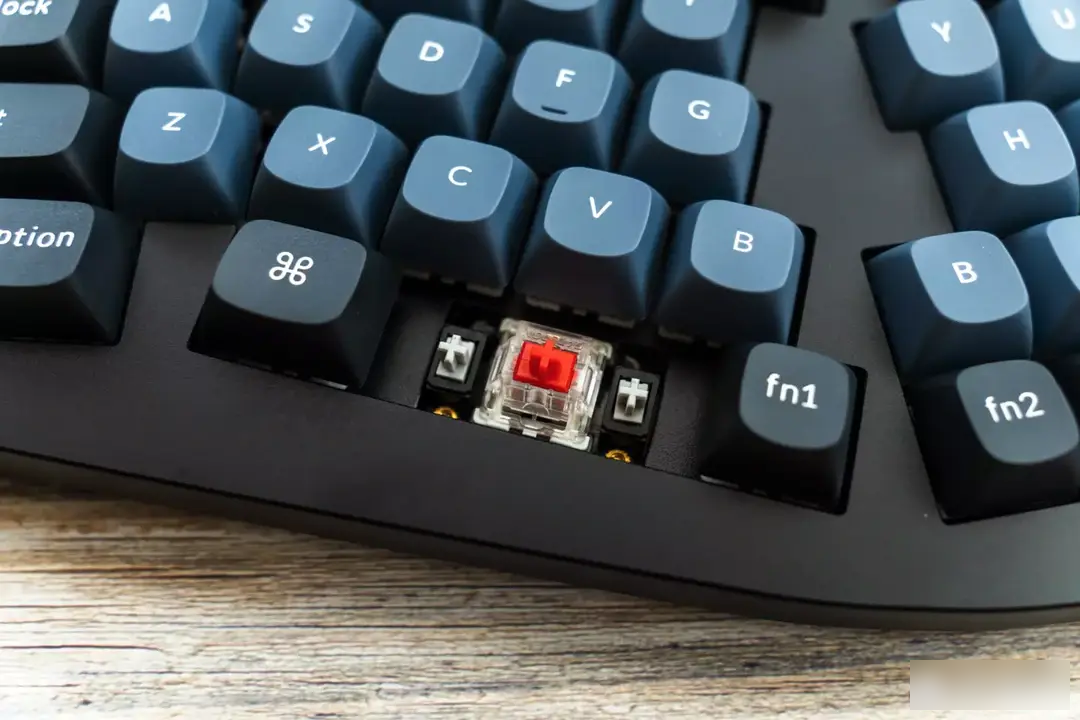
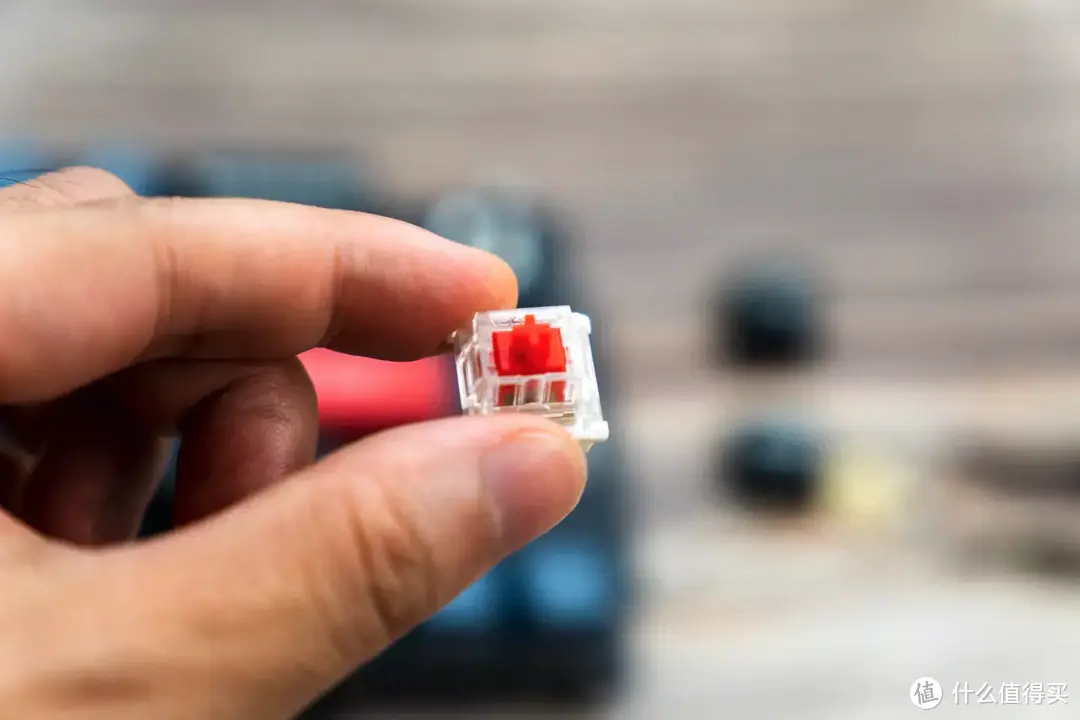
In terms of the switch body, there are three options of Jiadalong G-pro red, green, and tea. I chose the G-pro red with a smaller trigger pressure (45 grams), which has a shorter trigger key travel and faster input. Of course, for DIY players, you can choose the shaft according to your own needs, or even use different shafts for different keys.

The large keys (space, enter, etc.) are also designed with satellite axes, and the stability of tapping is naturally better.
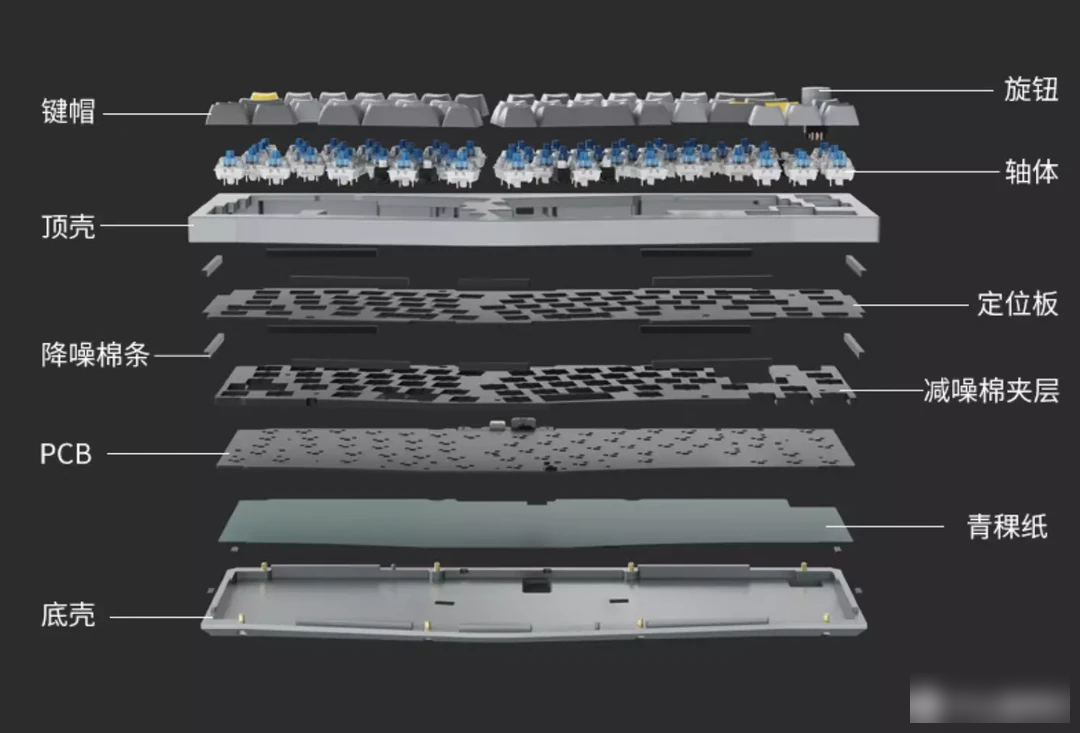
Regarding the keyboard structure, I am not an expert. You can refer to the official introduction by borrowing the structure explosion diagram and double gasket side view from the official website.
The double spacer design is a new and innovative structure in the industry. In addition to the gaskets on the board, we added silicone pads between the top and bottom housings to significantly reduce acoustic resonance between the metals and reduce noise from the affected metals. This design allows the keyboard to retain the flexibility of the pad structure and improve the overall typing sound. ——Keychron official website introduction
▼Keychron Q8 structural explosion diagram
▼Side view of the double gasket structure adopted by Keychron Q8

Unscrew the hexagon at the bottom, and you can take off the bottom case. Although the inside of the bottom case is a place that will not be touched in daily life, the CNC details of the Keychron Q8 have not lowered the standard, and it still maintains the same high level as the case.
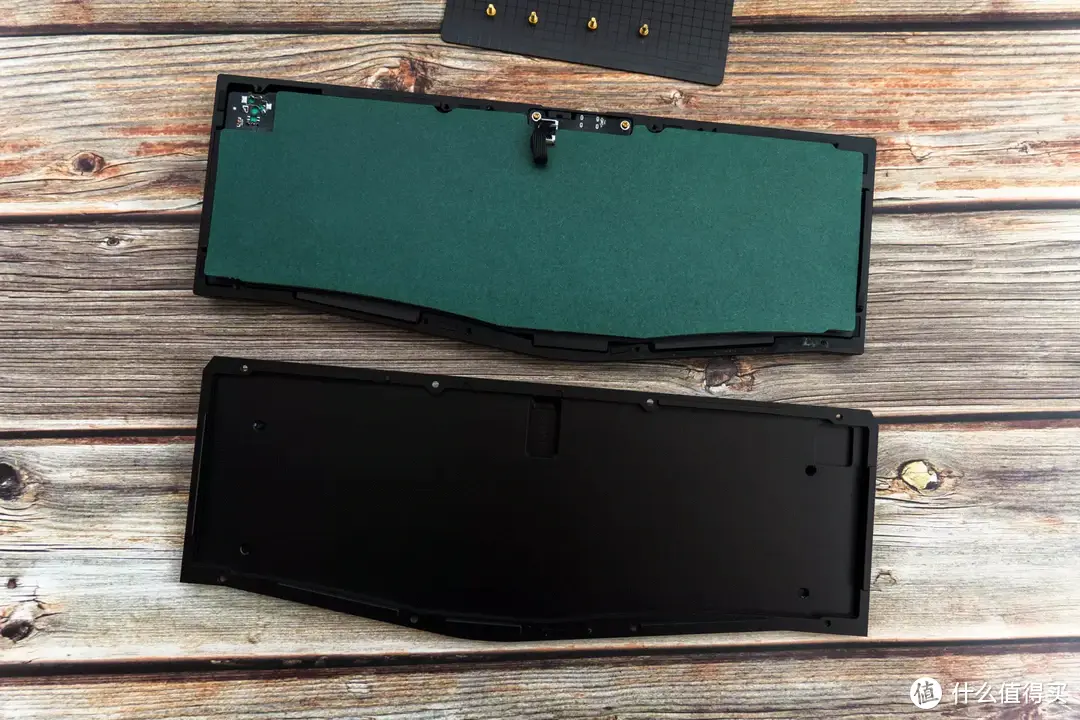
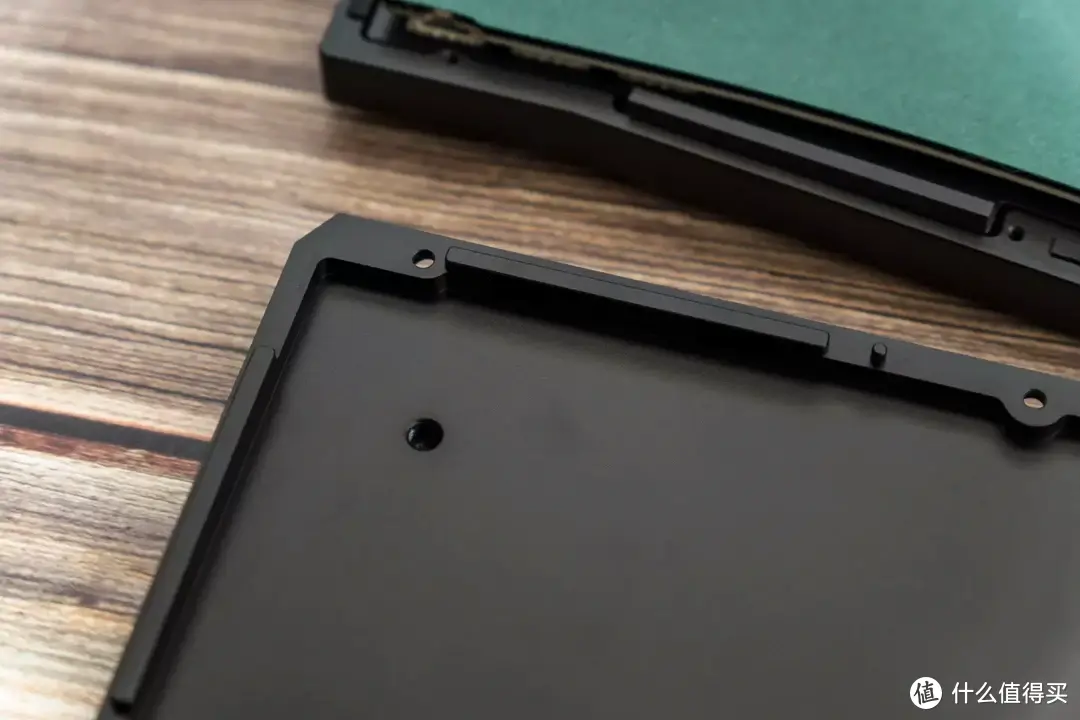
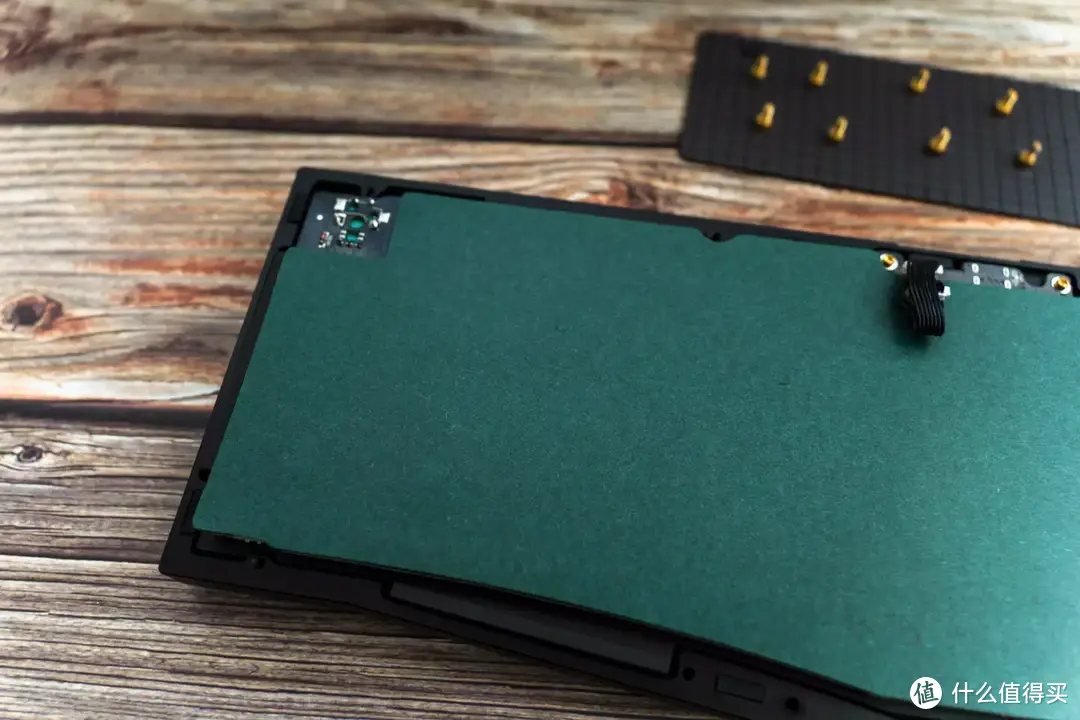
The barley paper is pasted on the back of the PCB. Its main function should be to insulate, and it can also make the back of the PCB more tidy.
▼The Jiadalong G-pro red shaft removed using the shaft puller

Gently remove the barley paper, and you can see the wiring and components on the back of the PCB. Patients with dense phobia can skip the following pictures. The central silk screen of the PCB is Keychron Q8 PCB V1.8 | ANSI | Keychron QMK keyboard | more to more. It seems that it has been revised at least 8 times from 1.0 before being upgraded to version 1.8. The texture of the black PCB is still good, which is more in line with the entire keyboard High quality positioning.


For the key backlight, the Keychron Q8 is relatively restrained, providing full-color RGB and a variety of lighting effects. Users can use the shortcut keys to invoke the built-in various lighting effect modes, or manually modify and adjust them in VIA. ▼

▼In the dead of night, the lighting effect with the aperture full and out of focus still has a special flavor
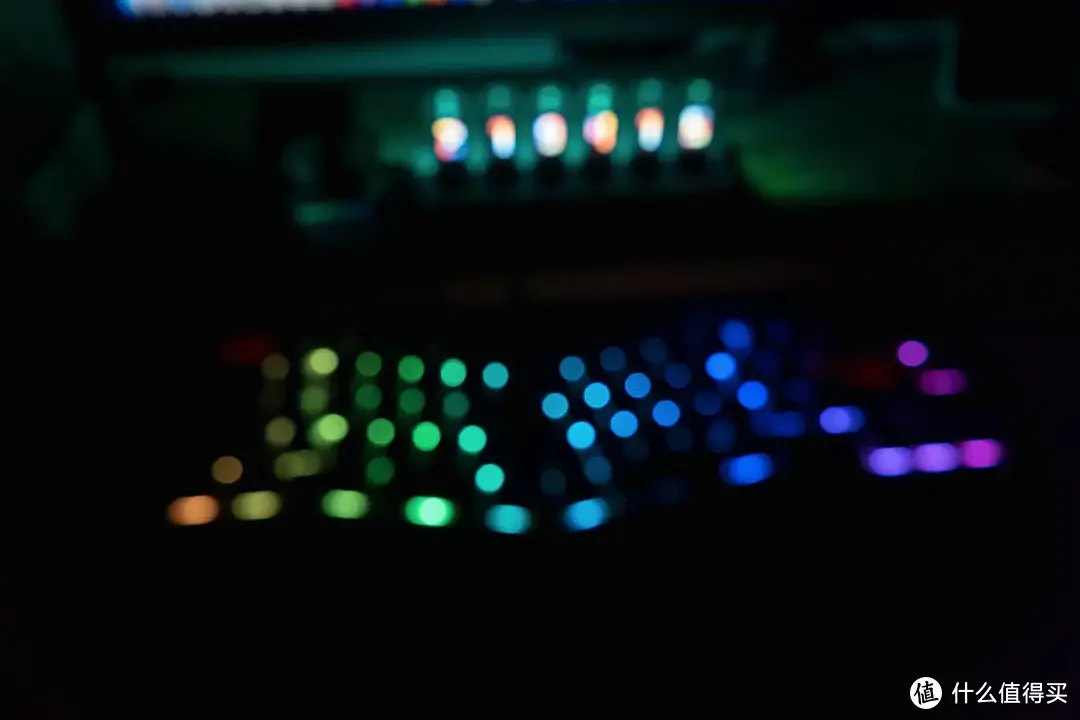
Hand feel is actually a part that is difficult to describe in words. The good and bad of many keyboards actually require real experience and touch. From my personal experience, the comfort of the double gasket is still very good. The red switch with the short key travel has a soft feeling, and there is no sense of fatigue when typing for a long time.
However, for those who are accustomed to the traditional button layout, it still takes a certain amount of adaptation time to switch to the Alice layout. After getting familiar with the button position, typing is still very easy. Especially the placement of the wrist part is more natural, which is still very important for people who have used the keyboard for a long time. However, the overall thickness of the keyboard is relatively high, and there is some floating feeling in the hands when using the adjustable desk to stand and work. This part is prepared to be adjusted later with the bowl holder.
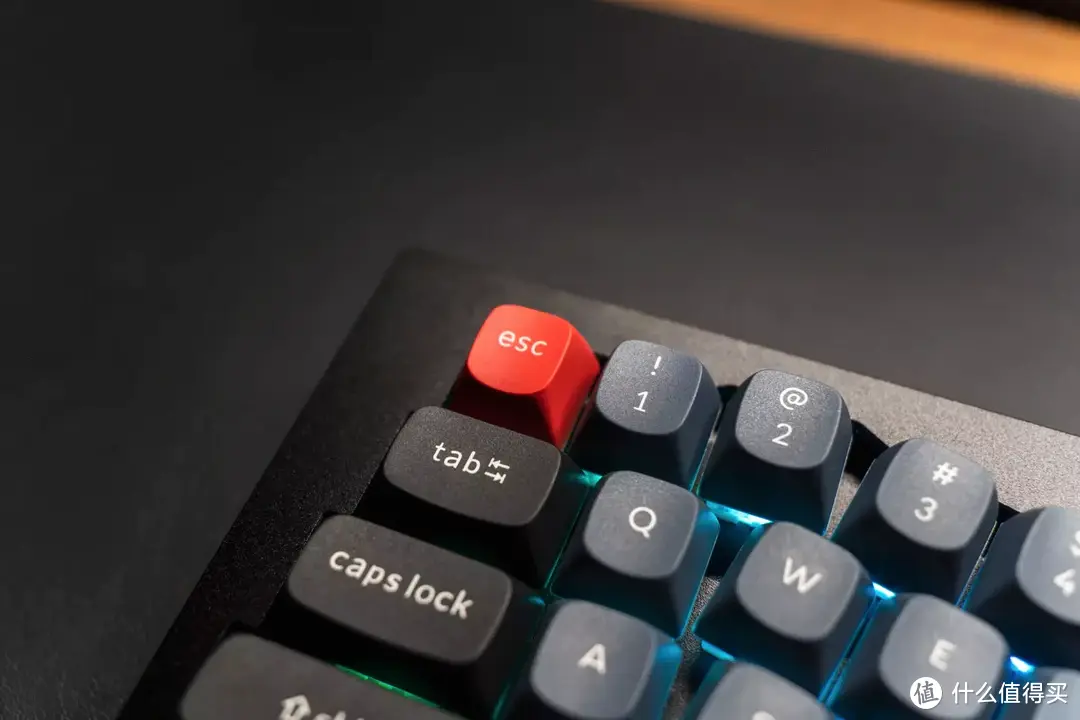
It is very convenient to control VIA. Download the jason file of Keychron Q8 from the official website, and you can set it after importing it. Keychron's official website also provides very detailed tutorials, users who are not familiar with VIA can also refer to the tutorials provided on the official website.
In CONFIGURE-KEYMAP, you can see the 5-layer LAYER buttons supported by Keychron Q8 by default. The correspondence between the five layers is as follows:
LAYER0 Mac
LAYER1 Win
LAYER2 Mac Multimedia (Fn1+corresponding key in Mac mode)
LAYER3 Win Multimedia (Fn1+corresponding key in Win mode)
LAYER4 function key (Fn2+corresponding key)
▼LAYER0

It is also very convenient to customize the shortcut keys, select the corresponding LAYER, and then select the key that needs to be matched. Click the BASIC (basic button)/MEDIA (media)/MACRO (macro)/SPECIAL/QMK LIGHTING/CUSTOM below, and the button corresponding to the motor in the function selection area on the right can map the button to the corresponding LAYER position.
▼LAYER2 select the Shift key

Macros is a custom macro, which currently supports 16 custom macros (from M0 to M15). Like many three-button shortcuts on the Mac (such as screenshots, etc.), macros can be used to achieve.
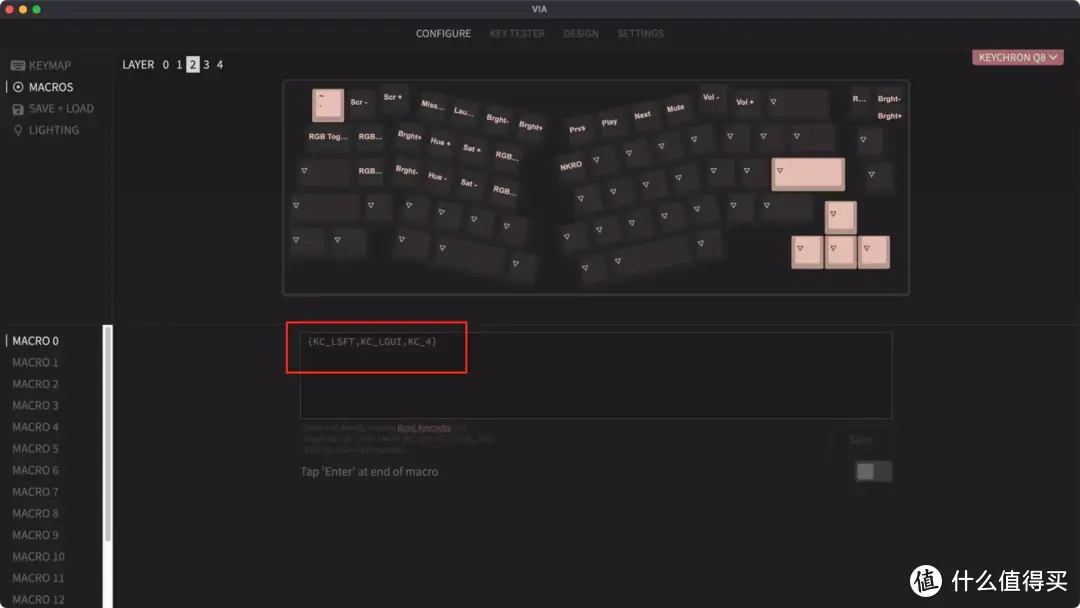
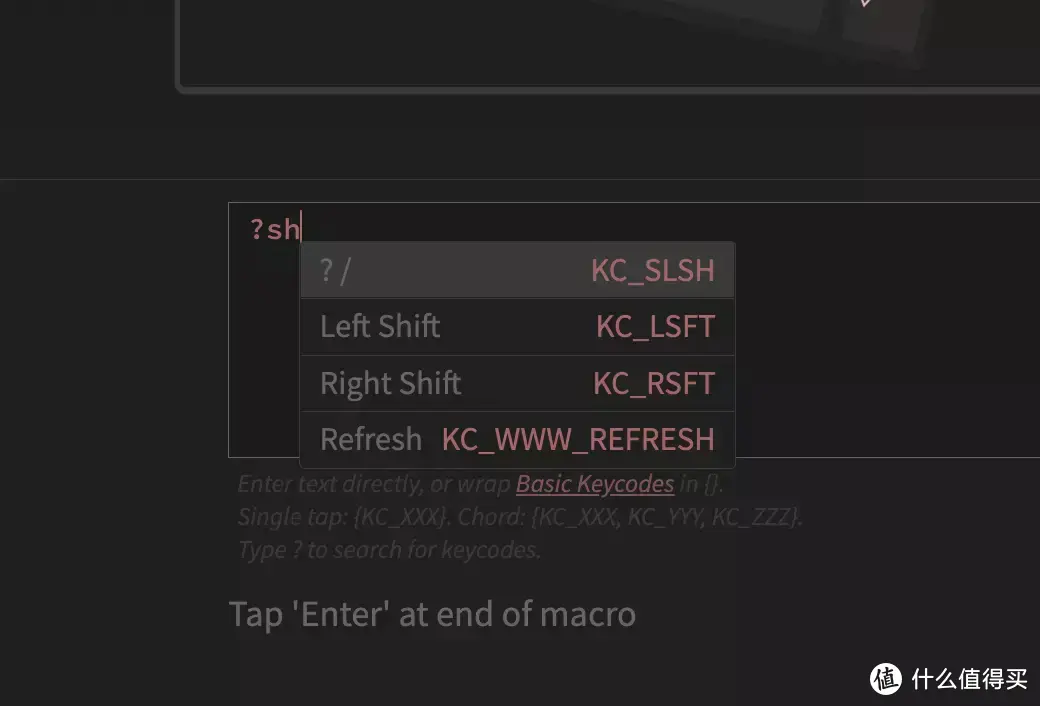
This part of the first-time users may be confused about how to find the specified key. In fact, the key in Macros can be entered by typing ?, and then enter the name of the corresponding key to search. For example, ?sh to search for the SHIFT key, ?GUI for Win/CMD, and ?ALT for ALT/Option. If you are interested in the complete correspondence, you can also go to the QMK official website to inquire.

▼The combined keys need to be wrapped with {}, remember to click the SAVE button on the right after the setting is complete

Keychron Q8 uses Fn1+Fn2 to switch LAYERS by default, and the LAYERS button provides richer key settings. For example, MO(X) corresponds to turning on LAYERX when pressed (let go to switch back to the original LAYER), TG(X) switches the LAYER X switch for one press, OSL(X) directly switches to LAYER after pressing. Fn1 (Fn3) corresponds to LAYER1 when pressed alone, and switches to LAYER3 when pressed together with Fn2. SPACE Fn1/Fn2/Fn3 is the combination of SAPCE and Fn1/2/3. Press for SPACE, long press is Effect of Fn1/Fn2/Fn3.

In addition to MACRO, there are many useful buttons in MEDIA, SPECIAL, QMK LIGHTING, and CUSTOM, and you can also set them according to your own needs/habits.


In addition, the lighting effect of Keychron Q8 can also be set in VIA. Click LIGHTING on the left, and you can manually select the brightness, lighting effect, lighting speed, and color.
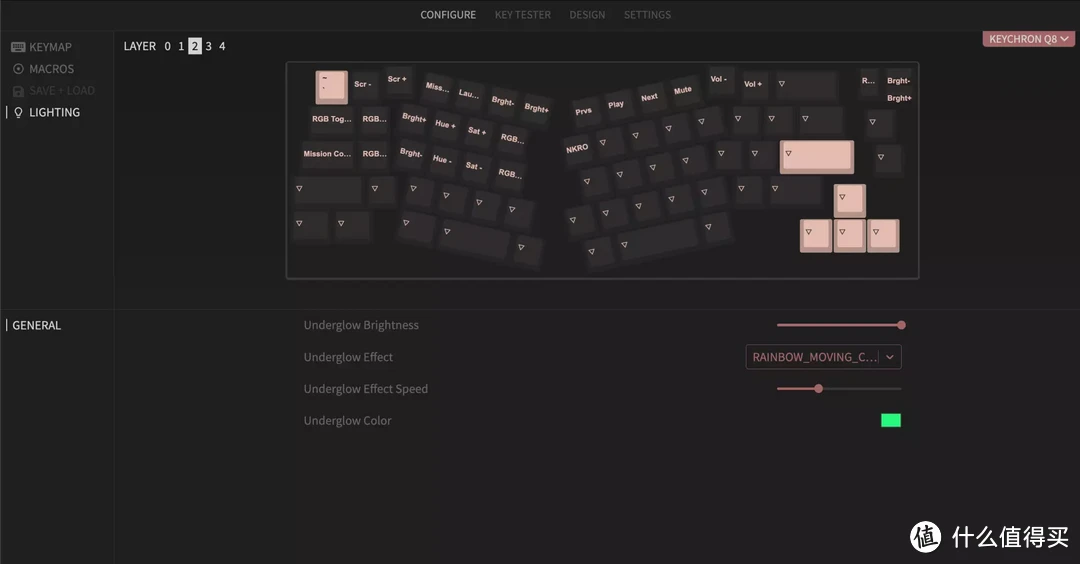
Although the layout of Alice is a relatively niche arrangement, the ergonomic design may not be valued or cared by every user. But for text workers, after getting used to the ergonomic design, it will actually be difficult to return to the standard keyboard arrangement. Of course, trying different layouts will always take some learning time, but once you get used to the arrangement, coupled with VIA's rich shortcut key settings, the work efficiency may be higher than the standard arrangement of the full keyboard.
Back to the Keychron Q8 itself, the workmanship of this customized keyboard is the part I am most satisfied with, especially the craftsmanship and treatment of the surface aluminum material, which gives full play to the texture of the metal itself. The double gasket structure also makes the keyboard input feel more comfortable. For users who need a lot of text input, this experience is worth a try.
Of course, this keyboard is not perfect. There is no way to connect wirelessly. For users who need to connect multiple devices, it will be a deduction item.
Well, this is the end of this article, thank you for watching~ Welcome everyone to like, bookmark, and leave a message in the comment area, I am KC, see you in the next article~
Factory Adress: No.11,FengpingRoad
