【CUB 65】A functional figure?
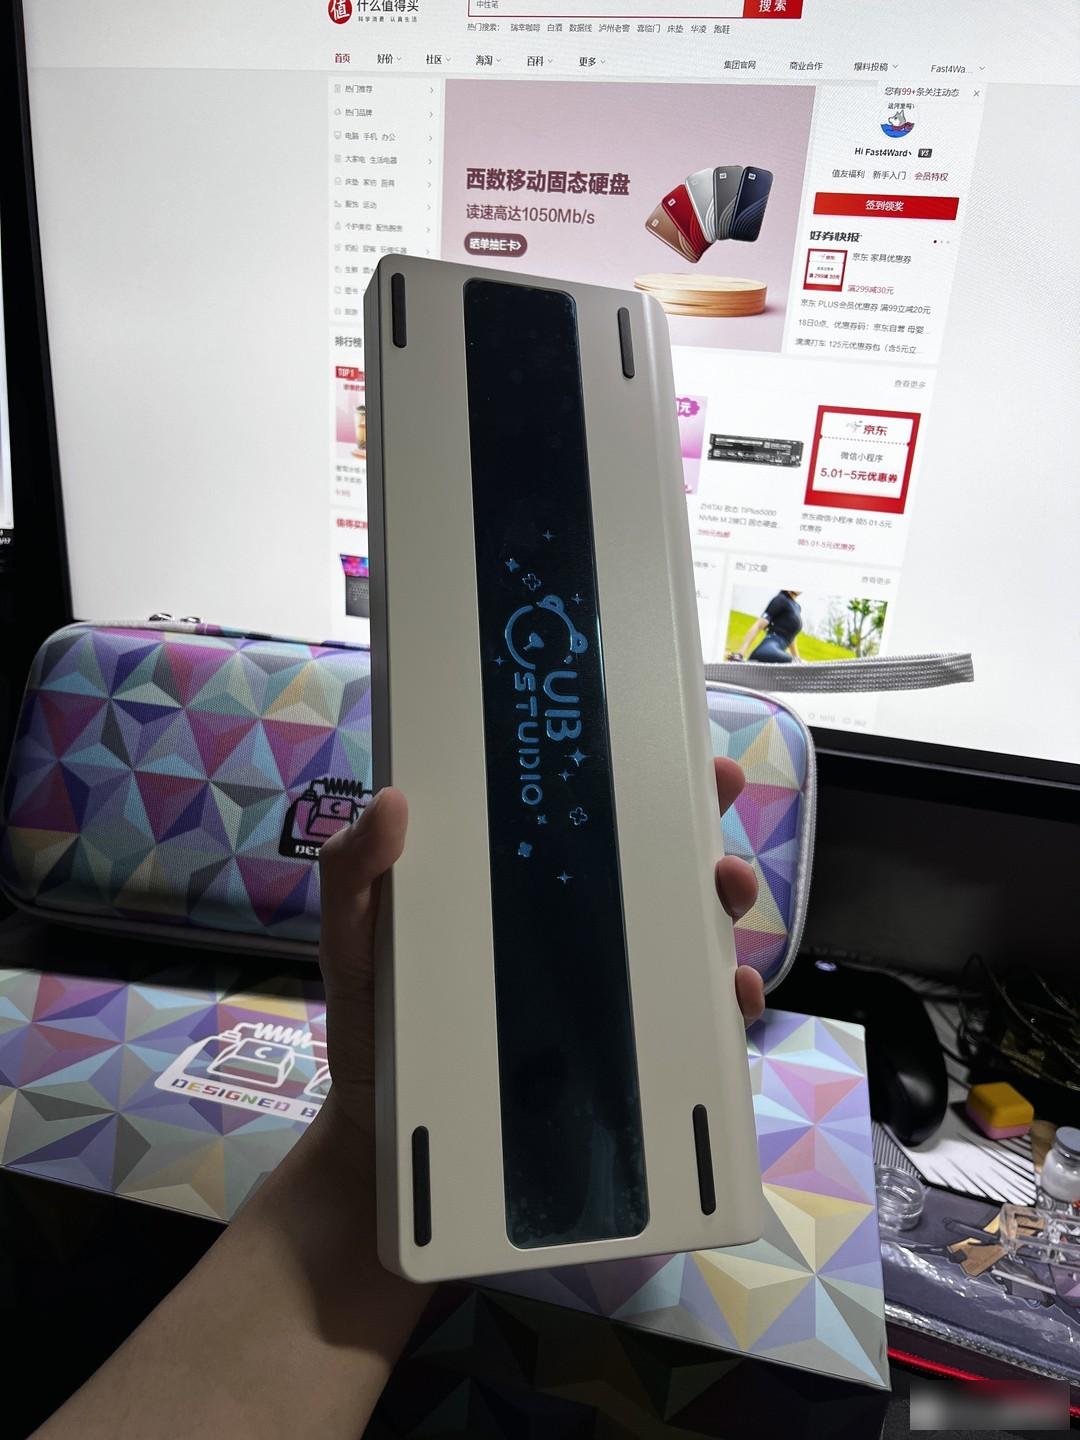
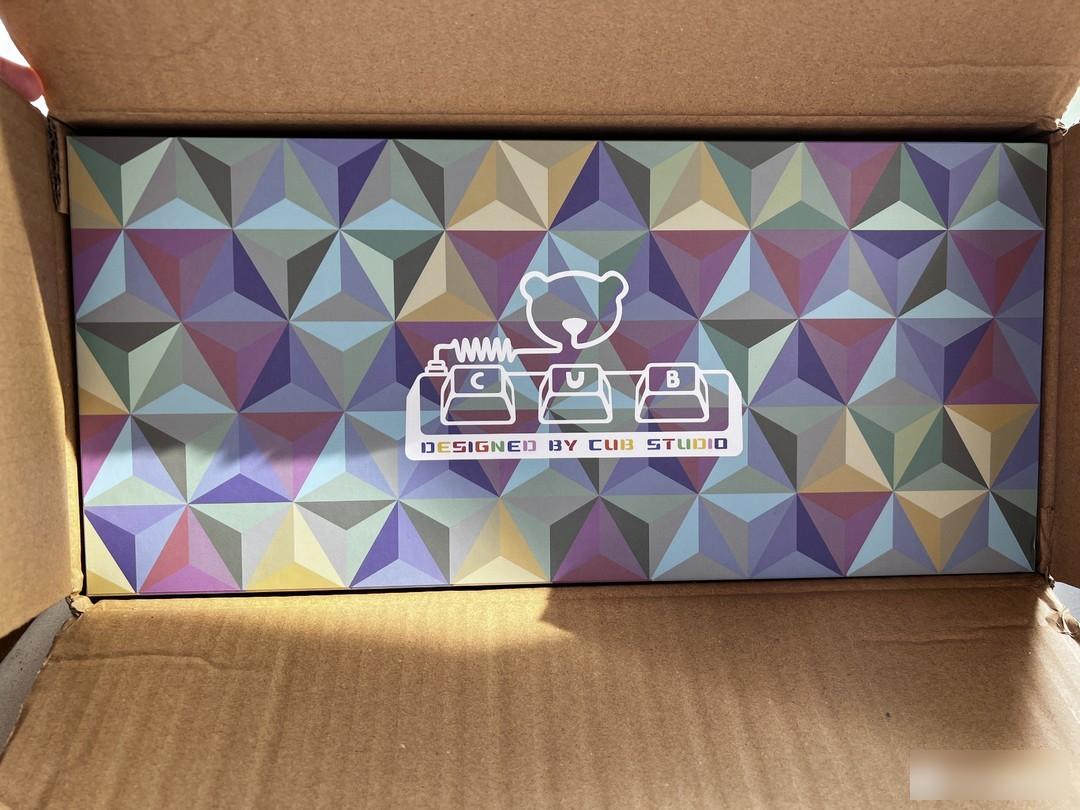 When you open the express box, you will see the brand LOGO
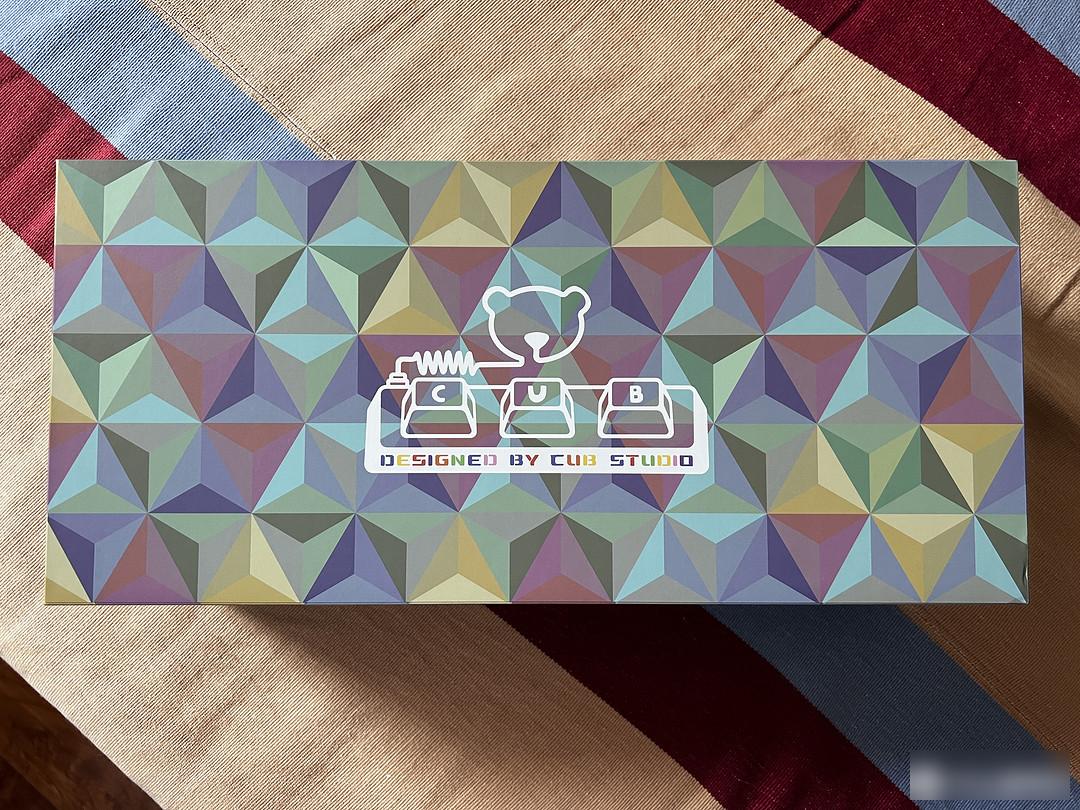 The whole box is still very delicate
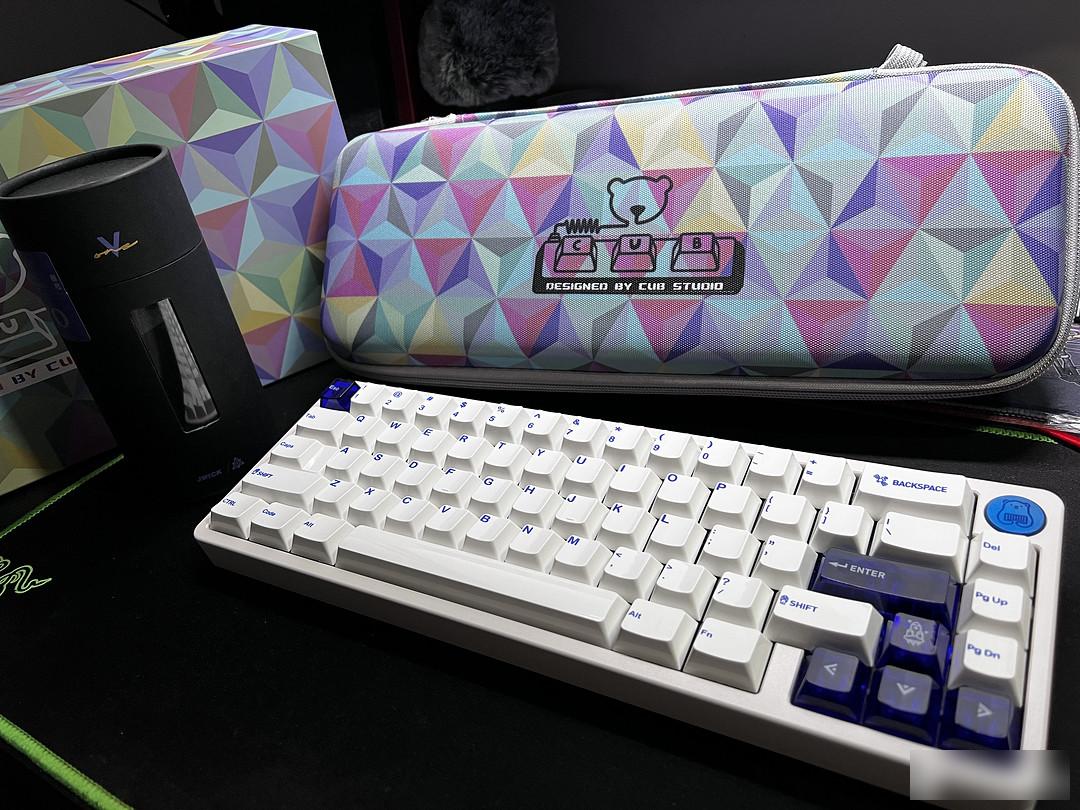
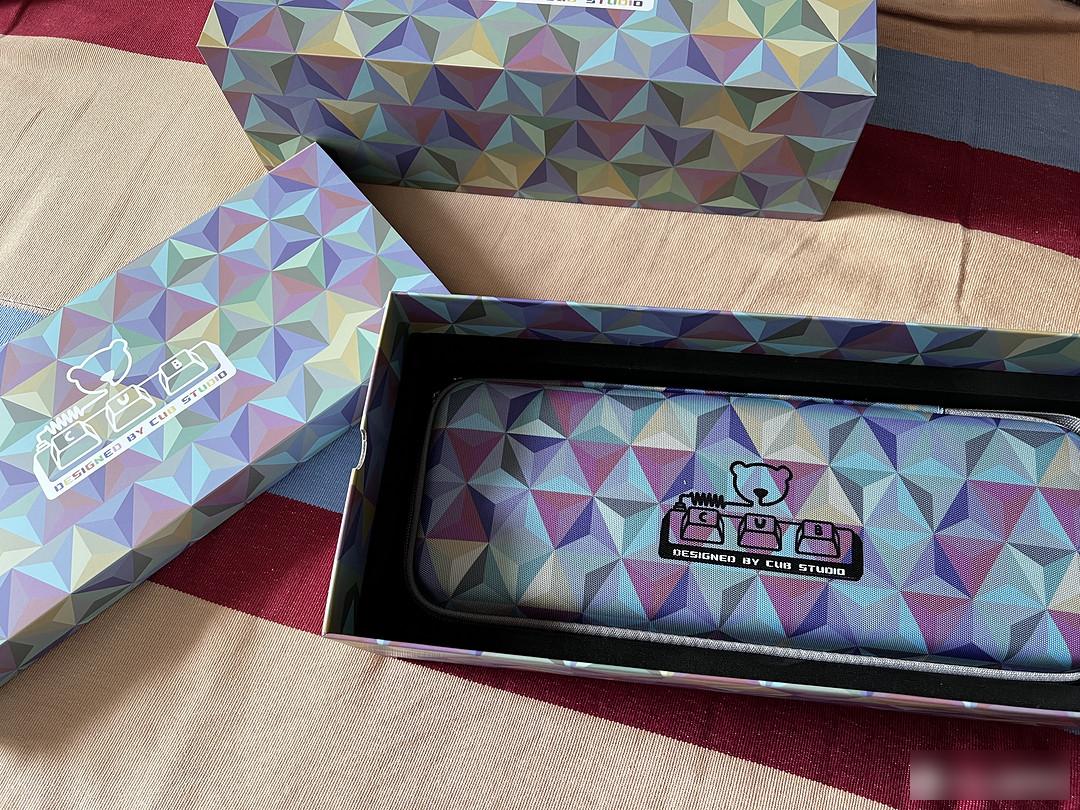 Matryoshka design, also sent a keyboard bag, nice
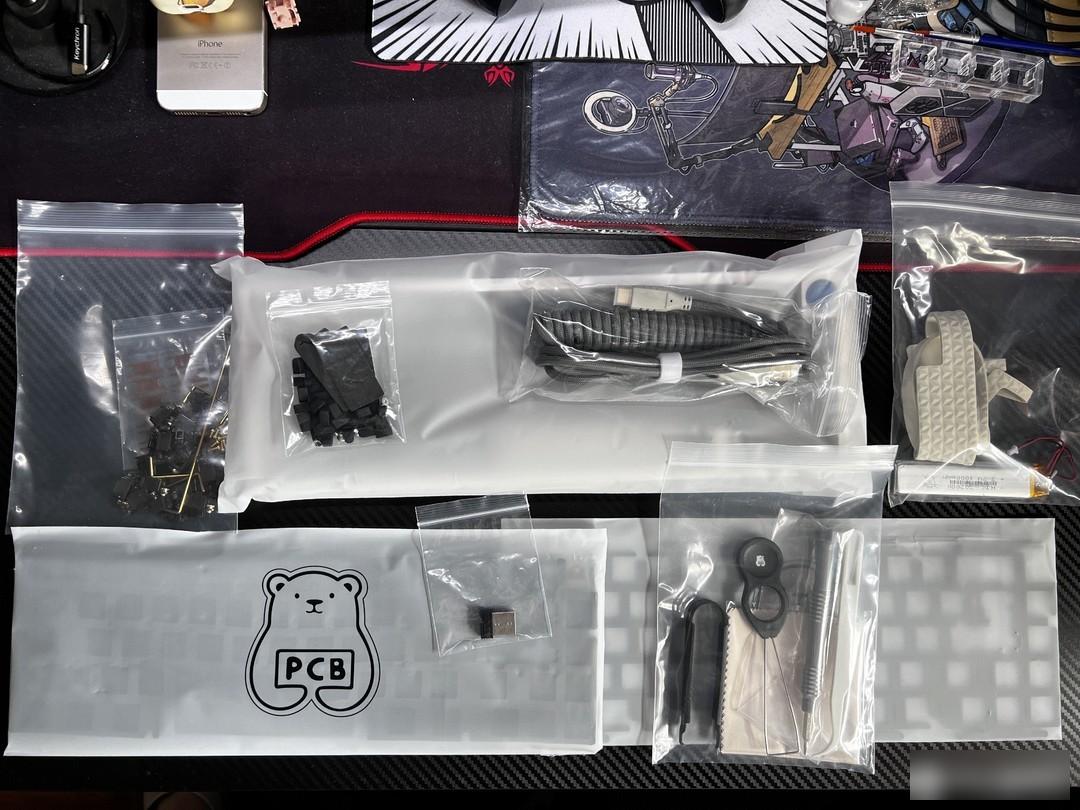 all accessories
After the exercise of the first two kits, assembling the keyboard is no longer a problem for me now.
 take out the case first
 Attach the foot pads of the shell
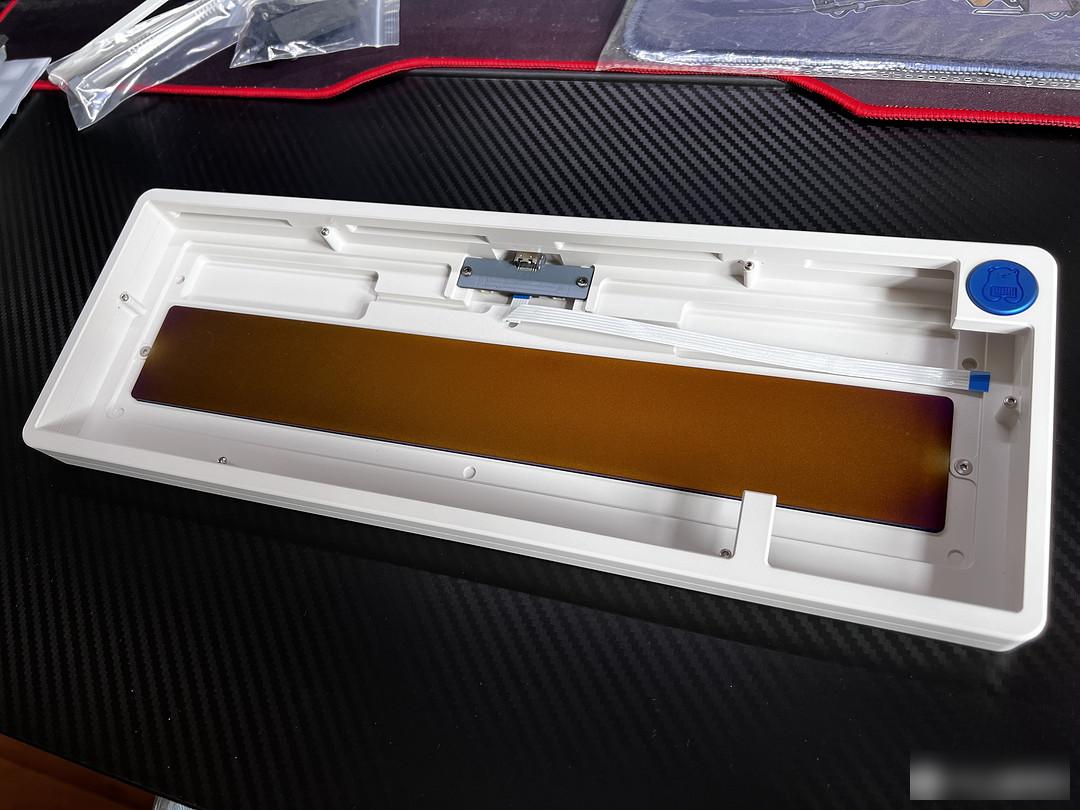
There are 6 inner corner screws on the shell, remove them with the provided screwdriver, and separate the upper and lower covers.
 This is the state where the upper and lower covers are separated.
I bought the three-mode version, so there are two batteries hidden under the silicone pad, but I forgot to take a picture hhh, after installing the battery and filling the silicone pad, the construction part of the bottom case is basically completed, then Down to start the construction of the liner.
First of all, it is best to test the connectivity after getting the PCB.
 Apply Teflon tape
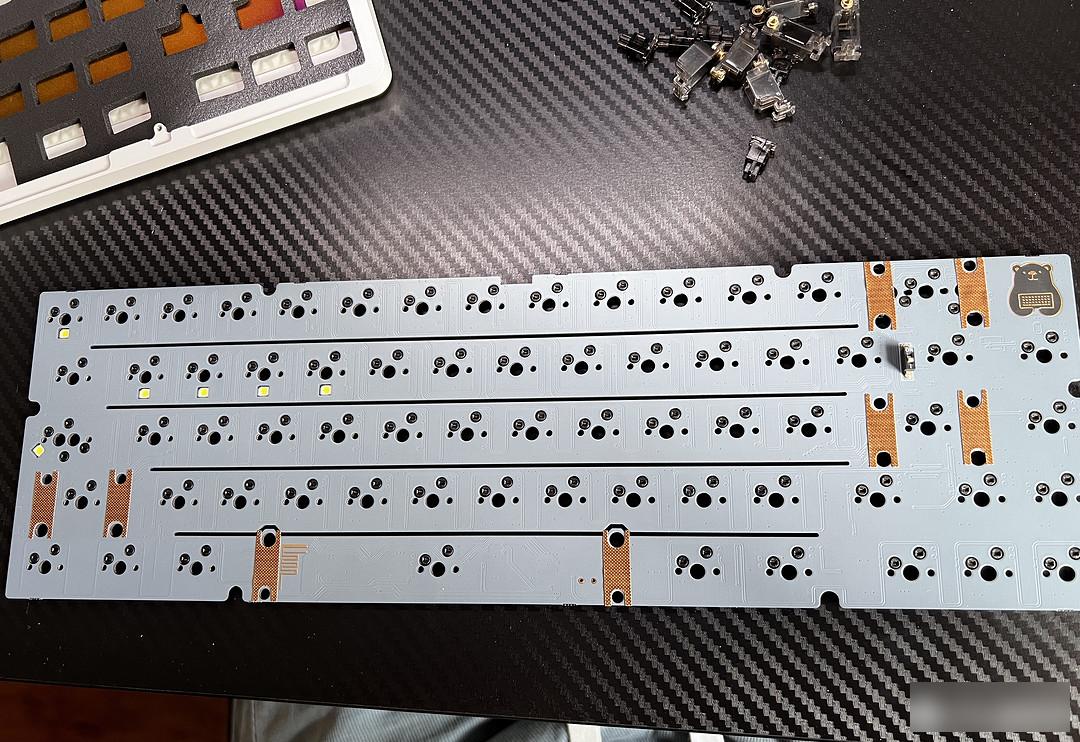
Because the kit uses the PCB satellite shaft, first put the Teflon tape on it, and pay attention to the size of the Teflon hole corresponding to the hole position of the PCB.
Next is the construction of the satellite axis. I forgot to take pictures here... I won’t go into details. If you haven’t touched the PCB satellite axis, you’d better search for the installation tutorial on the Internet first, because the PCB satellite axis and the steel plate satellite axis are the same. The installation is two completely different methods, and it is very troublesome to adjust later after the installation is completed, so it must be adjusted once at the beginning of the installation.
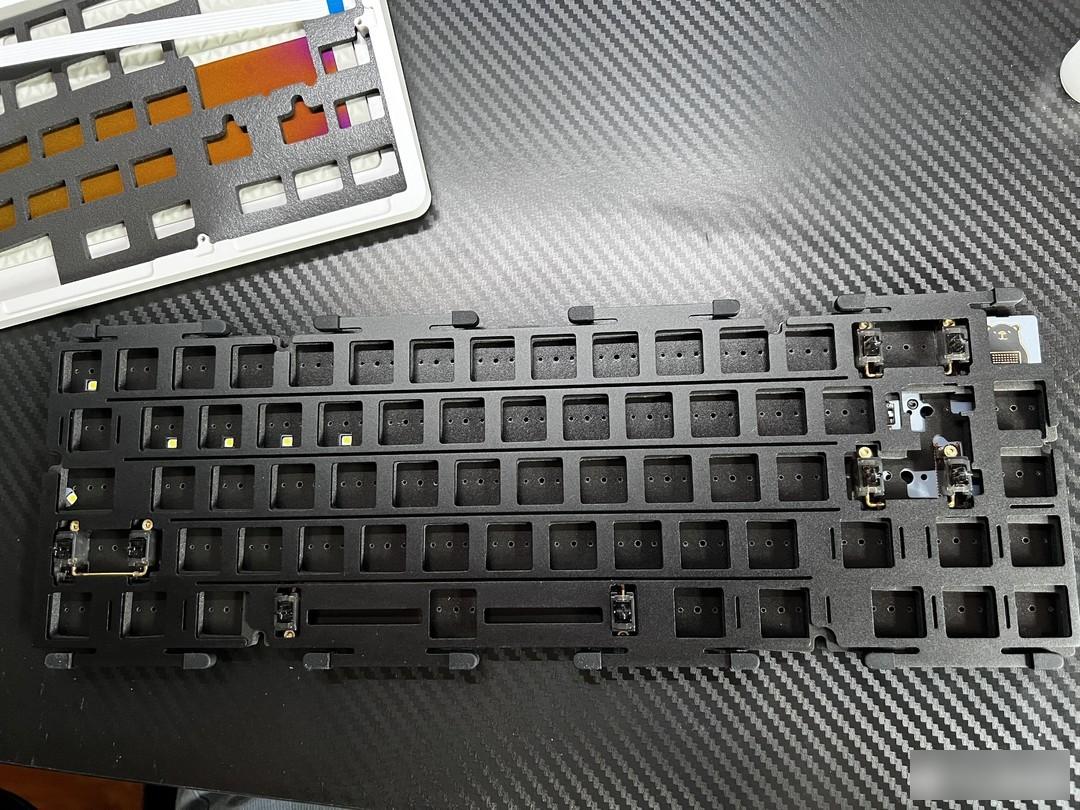 Aluminum positioning plate + sandwich cotton + pad under the shaft + PCB
⦁ First install several shafts around and in the middle to fix the position of the positioning plate and foam;
⦁ When hot-swapping, check whether the pins of the shaft body are straight;
⦁ When the shaft body is pressed down, it is necessary to align the hole position so that the pins can pierce the bottom pad of the PE shaft;
⦁ The size of the shaft body of different brands will be slightly different, pay attention to press it in place, and check that there is no warping;
⦁ If you find a problematic shaft, you can use the attached shaft puller to press the small buckles on both sides of the shaft inwardly, and then lift up to remove the shaft;
⦁ For welding users, after all installations are completed, after confirming that they are correct, first weld the shaft around the periphery and the center.
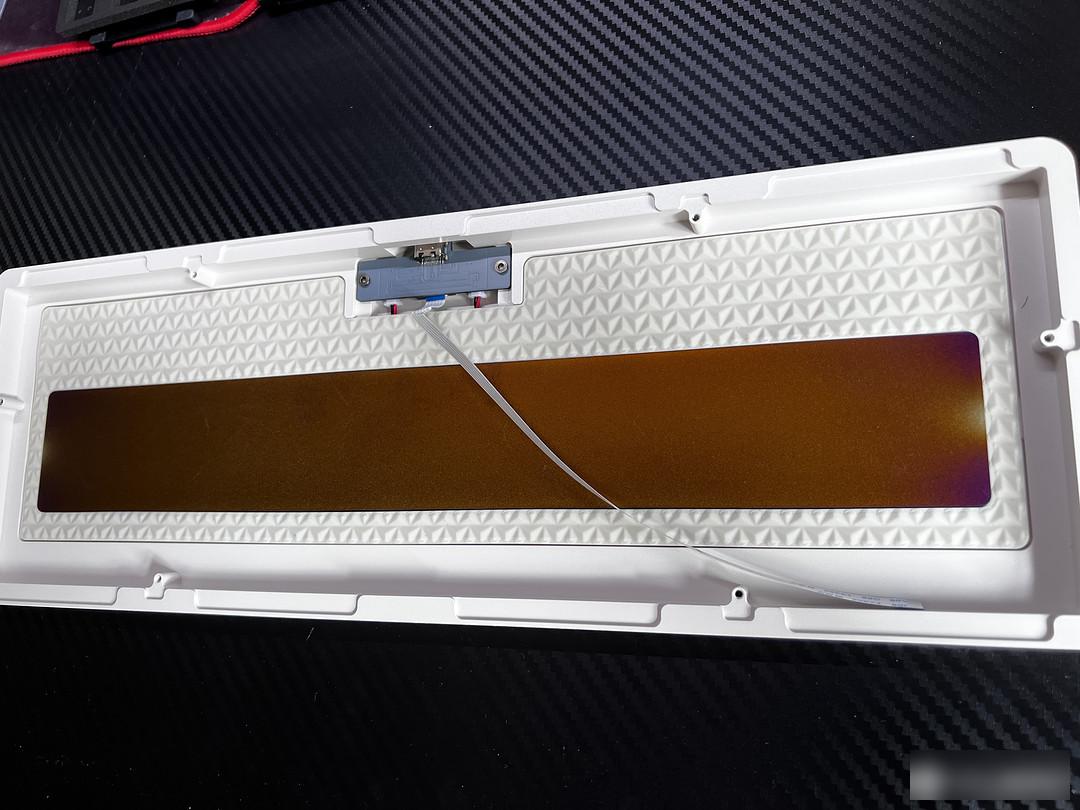
This kit still uses the recently popular gasket structure, so it is necessary to put silica gel particles on the "ears" of the positioning plate. There is no difference between positive and negative, just put it on directly. Place it on the bottom case and check whether the position matches.
Now you need to connect the cable on the bottom case to the PCB. You need to pay attention to the front and back sides. You need to insert the metal contacts upwards to avoid burning the components.
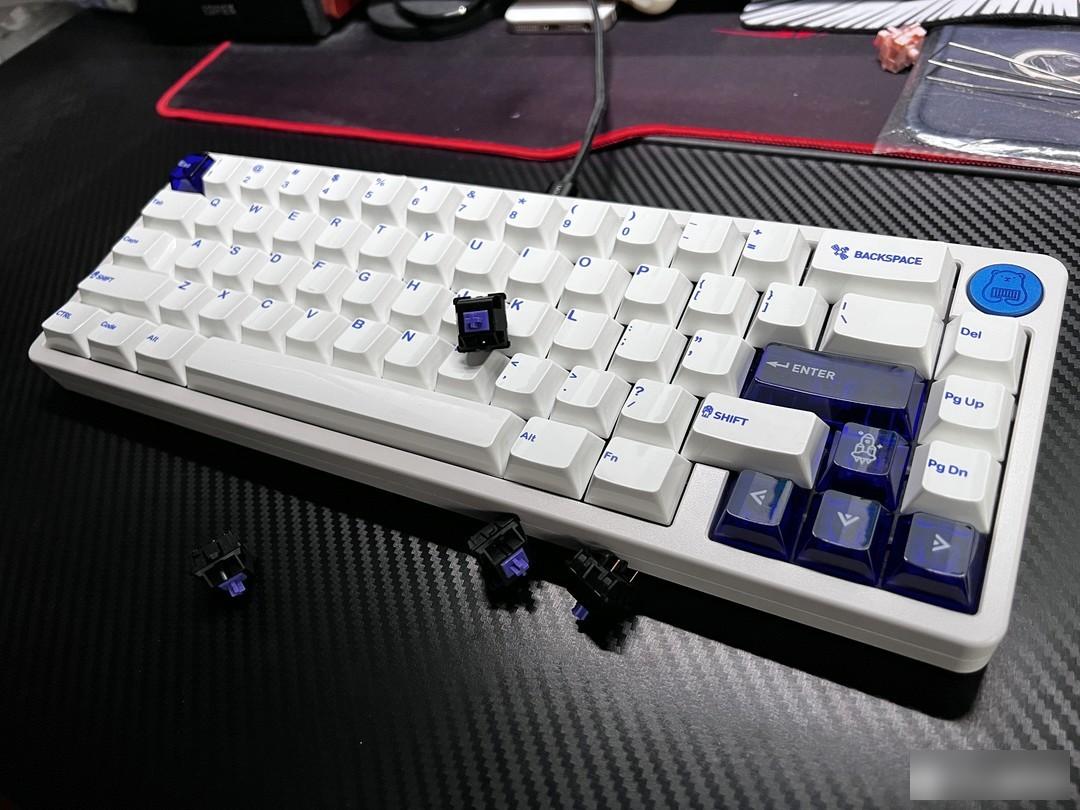
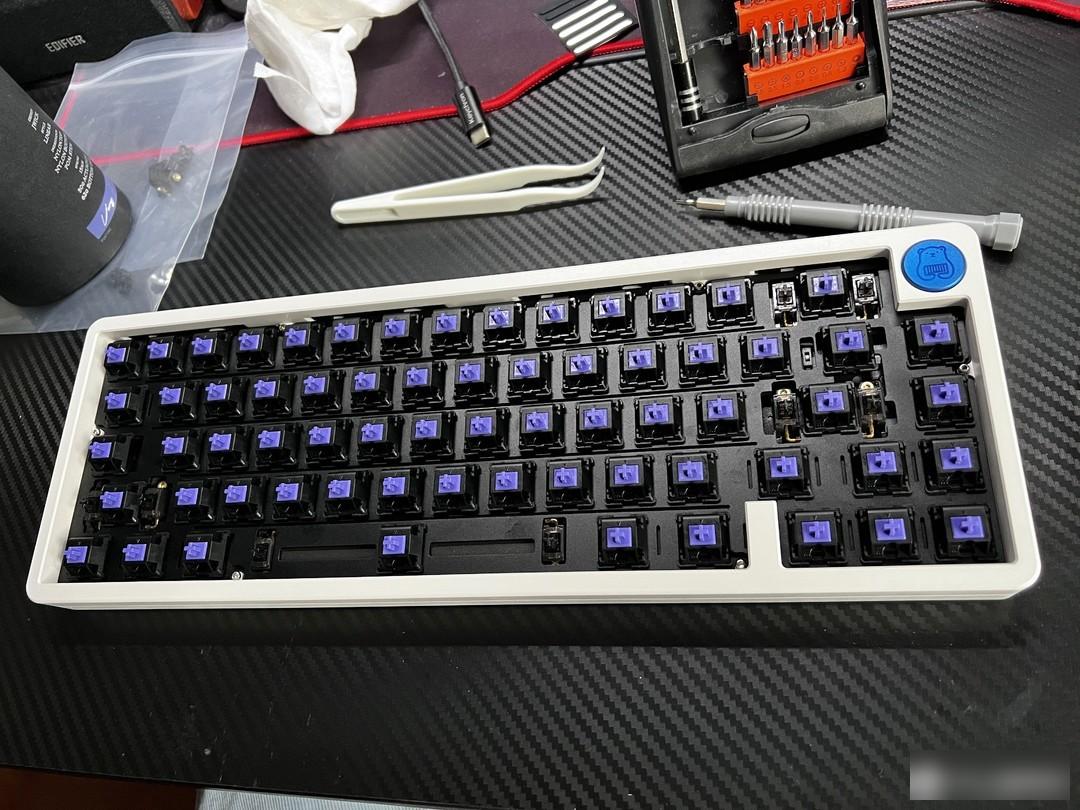 Liner installed
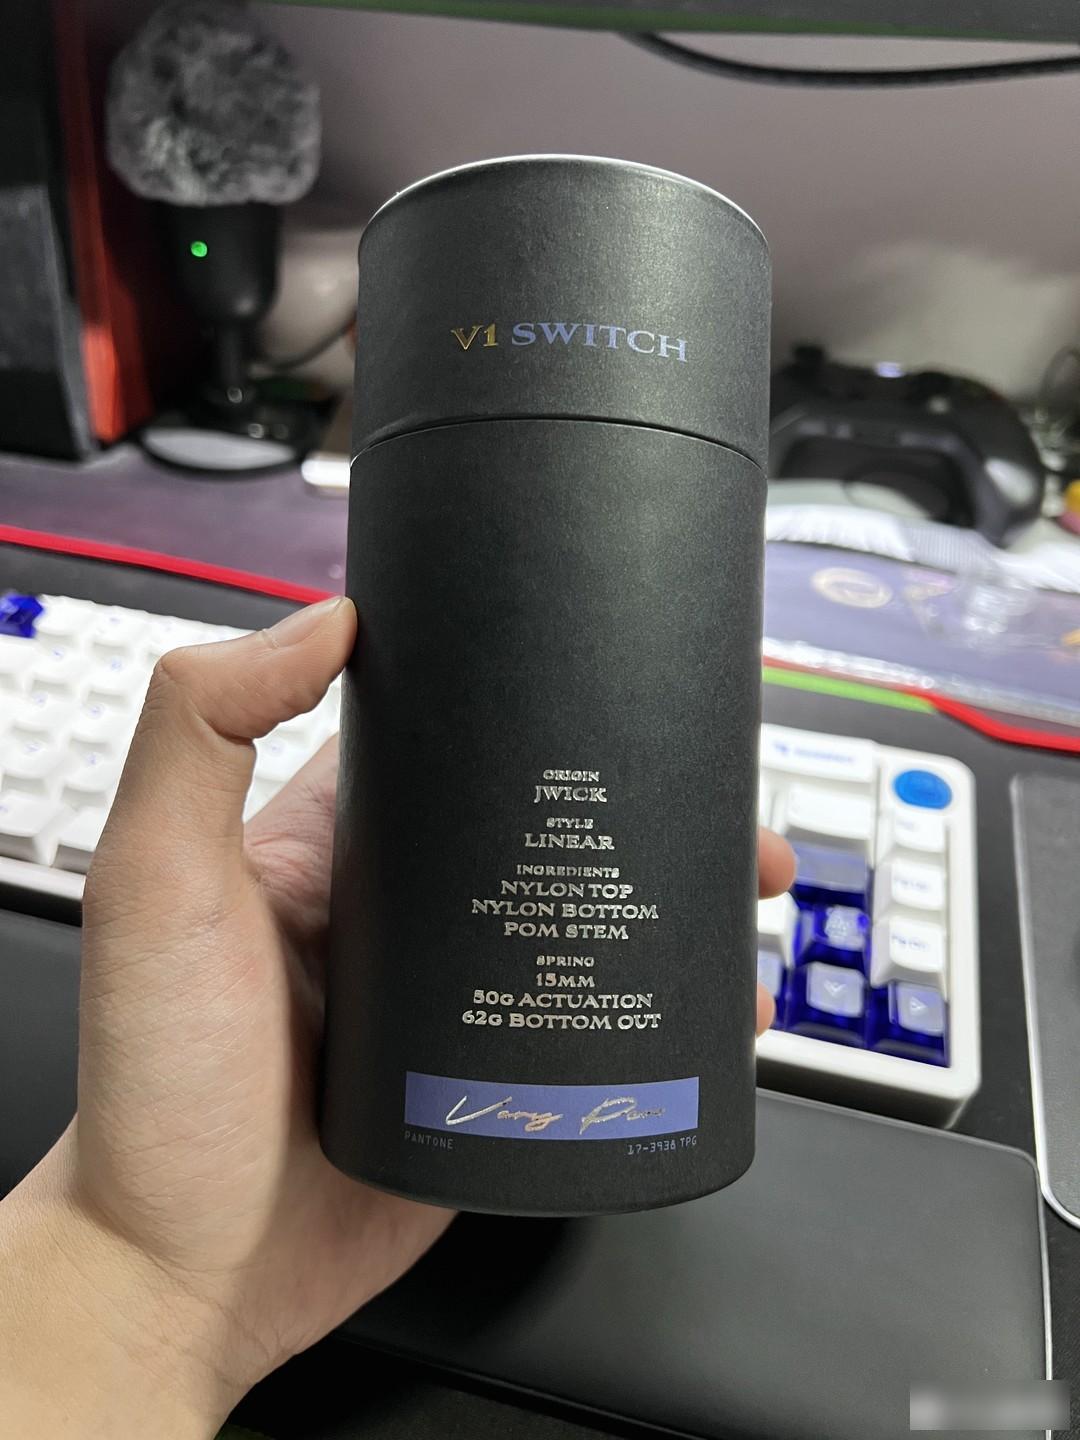
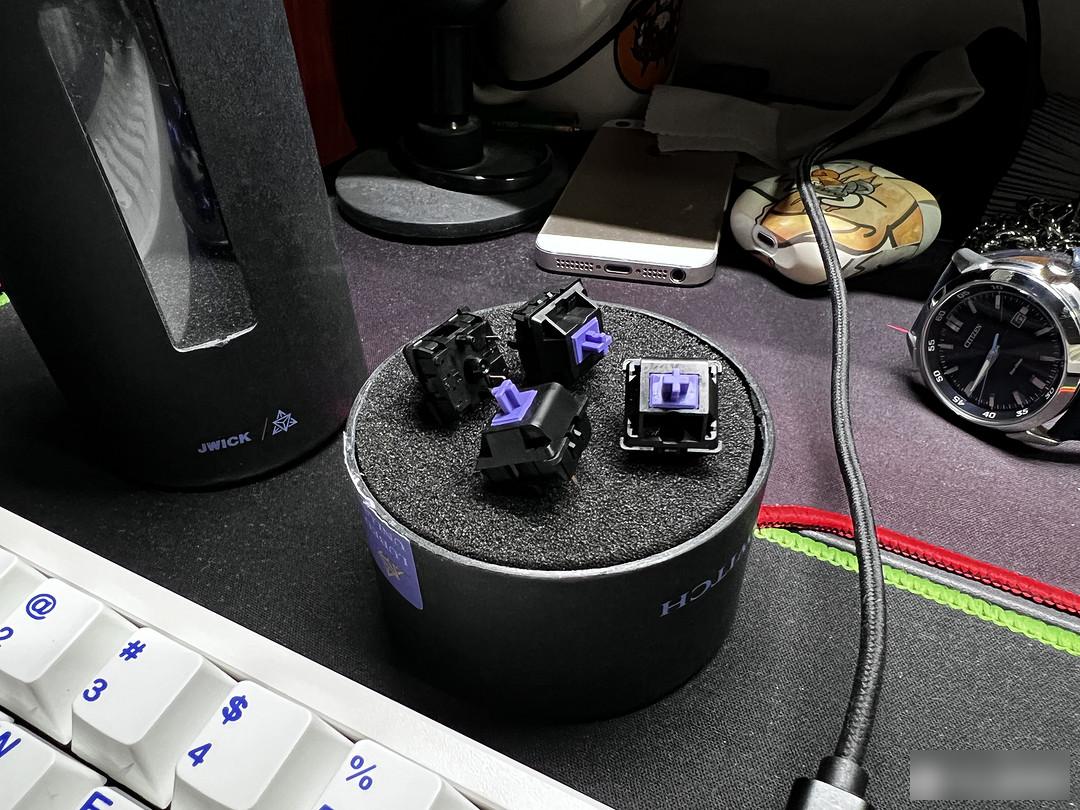
This assembly uses the V1 axis, which is very cost-effective. Interested friends can find out: Basic parameters Full stroke: 4.0±0.3mm Pre-stroke: 2.0±0.3mm Initial force: 35gf (min) Operating force: 50±10gf Bottom force: 62±10gf Spring: 15mm stainless steel non-gold-plated spring
 Final form!
 come back
Because I chose a white kit + blue mirror PVD counterweight combination, I also wanted to maintain unity on the keycaps, so I chose this set of flashback keycaps. As you can see, this set of keycaps is not PBT. Yes, but the feel is the same as its appearance, very similar to ceramics, very moist, I like it very much.
I chose the original factory height that I like the most for the keycaps, and the shaft body is also a shaft body that feels very good in feel and sound when I get started recently. I am very satisfied with the overall use of both the feel and the sound. The slotted PCB and positioning board are very important The output of the sound still has a great influence, in a word, it is too HiFi spicy!
Life goes round and round, year after year, and I always repeat this over and over again. I seem to have lost my enthusiasm for life; I saw a very beautiful keyboard by chance, and only after I learned about it did I know that it is different from keyboards of various brands. There is also the niche field of customization. At the beginning, the attitude towards customized keyboards was also at a respectful distance. After all↓
But human beings are never-ending in their pursuit of better things. I happened to see a blogger who played with customization say in response to audience comments: In fact, you can treat a customized keyboard as a functional keyboard. Sexy figures are just fine, they look good and are easy to use! After seeing this sentence, I realized that whether a thing is good or not, you have to try it yourself before you can draw a personal conclusion. Since you can’t avoid relying on this guy in your hand to eat, why not join in! In such an ordinary day, why not add some fun to your life~
So what's going to happen in the days to come? Actually I don't know either (laughs)

Thank you for watching, see you next time!
Factory Adress: No.11,FengpingRoad