Dismantling Part 7: Dismantling the 2.4g palm-sized mini keyboard
Dismantling a mini keyboard, the mini keyboard I bought is a dry battery version, but when I took it, it had a USB port that should be used for charging to open the battery compartment, but there was no soldering contact for the rechargeable battery.
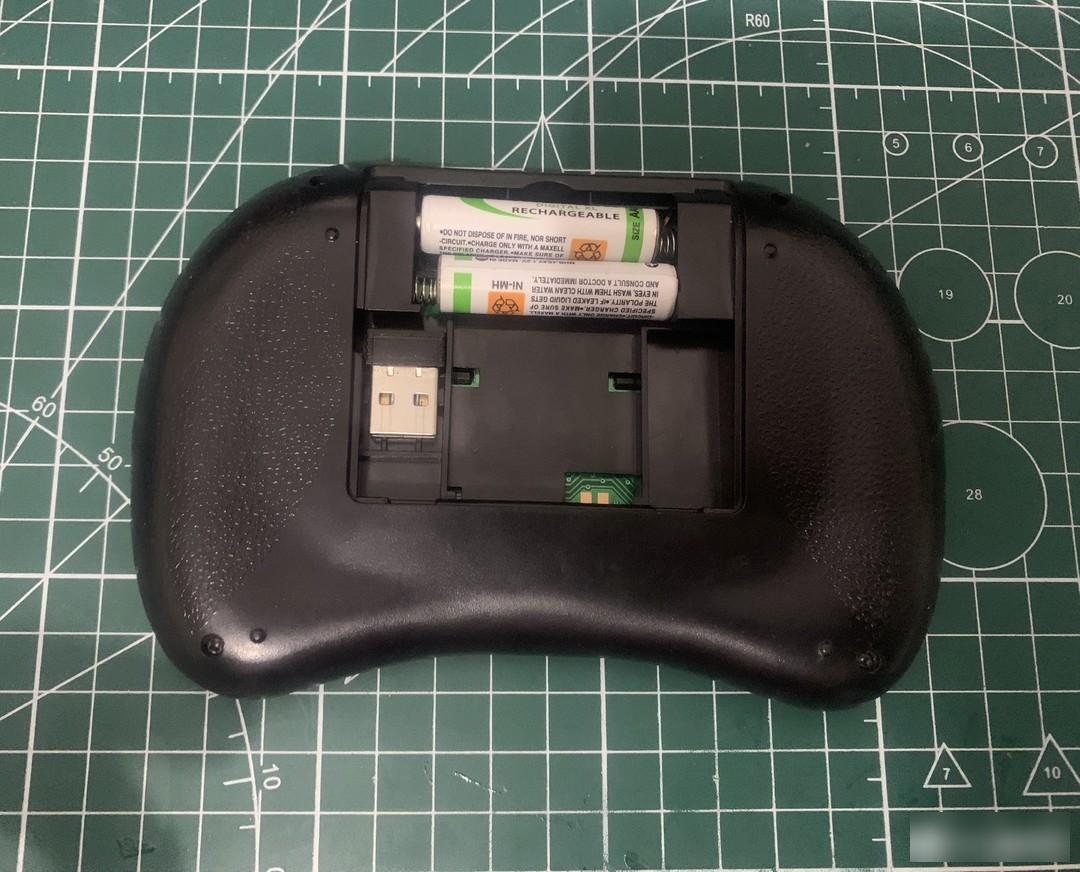
There is a very clever design in the battery compartment, that is, there is a place to put the 2.4G receiver.
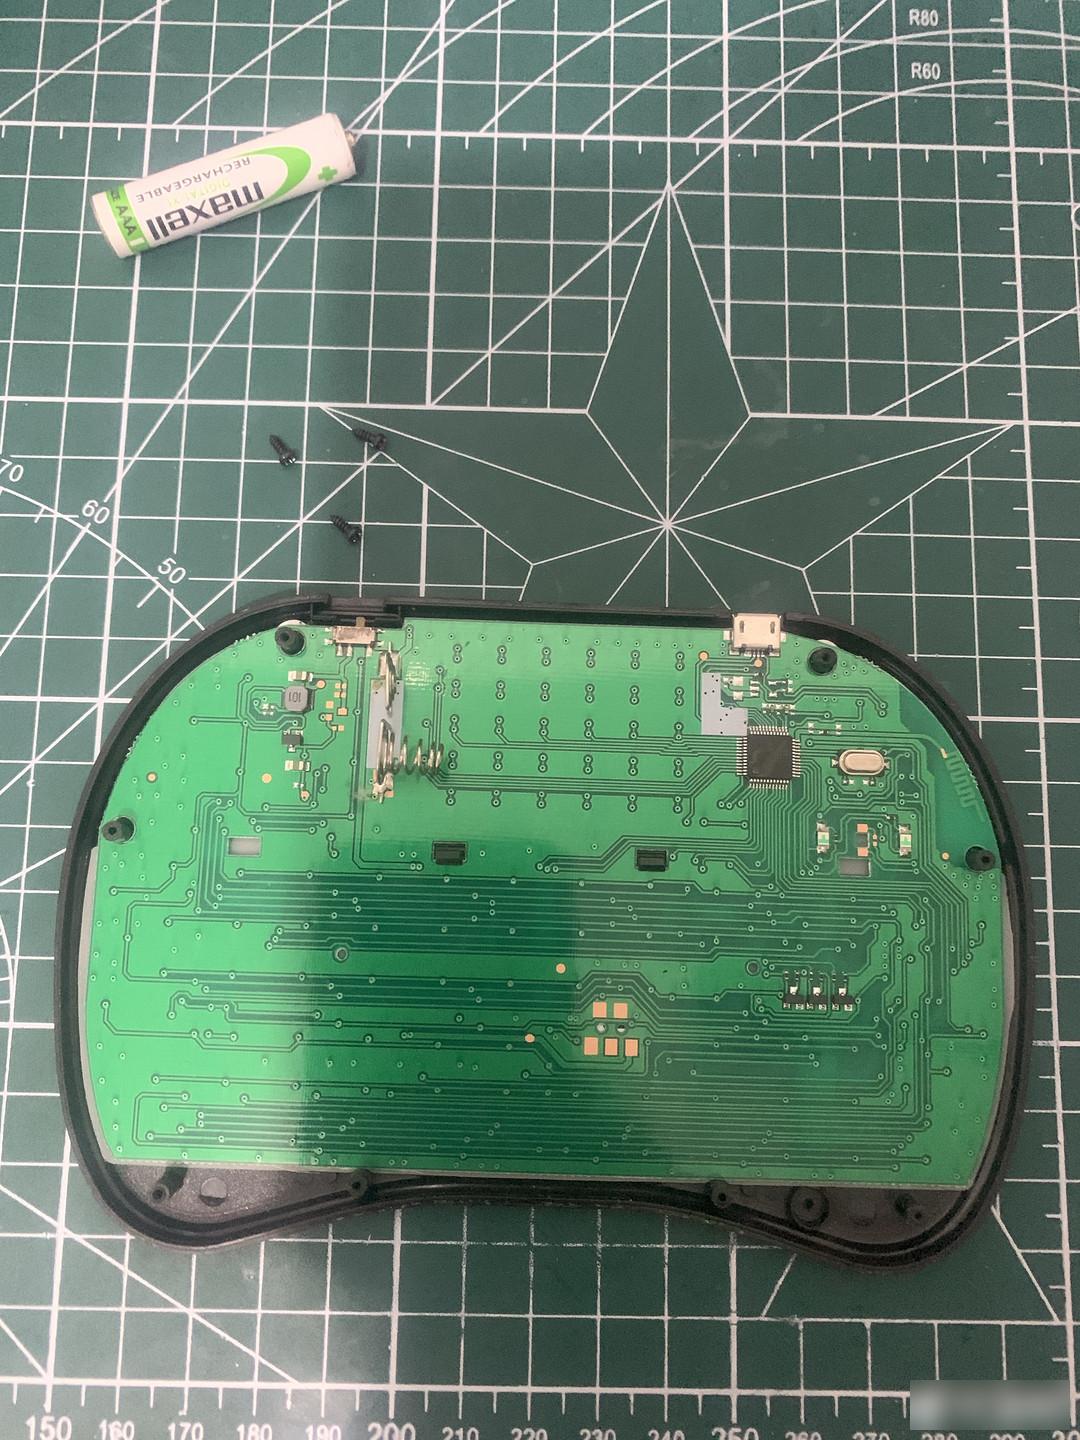
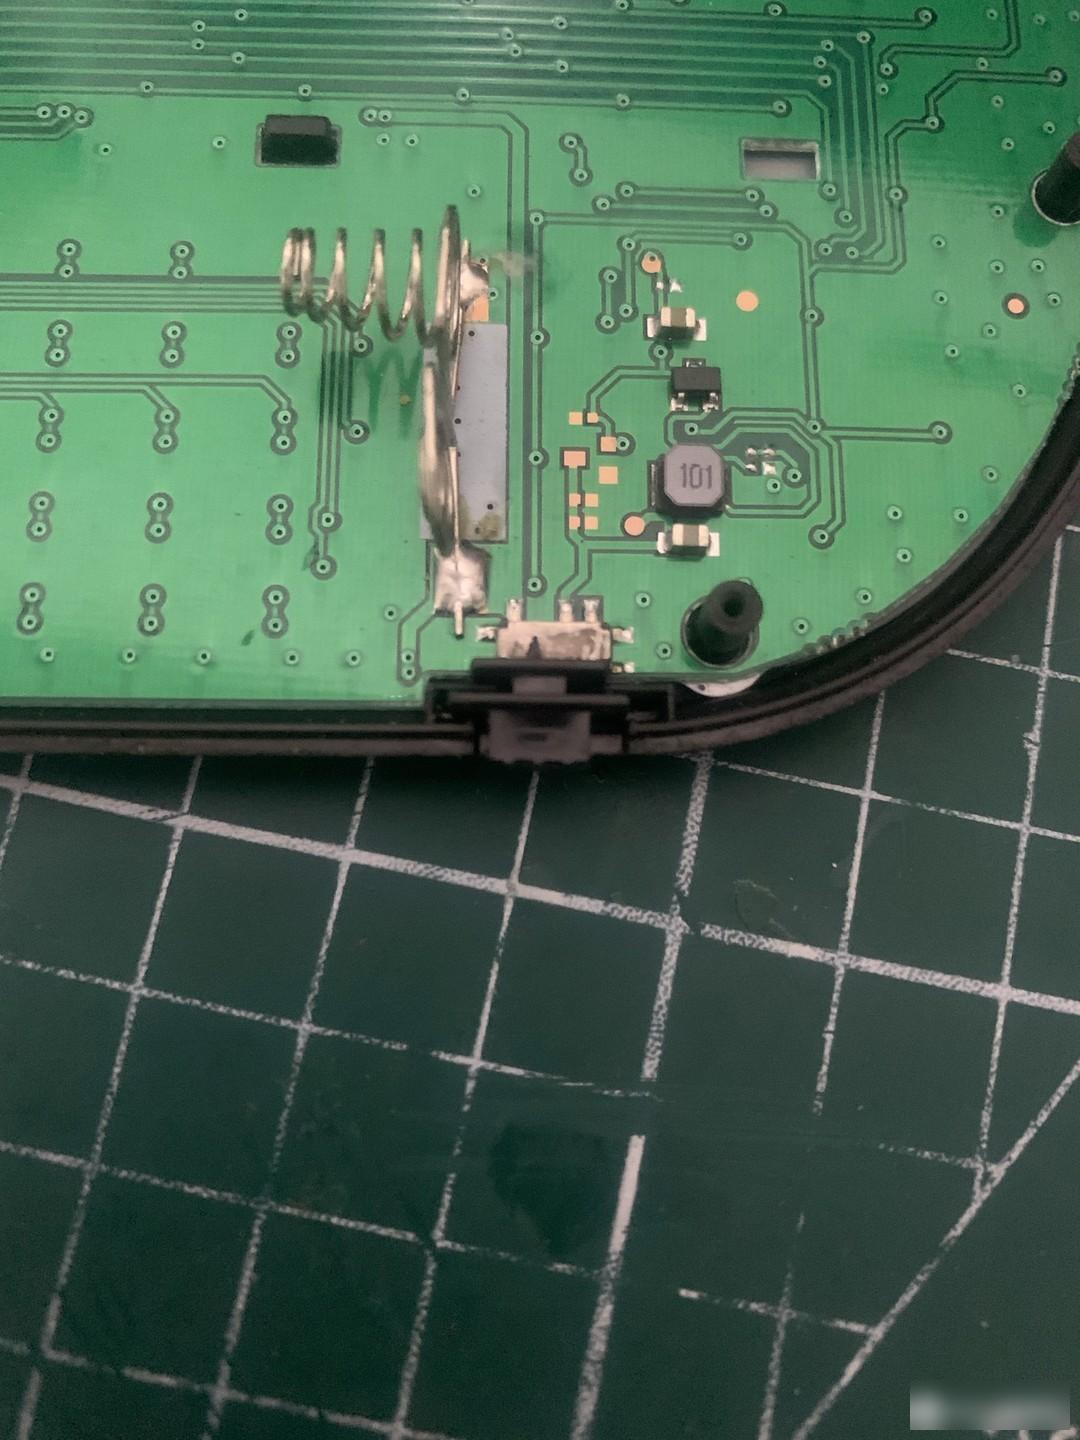
Unscrew the four screws and you can see the main board inside. Sure enough, there are rechargeable battery contacts, but they are not soldered.
Gently push the two buckles to remove the motherboard.
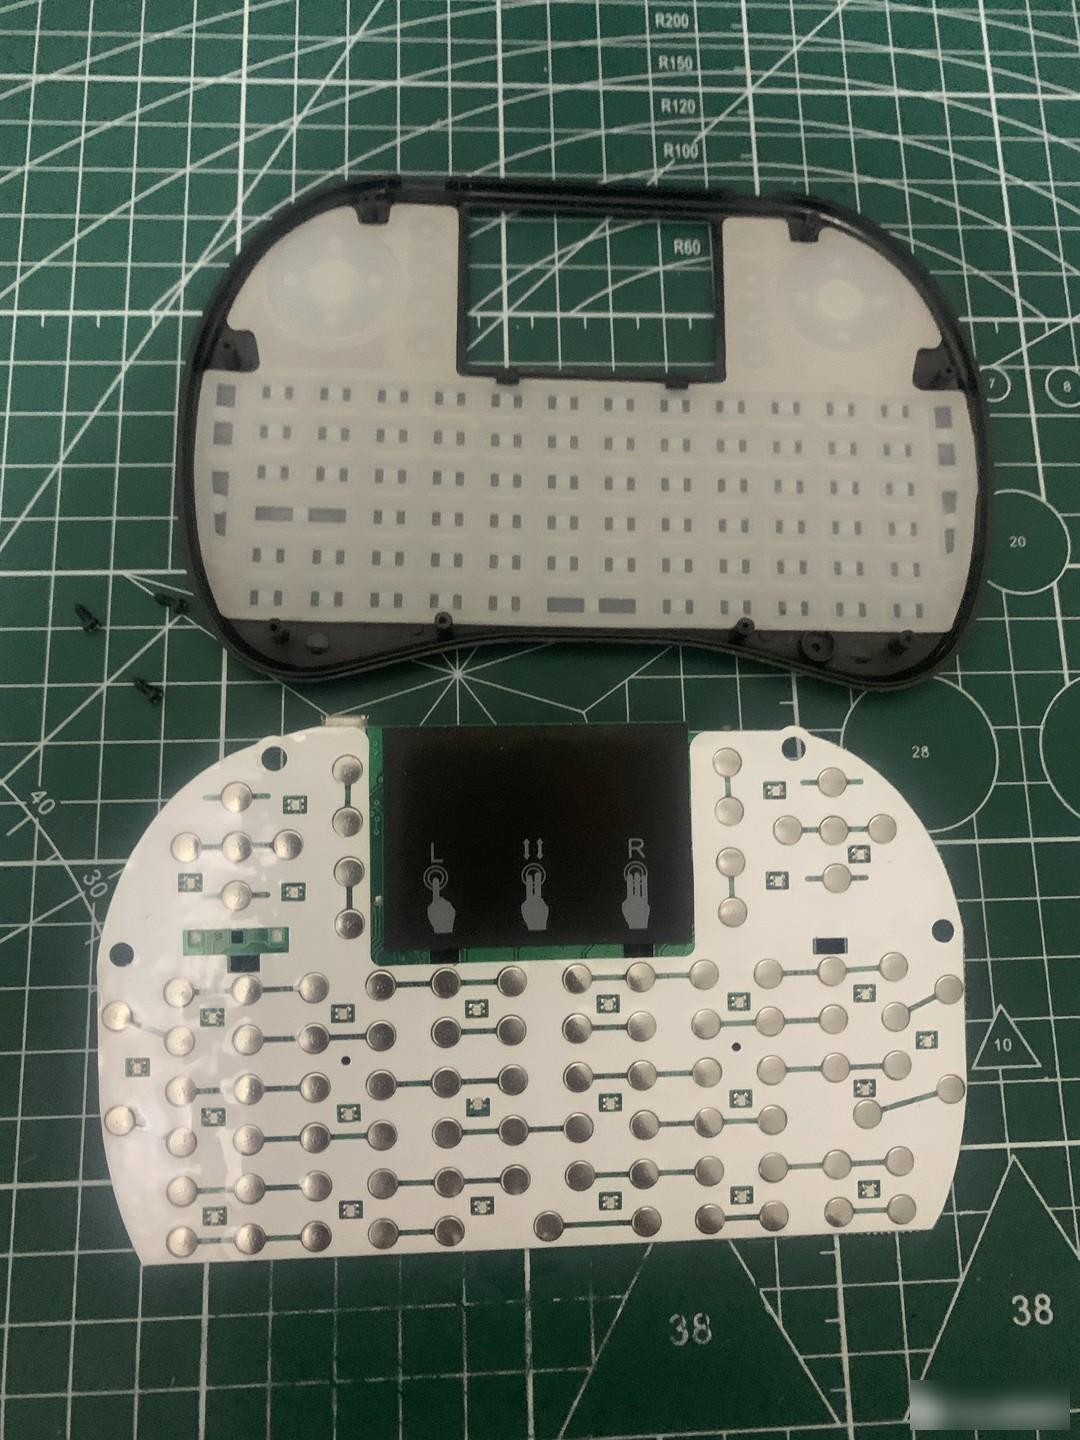
The white ones are the LED lights, and the colors are red, blue, and green.
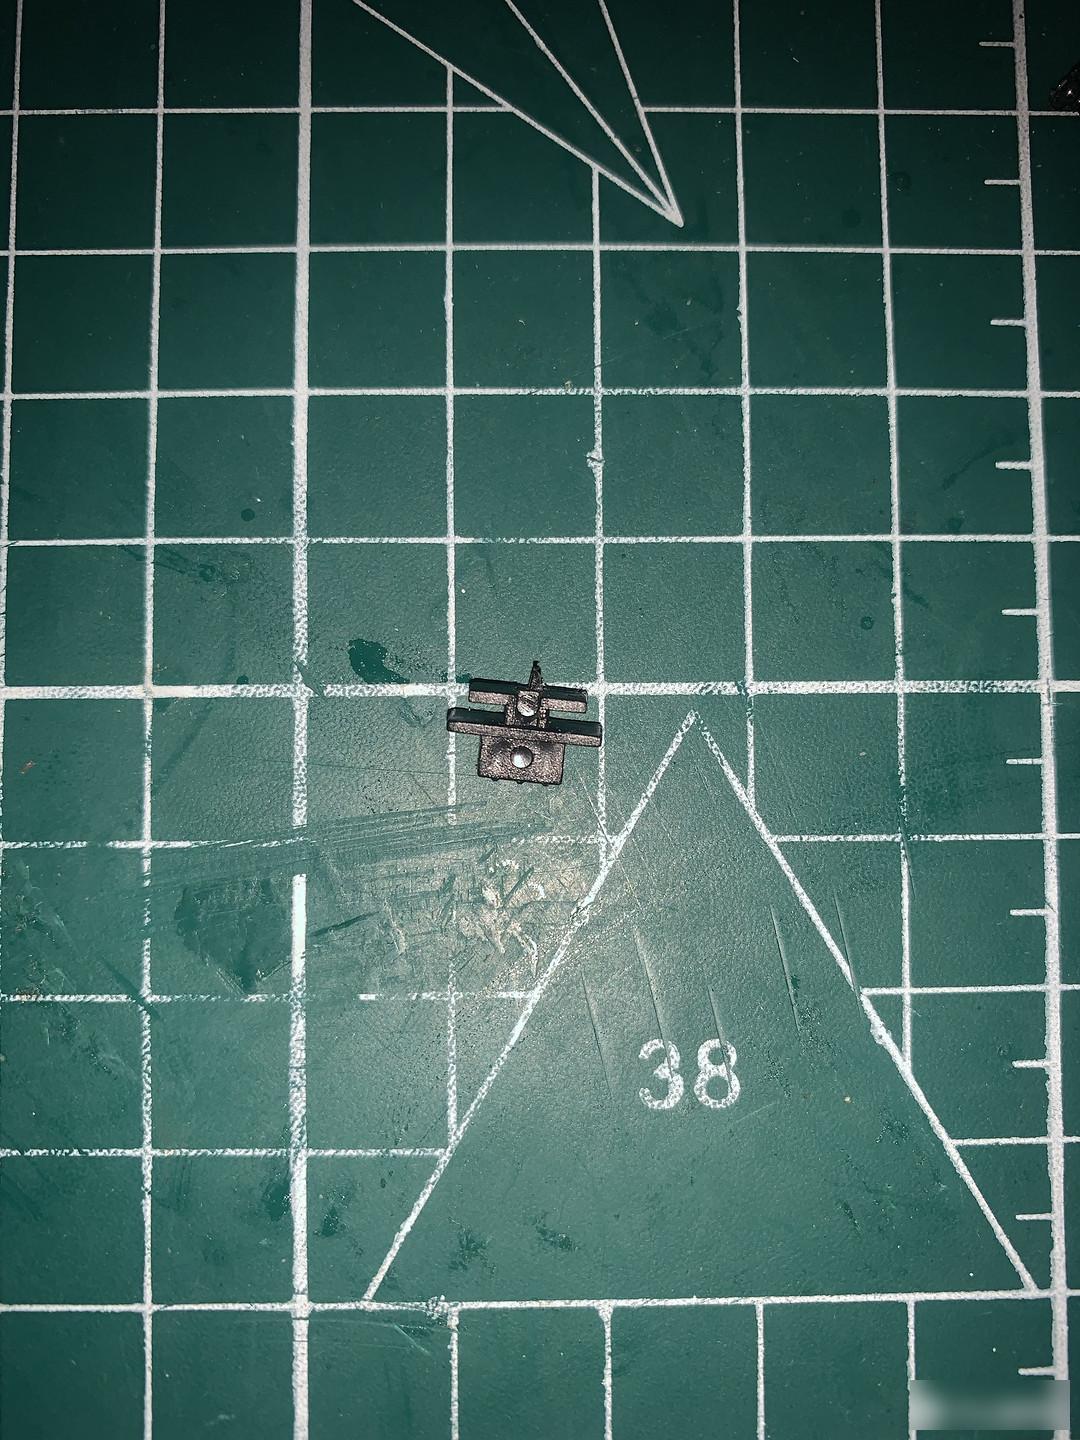
Be sure to pay attention to this switch when installing. It has grooves, so it must be correct. (Be sure to pay attention to this switch when installing, don't forget it, I just forgot this switch when I installed it for the first time, and then uninstalled it again)
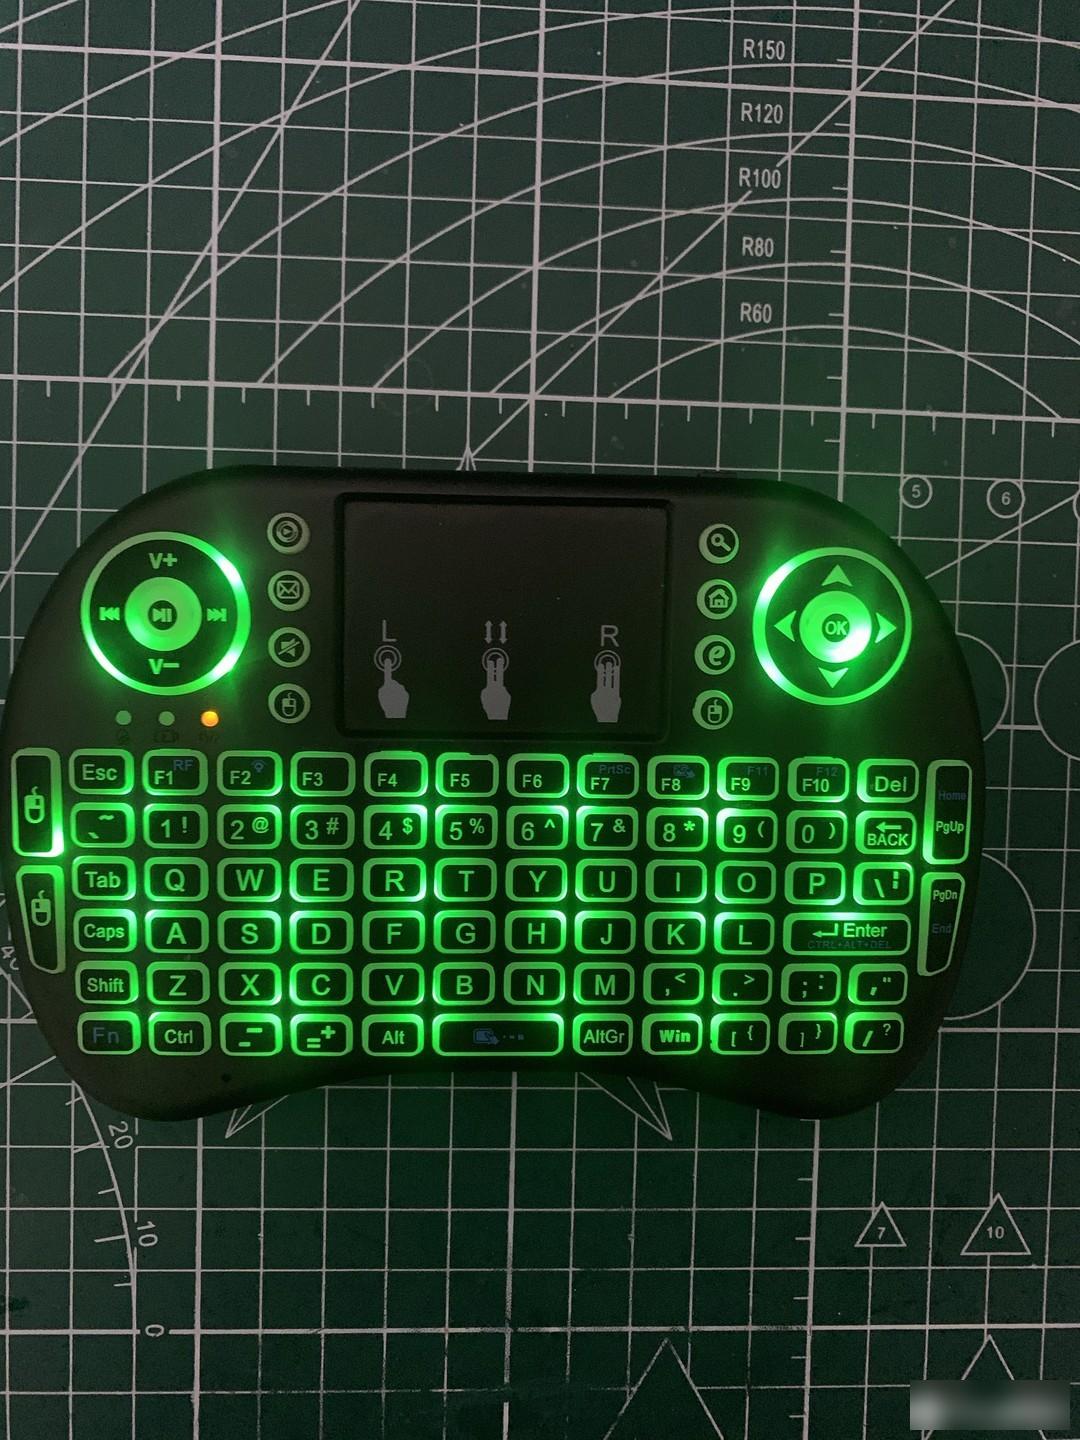
This mini keyboard can be connected to most digital products through 2.4G wireless connection. The usage scenarios are very extensive, it integrates mouse buttons and mouse touchpad. It is very easy to use for debugging, it is very small, and it only uses dry batteries for power supply and has strong compatibility with 2.4G.
Factory Adress: No.11,FengpingRoad