Everyday DIY Journey Chapter 13: It's completely free! ! ! A few simple steps to teach you to make your own shaft tester
Hello everyone, I am Tiantian.
In the past two years, all kinds of shafts have blown out, dazzling, as long as you play with mechanical keyboards, you will inevitably need a tester, and today, I plan to teach you how to No cost, easy to use , make an axle tester of your own.
First come to the actual picture.
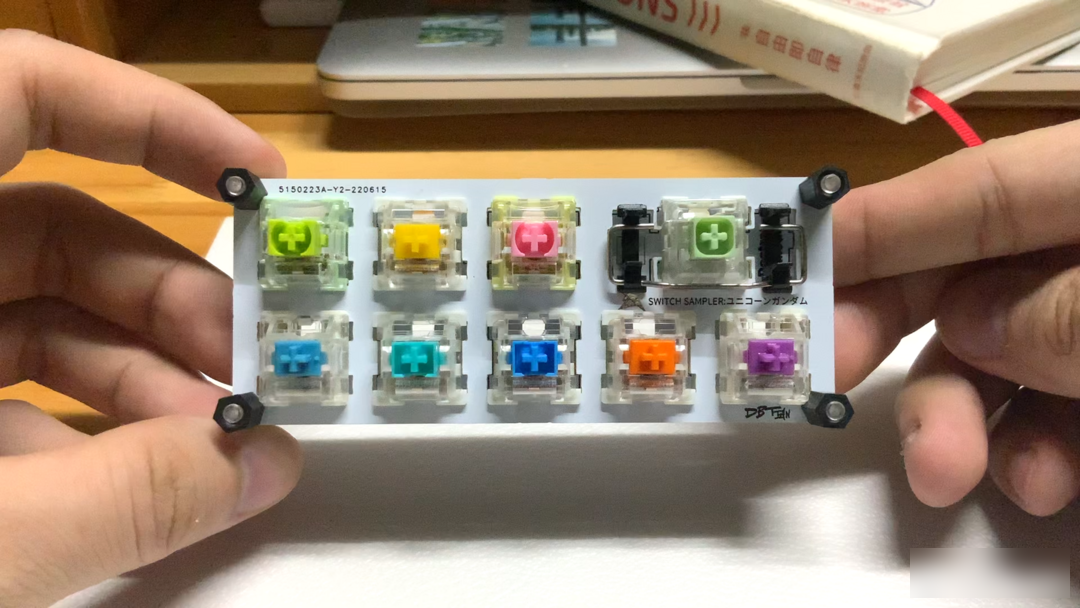
How about it, isn't it awesome.
So let's get started.
Let me talk about the characteristics of my shaft tester first:
for free , not a penny, not postage.
super simple , can be done by anyone.
Most shaft testers on the market just simulate the positioning board, but I drew the positioning board and pcb board, so that More in line with the structural design of conventional keyboards 。
 PCB
PCB
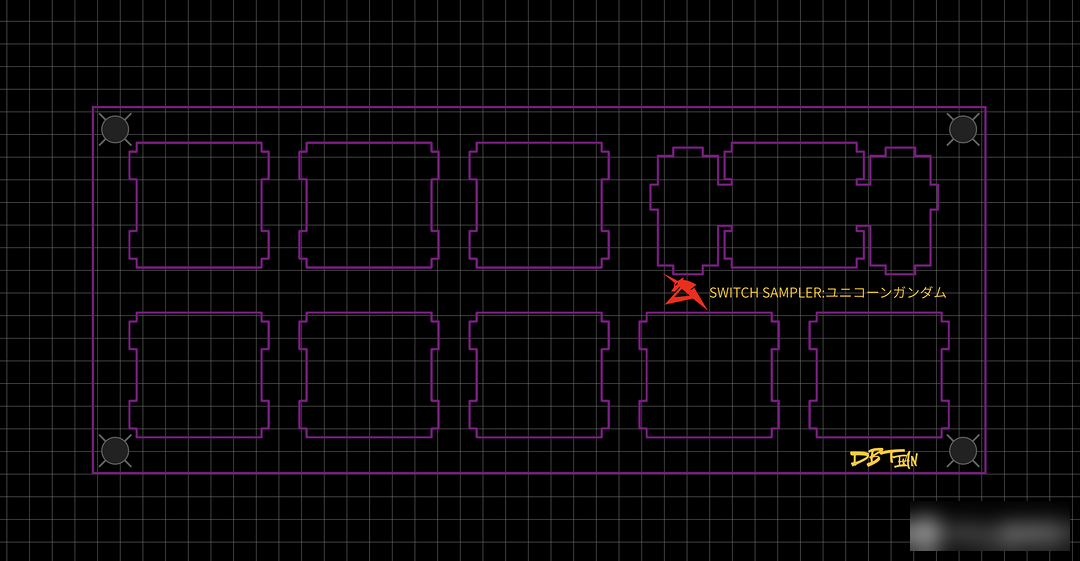 Positioning plate
 Composite board
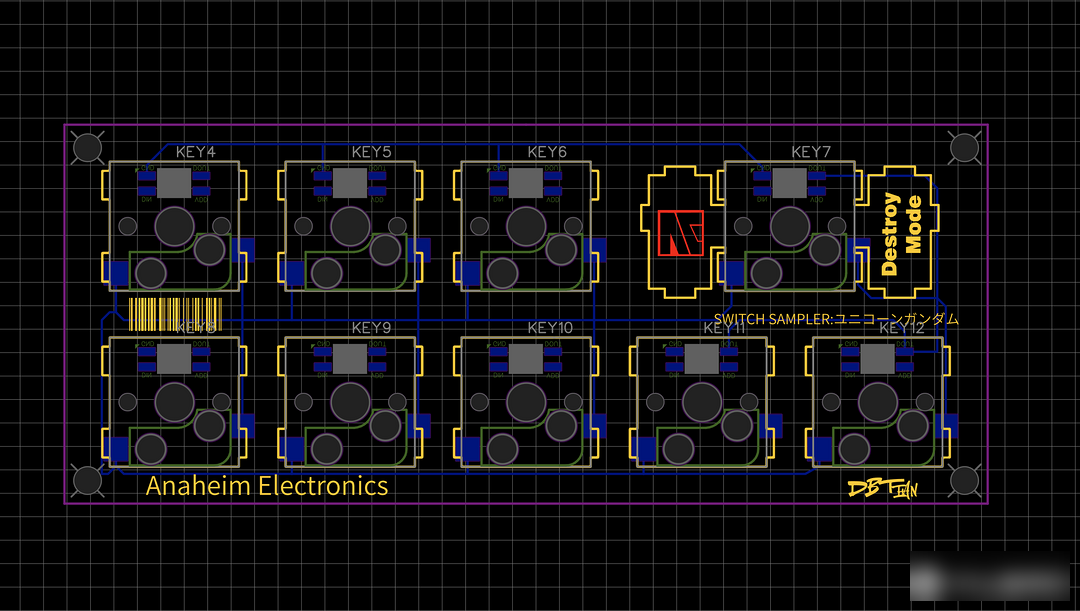
I drew a total of three circuit diagrams.
One is the ultimate free whoring version, 10x10 is full of paintings, the two are put together, and a lot of magnetic control lights and touch lights of the pill model are plugged in, and finally the board is successful for 0 yuan, oh yeah!
Magnetron Lamp: [Homemade Tools] Model Magnetron Lamp Making Tutorial with a single cost of less than 1 yuan_哔哩哔哩_bilibili
Touch Lamp: [Homemade Tools] Miniature Touch Switches for Homemade Models_哔哩哔哩_bilibili
If you use this, it will save space, but the difficulty is that you have to cut the PCB by yourself after you get it.
The other two are separate pcb boards and positioning boards. jlc's free prostitution plan is twice a month, so if you use up both times, you can use this hahahaha, but the disadvantage is that it is a waste of free prostitution opportunities.
So everyone chooses according to their needs.
If you don't make any changes to the picture, just download the gether file and go for free.
Just wait at home after prostitution for nothing, and you don’t need to do anything.
It will arrive in two days.
Because I used a 10x10 imposition for the first time, so I need to cut it first.
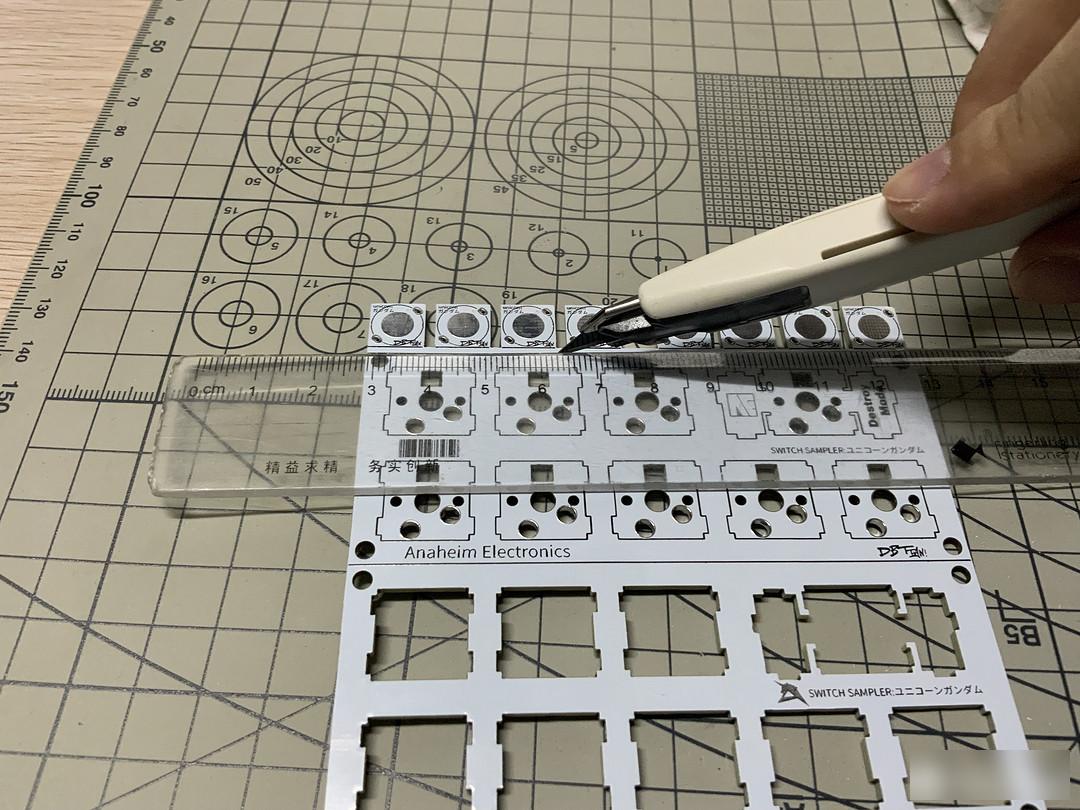
It turned out that it was too difficult to cut, and I was too lazy to do it, so I went to whoring for two more splits.
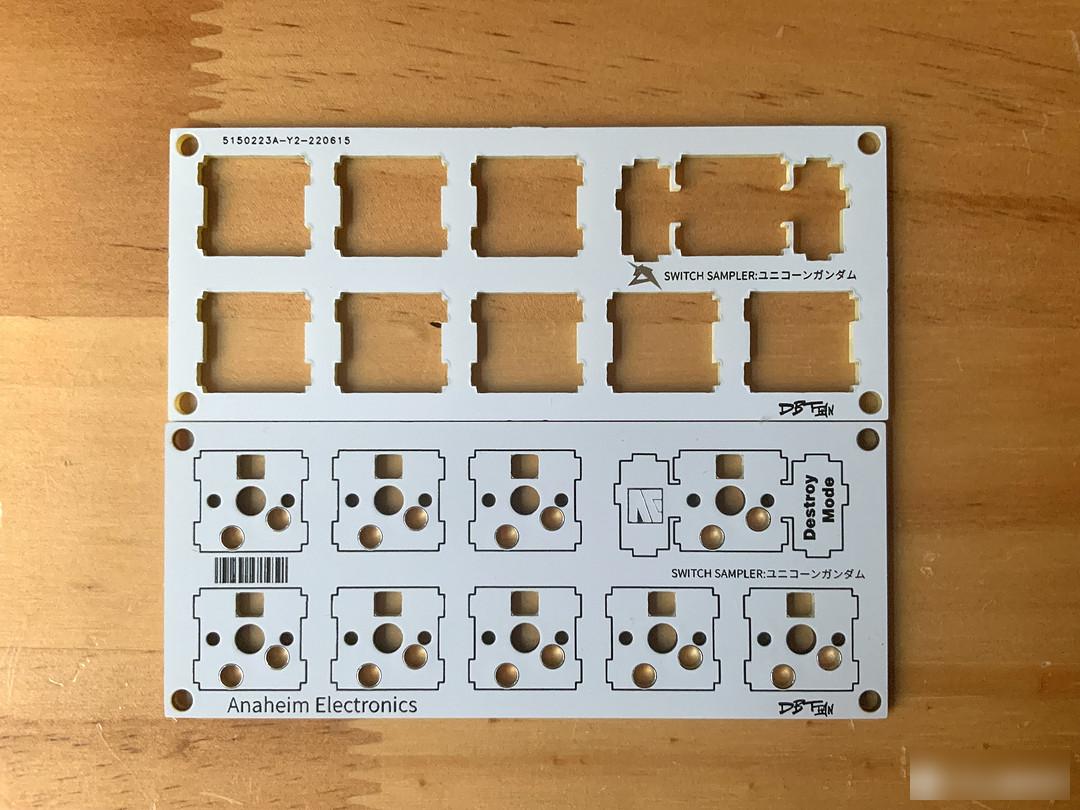
The two sheets look like this.
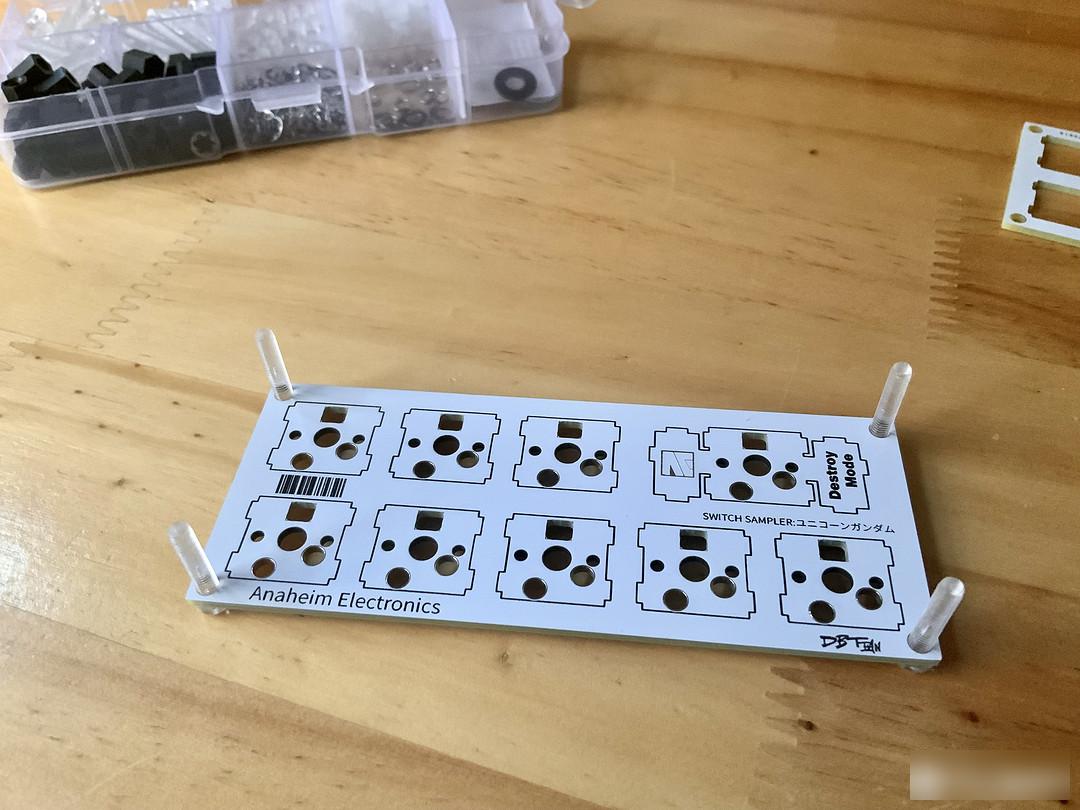
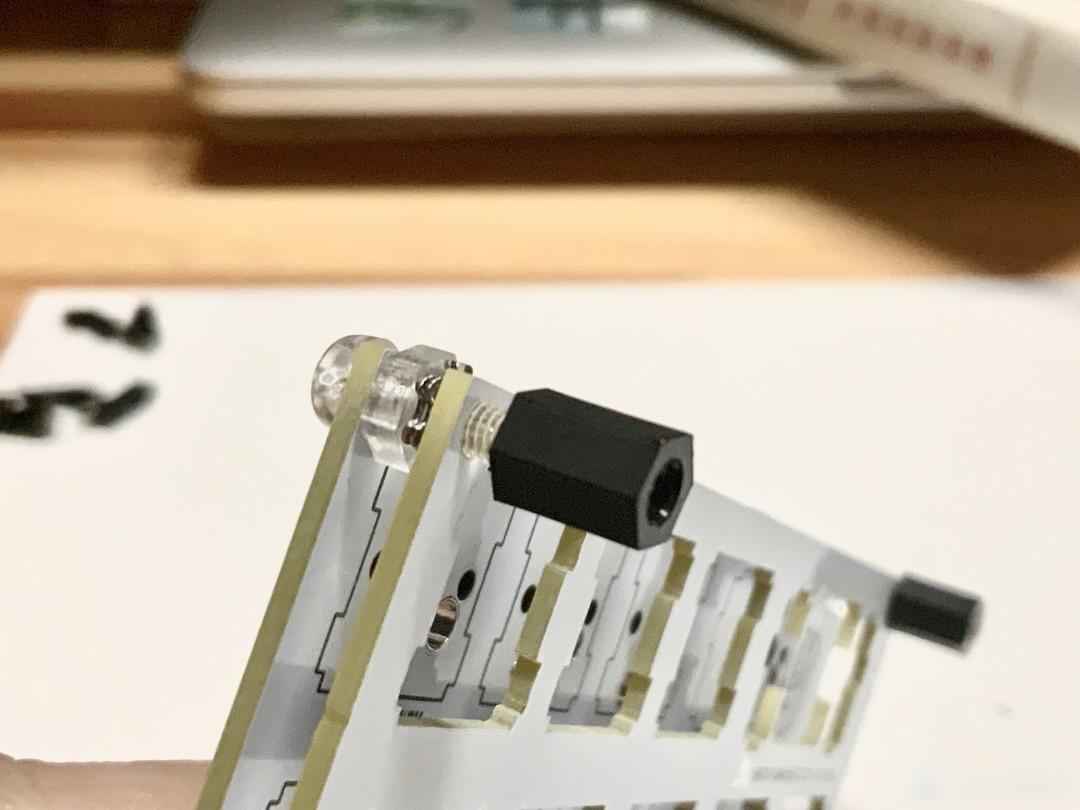
Put the screws first. Let me tell you here that the size of the screw holes can be changed when drawing a picture. I opened a 3mm hole here because my screws are M3. I don’t need to spend extra money to buy screws for this size hole.
So the size of the hole you want to open can be based on what screws you have in your home, and it doesn't have to be exactly the same as mine.
After the screws are set, screw on the nuts and add the washers.
On the one hand, this is to fix the Lu screw, and on the other hand, it is because there is a distance between the PCB of the keyboard and the positioning board.
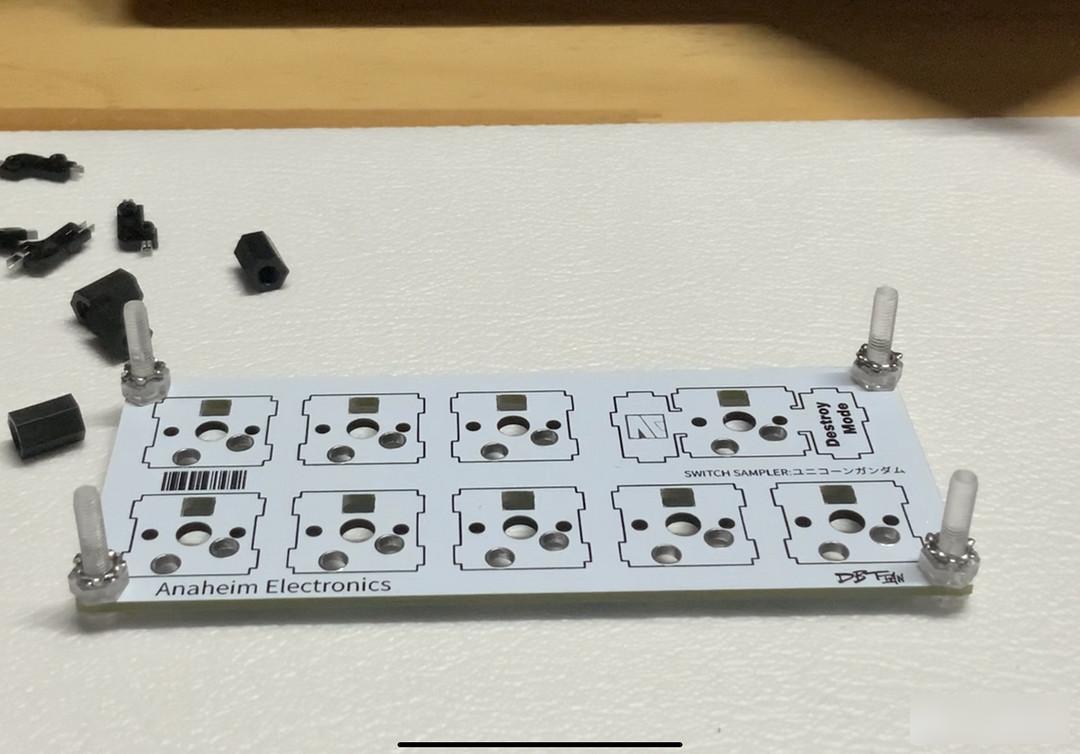
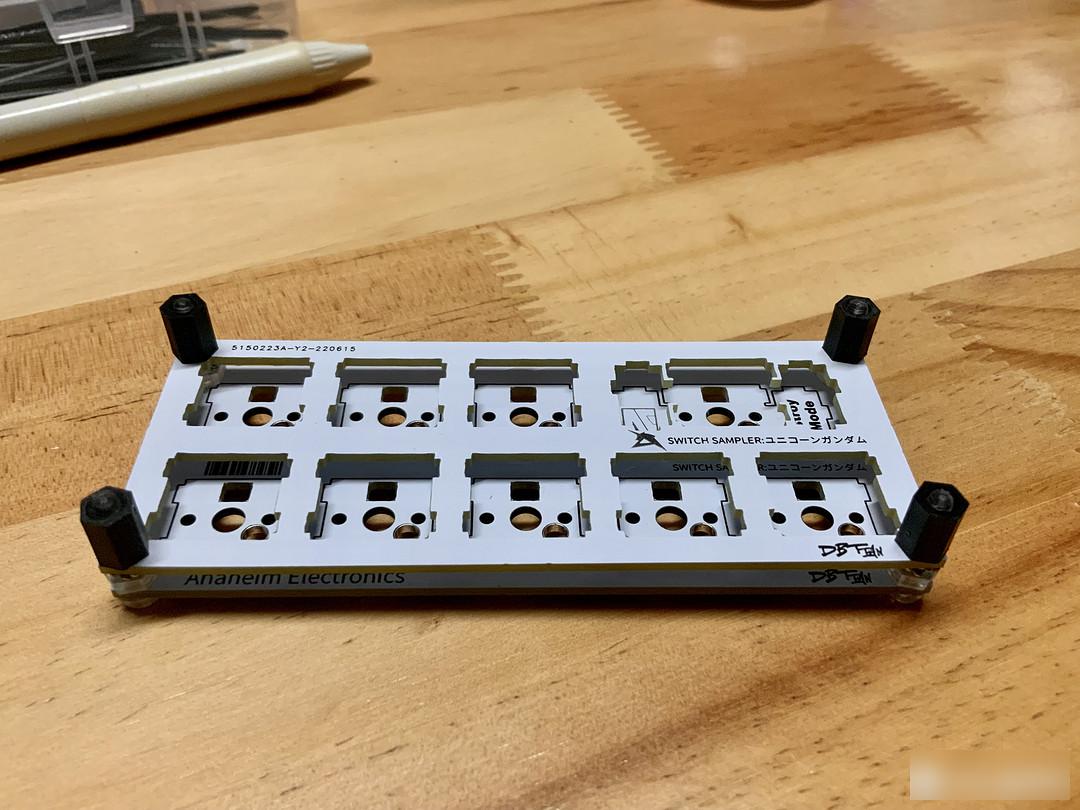
Cover the positioning plate.
Screw on the studs to hold it in place, and you're done! -
How about it, isn't it super simple.

It is also emphasized here that the specifications of the screws and nuts are M3, M2, and M1, and they are only for fixing.
Which one to use depends entirely on what you have left at home, and you don’t need to buy it specially, so it can be called completely free.
OK, let's take a look at the actual picture.
How about it, isn't it awesome.
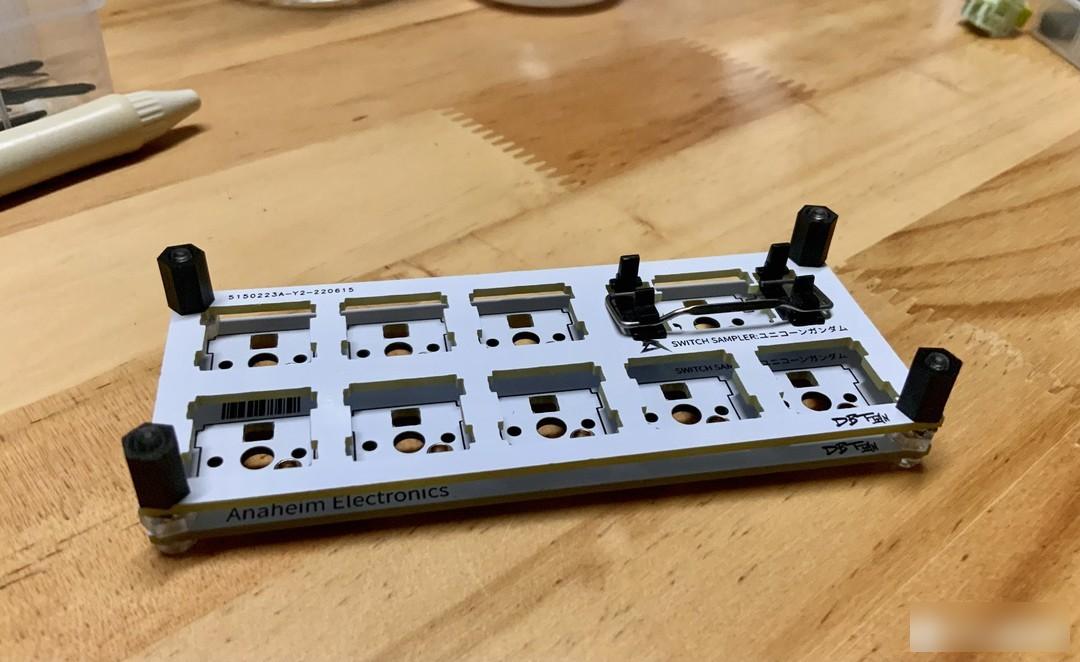 The balance pole will never be a slave! ! !
With the addition of a balance bar, this can also simulate the feel of a large key.
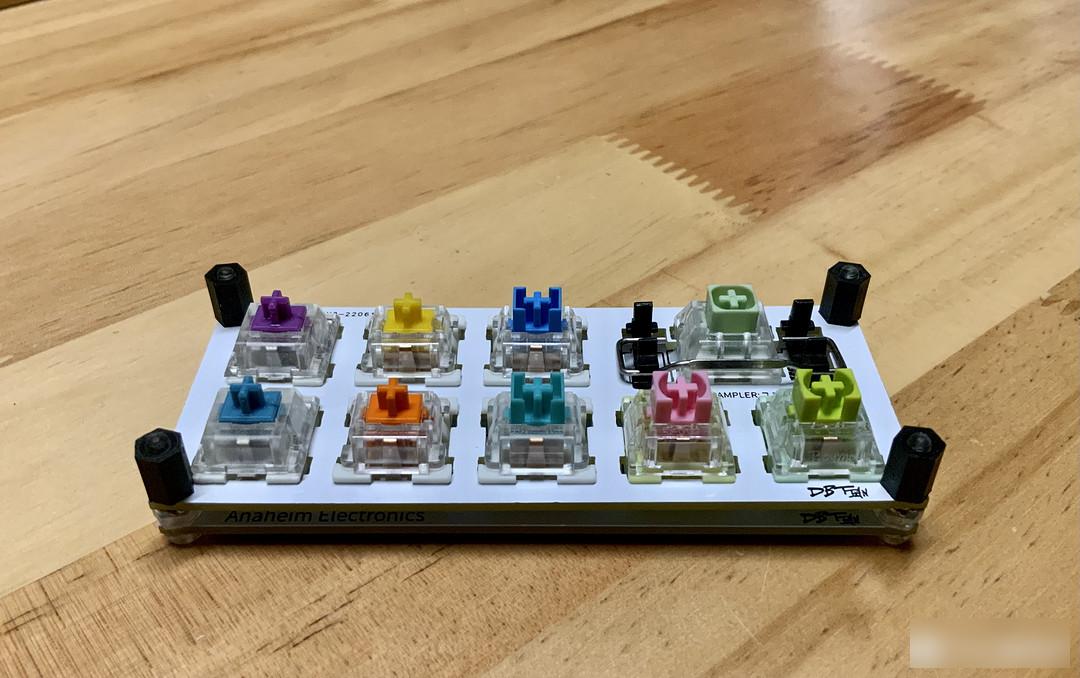
Plug the shaft up, invincible hahaha.
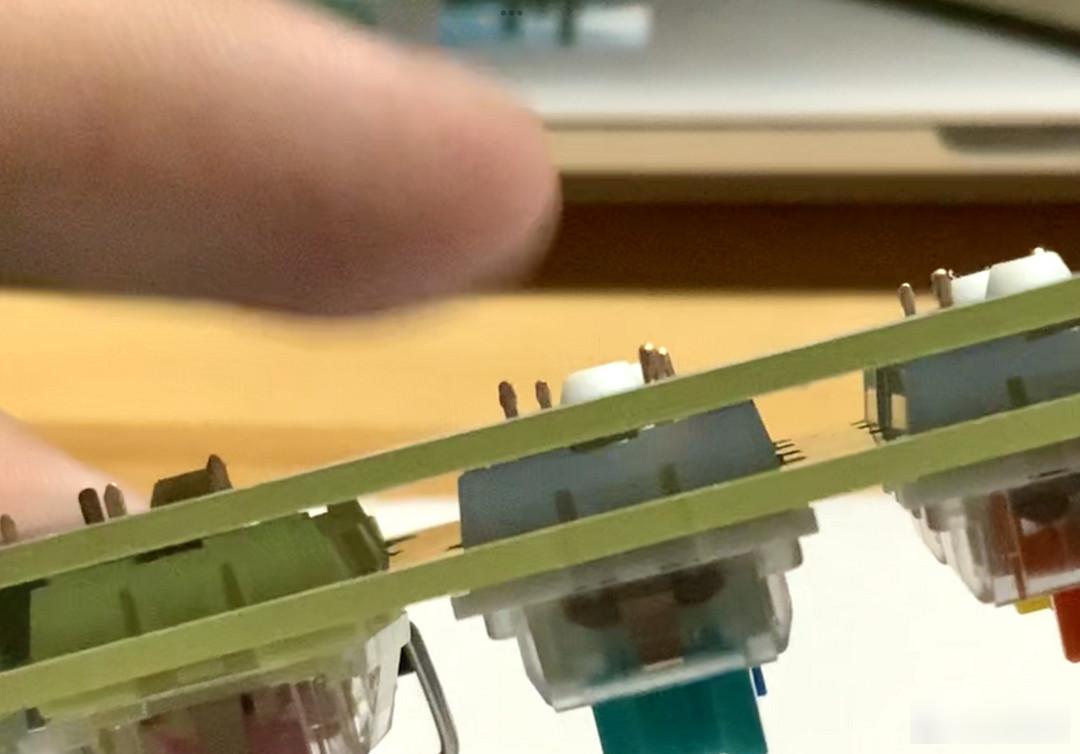
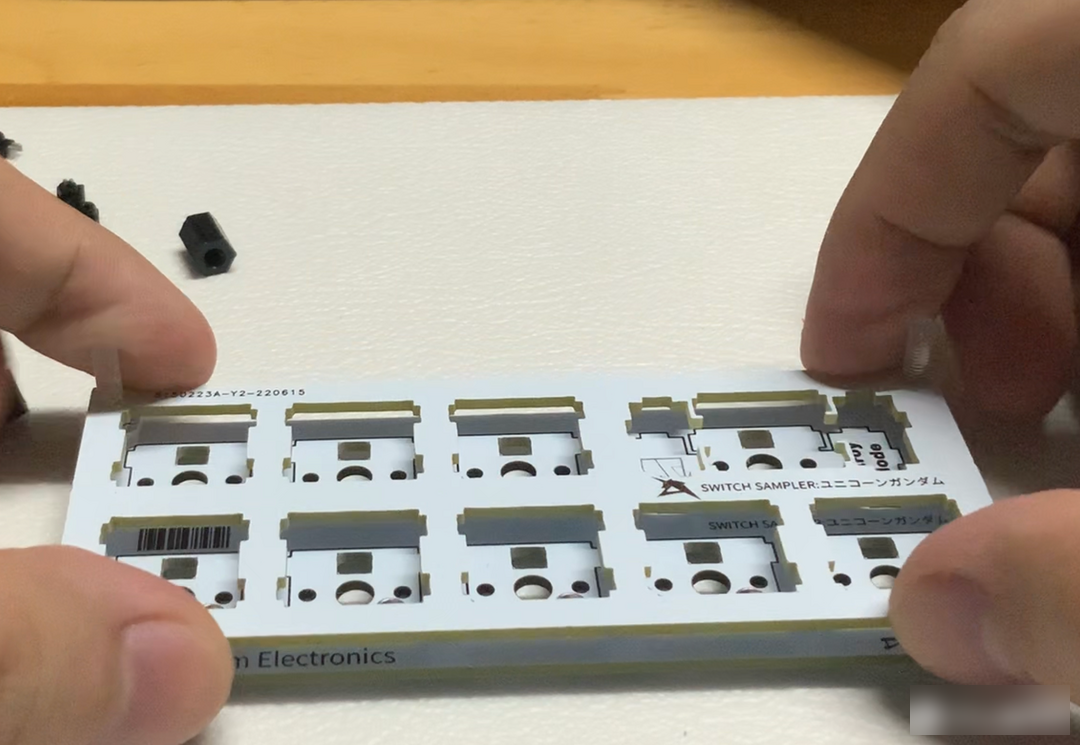
In addition, because on the back, the pins of the shaft protrude and are easy to scratch the hands, so I actually made a hot-swappable shaft seat package.
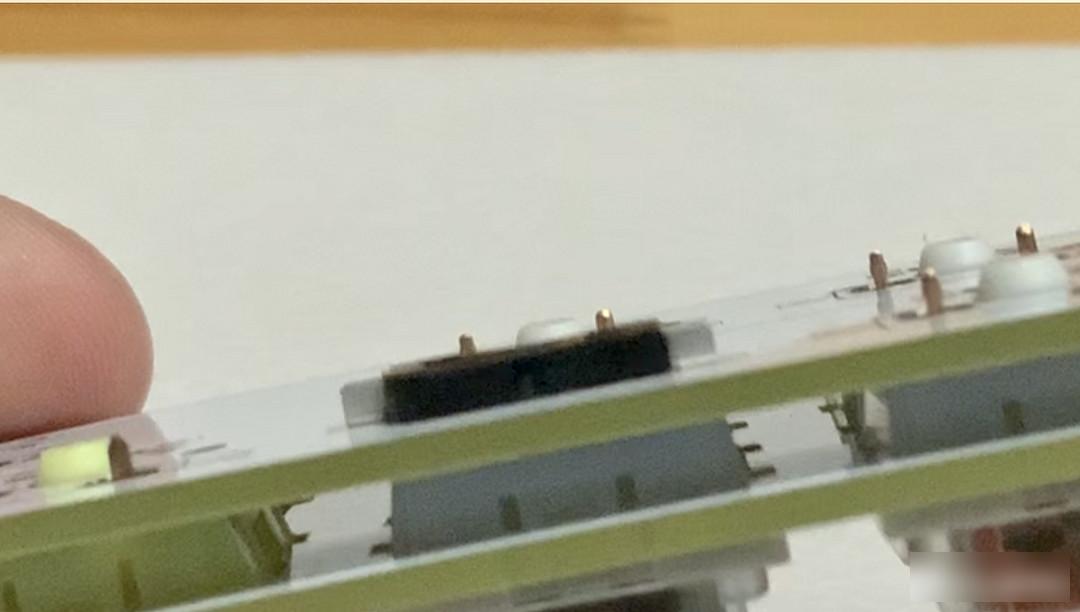
If you have a hot-swappable shaft seat, you can plug it in, so you don't have to worry about scratching your hands.
If you don’t have one, you don’t need to buy it specially. After all, it doesn’t affect the actual use. If you are afraid of scratches, sticky tape or something will do.
The article is over here. For those who can draw PCB diagrams, I suggest that you can change the pattern or something, and have something personalized (such as changing the purple PCB to the EVA first model style, or the pink color of the hunting board. Macho color, etc.) Hehehe.
If you don't know it at all, then follow the blueprint I gave, step by step, I promise you can succeed, after all, the difficulty is super low.
There are two points to note in the whole set of tutorials:
The size of the screw hole is random, depending on what screws you have at home.
The shaft seat can be installed or not at will, and the tape can also protect your hands and the pins of the shaft.
In short, such a free shaft tester is ready, and because Easy can prostitute five at a time, so
You can get five free shaft testers at once
, How about it, does it feel super profitable?

I am every day.
See you next time~.
Wait a minute, when I just wrote the article, I found out that since I have been prostituted again, why did I only draw two lines of shaft testers instead of a full 10x10?
According to the horizontal 10cm, 5 axes can be placed, and I can draw 5 columns.
In the end there can be 25 axes.
Forget it, I am a naive critic without a doubt. . .

Factory Adress: No.11,FengpingRoad