How can an ordinary mechanical keyboard be customized?
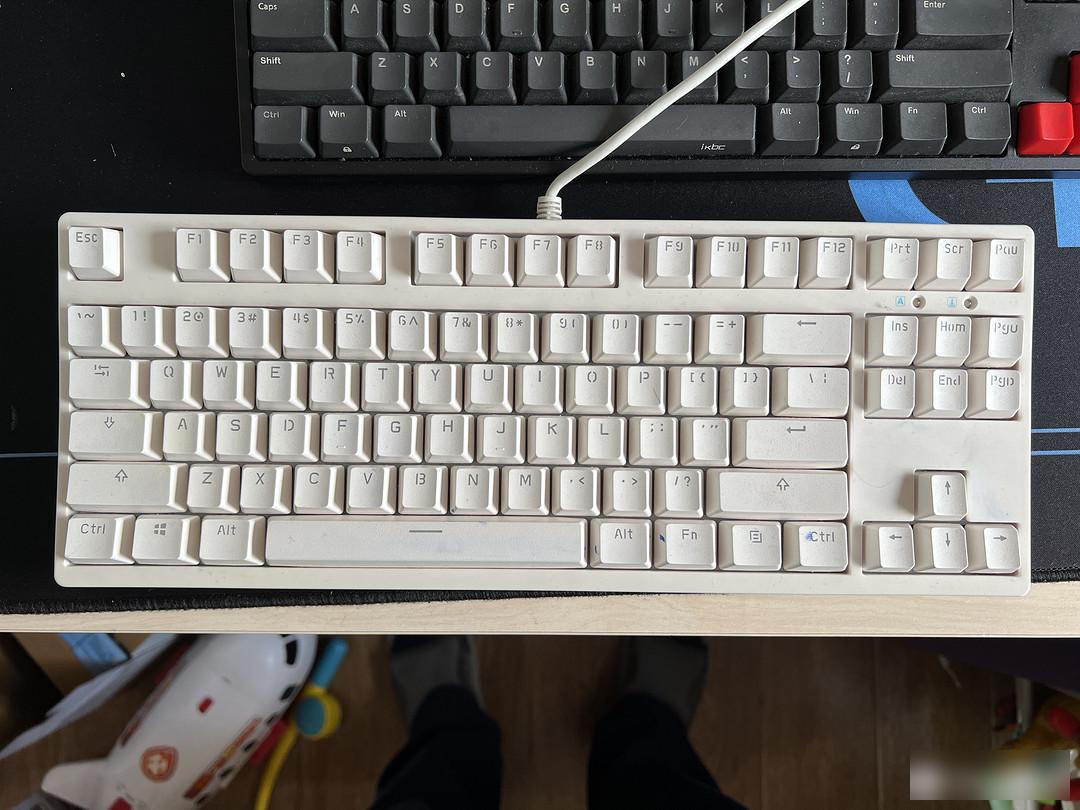
I bought a GANSS mechanical keyboard many years ago. After dismantling and washing it for two or three times, some keys became stuck and wobbled, and they were often triggered by mistake or the key functions were invalid. It would be a pity to throw it away. There is a problem with the button, but the rest of the buttons are good, so the idea of repairing it was born.
One less picture was taken here. At first, for the sake of simplicity, I simply wanted to remove the damaged button directly, then replace it with a new shaft, and reassemble it to complete!
After dismantling the first switch, another idea came up: because the original keyboard didn’t feel very good, the keys wobbled a lot, and the bottoming sound was more obvious when tapping. The most important reason is that the blue The sound of the shaft is very noisy, and it is basically only suitable for home use. It is not very suitable if you want to take it to the company for use, so I thought about replacing all the shafts!
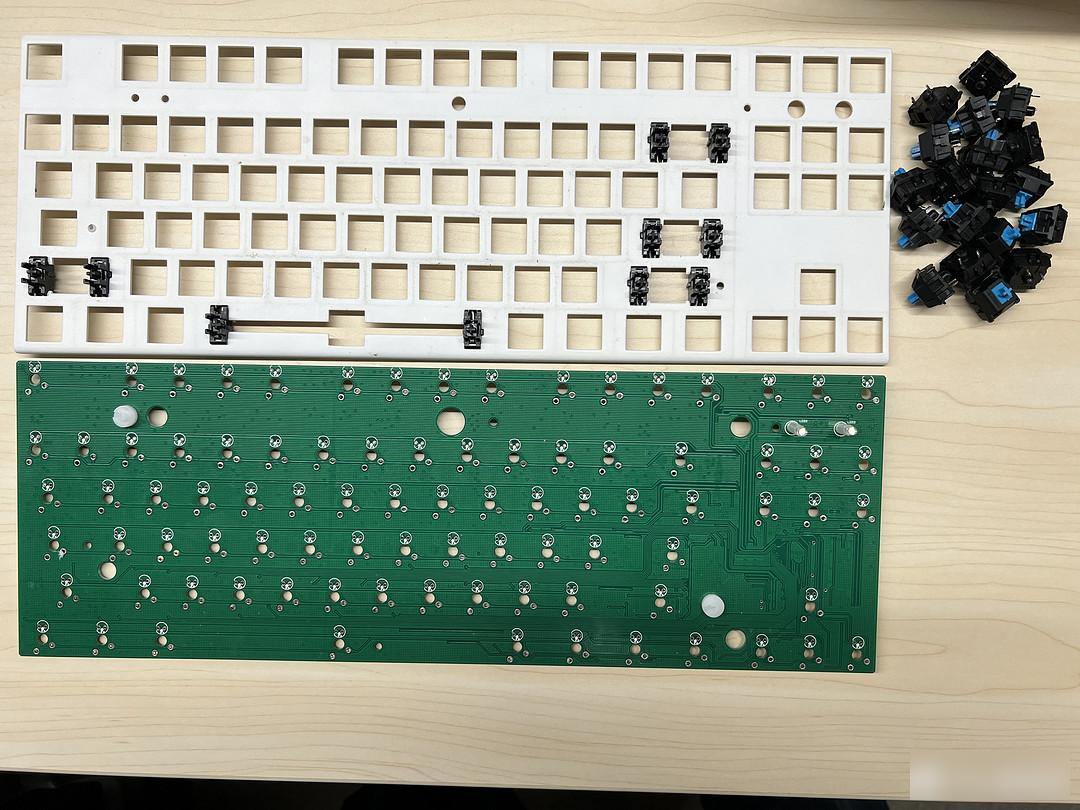 After dismantling the shaft
Here is a reminder that the process of dismantling the shaft body is a test of your own welding ability. If you do not have corresponding experience, it is not recommended to try it on such a large scale. This Gauss keyboard originally had lamp beads. I also removed the shaft when I unpacked it. Here I roughly calculate that each button has a lamp bead and a shaft body, and each lamp bead and shaft body has two soldering pins, that is to say, if you remove a button, you need to remove 4 soldering pins , 348 welding pins need to be disassembled for 87 buttons. This dismantling process is not only to simply remove the lamp beads and shaft body, but also needs to suck out all the soldering in the pad hole. Here In addition to needing a handy electric Luo iron, you also need a more suitable suction gun. Here I will share the electric Luo iron and suction gun I use. I will not post the link. If you need it, go online according to the picture Search it, there are many!
Here I use the company's electric soldering iron and suction gun for work reasons.
 electric soldering iron
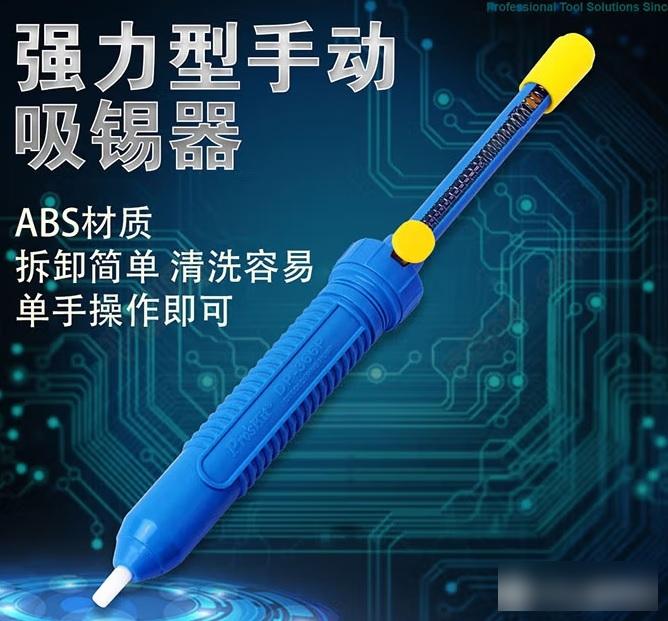 Sniffer
After the keyboard is disassembled and disassembled, in theory at this time, the newly purchased shaft body can be welded to it, and then reassembled to use it normally, but if this is the case, then basically the keyboard will be the same in the future. Is there a solution to achieve customized words? So I searched for some information, in fact, there are still solutions.
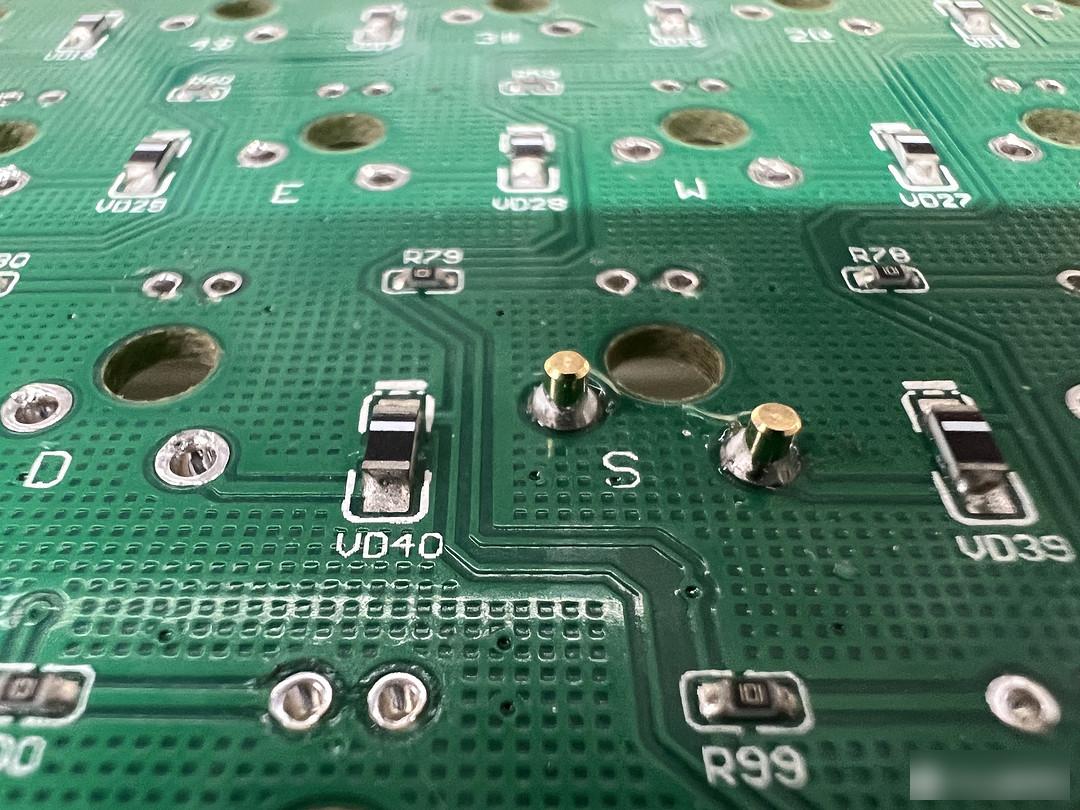
The traditional customized keyboard socket obviously cannot be directly applied to the ordinary mechanical keyboard I mentioned above. At this time, something called "corn nails" is needed, which can be welded to the shaft hole of the ordinary mechanical keyboard. On the pad, it can also be used as a socket for a customized mechanical keyboard shaft body. I took a screenshot and put a corn nail I used this time. The advantage is that it has gold-plated contacts inside, which can firmly grasp the mechanical keyboard shaft. Body, to ensure that the corns have good contact with the shaft body; the disadvantage is that the price is a bit high, a few cents, close to 1 yuan each.
There are two things I can think of here that need to be paid attention to: 1. It is recommended to buy a trial kit for corns to see if the via pads of your switch body can be perfectly adapted; 2. Pay attention to the keyboard switch that the corns are compatible with. body, maybe not all shafts can be adapted to corns (most of them should be, I haven't encountered any shafts that are not suitable for the time being).
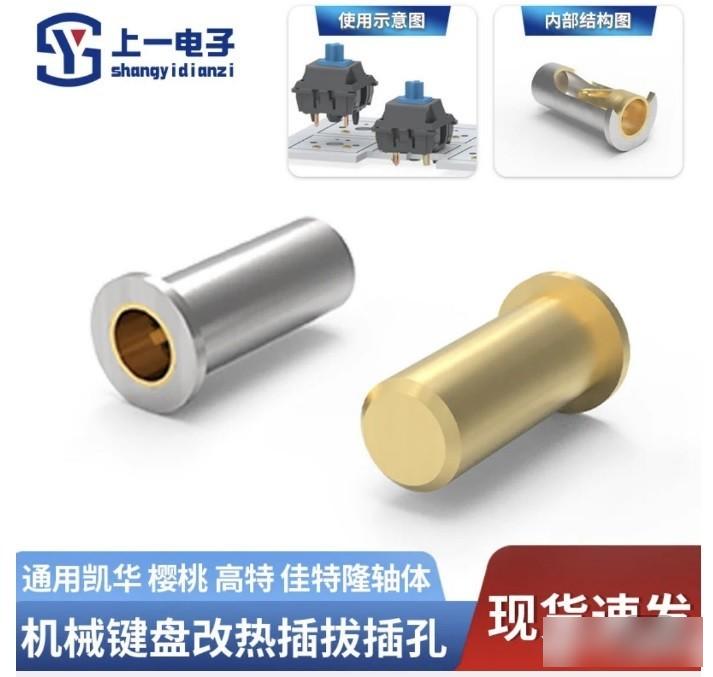 corns
corns
There is no need to go into too much detail for the official modification, and it is necessary to install corns on each shaft through-hole pad. A tedious and repetitive process, the tools used are a soldering iron and a pair of tweezers.
Post two pictures I have soldered:
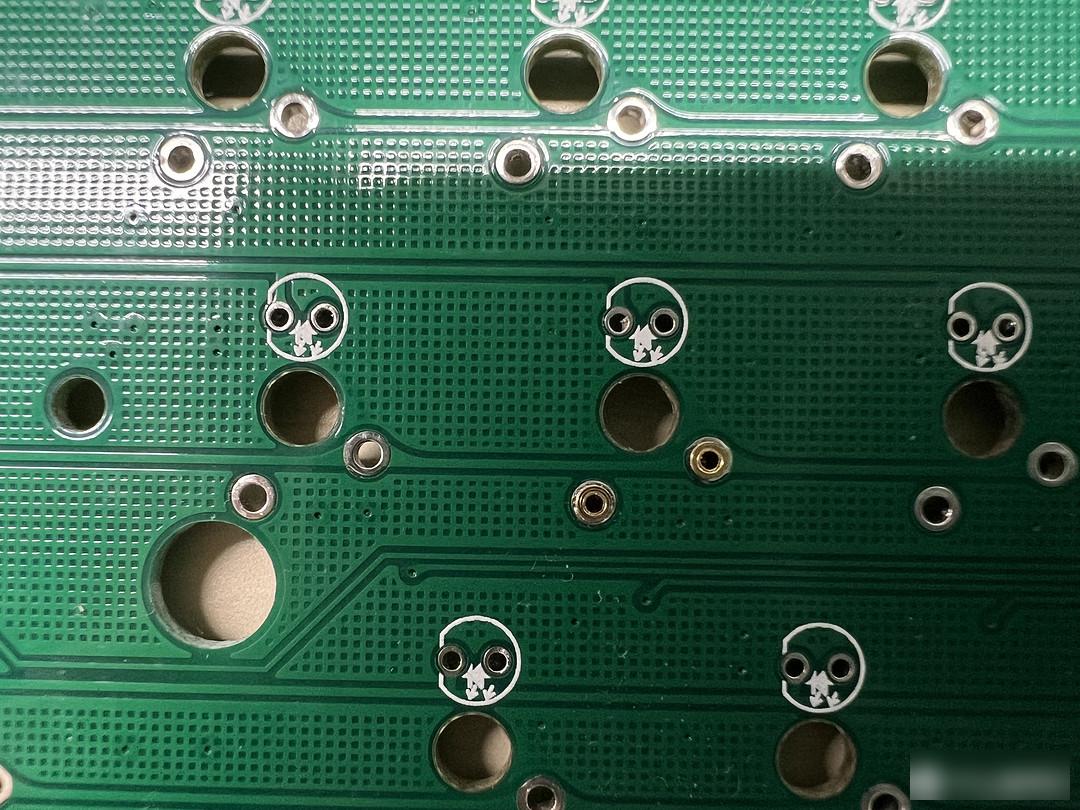 Front
Front
 back
back
In fact, there is not much to say about the assembly process. Adult Lego blocks can be built slowly.
Share some personal views:
1. Do not throw away the shaft body removed from the old keyboard, it can be placed on some infrequently used edge keys;
2. Some buttons that are not frequently used can use some cheaper shafts, which can save costs without affecting the user experience;
3. Ordinary keyboards have not been well calibrated, especially satellite axes, which generally need to use grease to lubricate the axis and Teflon tape for sound insulation. The specific methods will not be described in detail. There are many online, you can self-search learning;
4. The sound insulation cotton of the shaft body depends on the situation to decide whether to stick it or not. It is generally cheaper and it is not difficult to apply;
5. Share a few pictures of my own installation process;
 Inexpensive switches are used in the keypad area
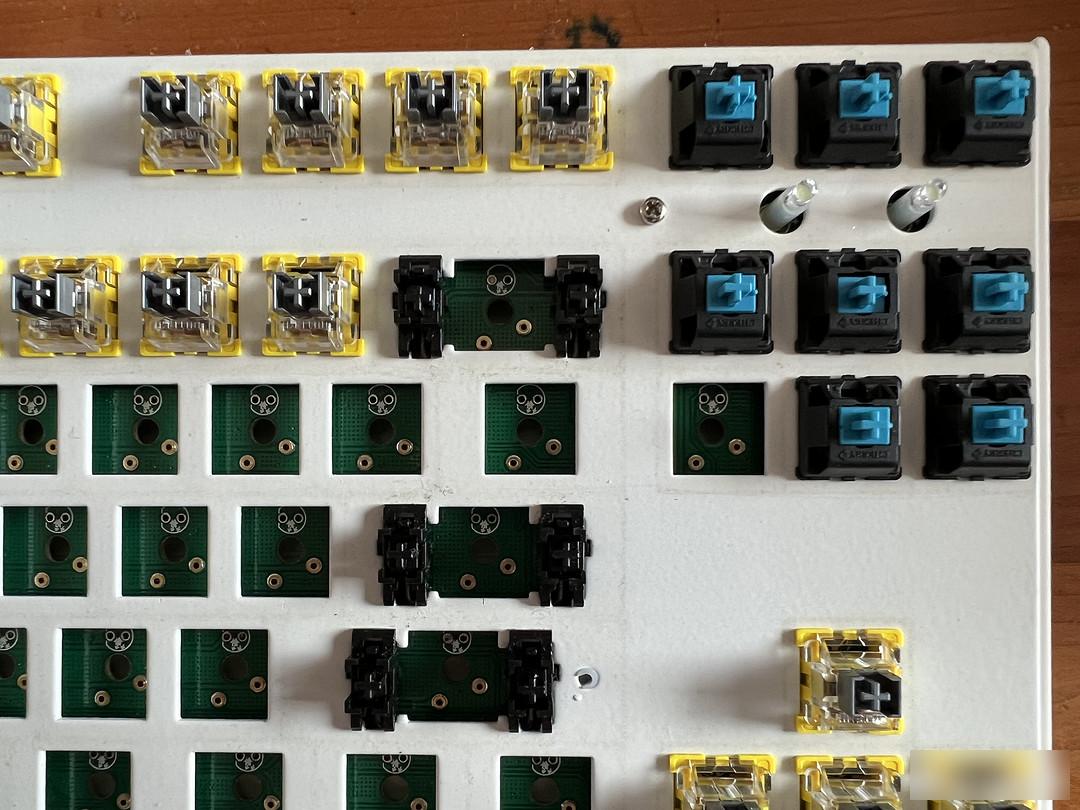 The edge keys can use the shaft body removed from the old keyboard
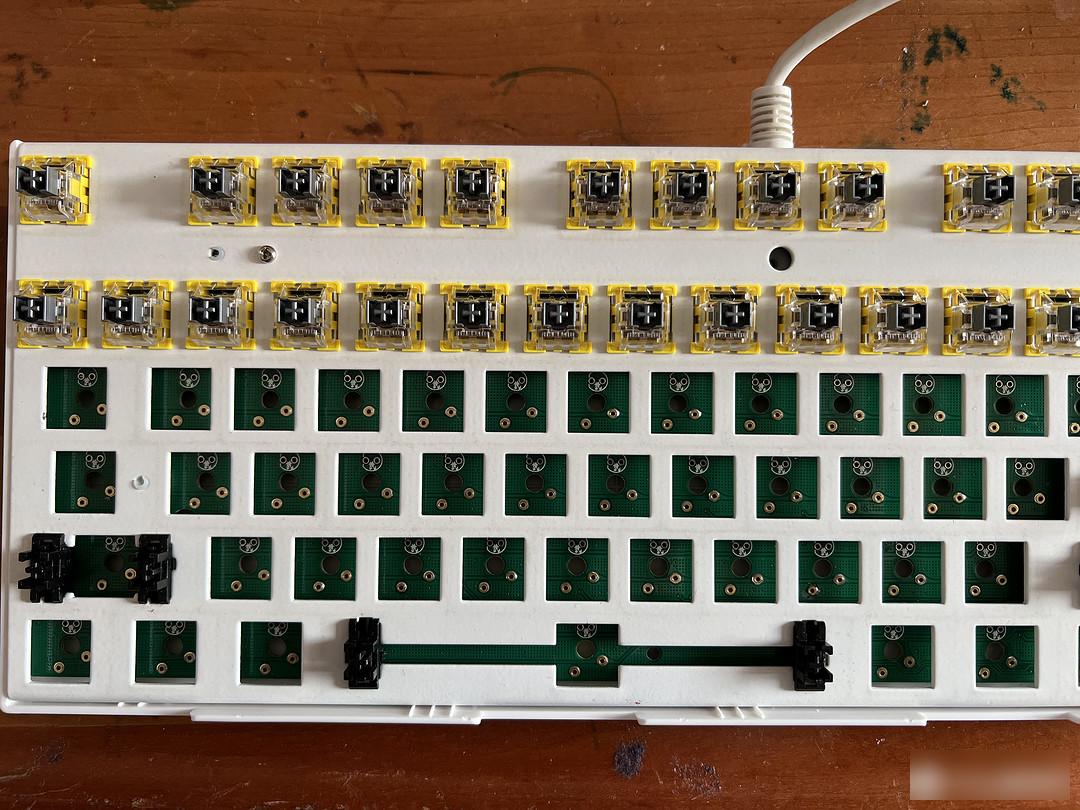
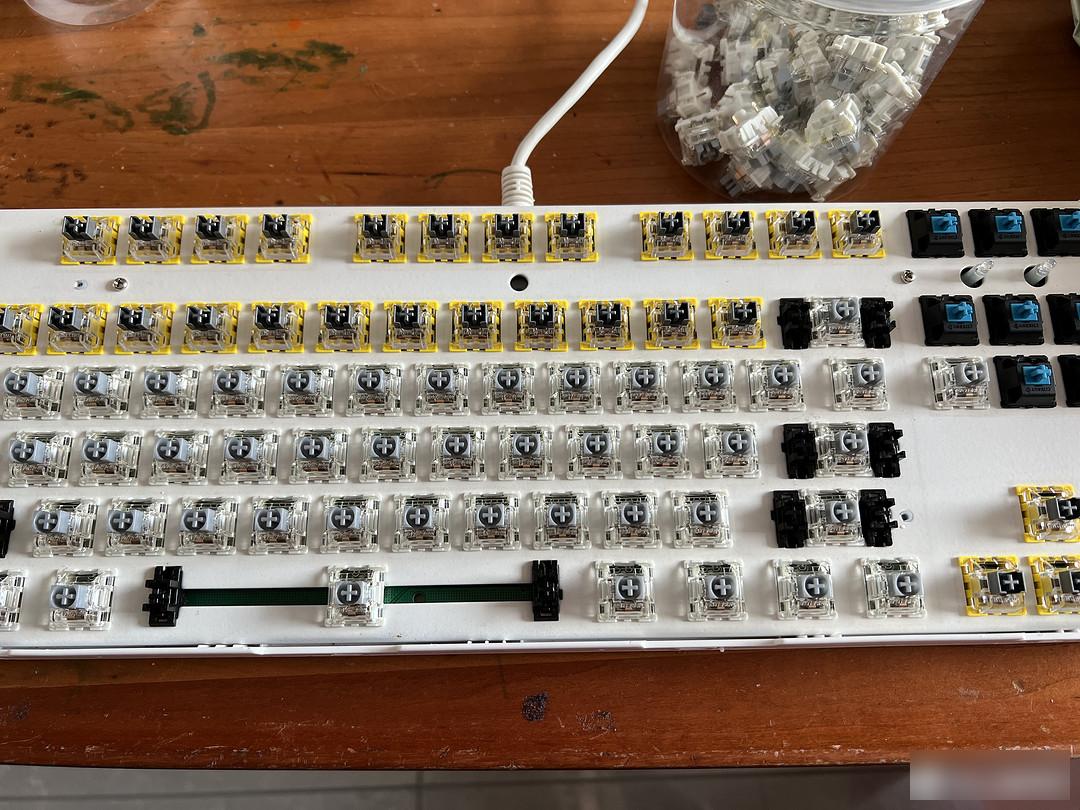 Use your favorite shaft in the main area
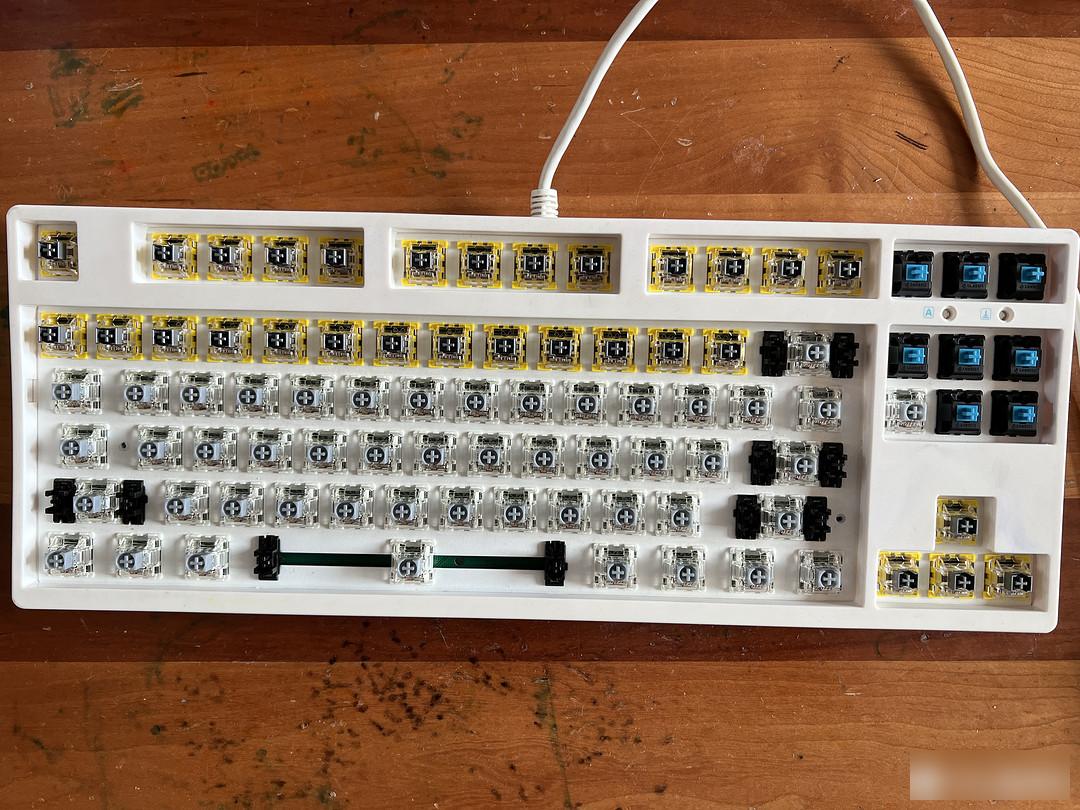 The shaft is installed
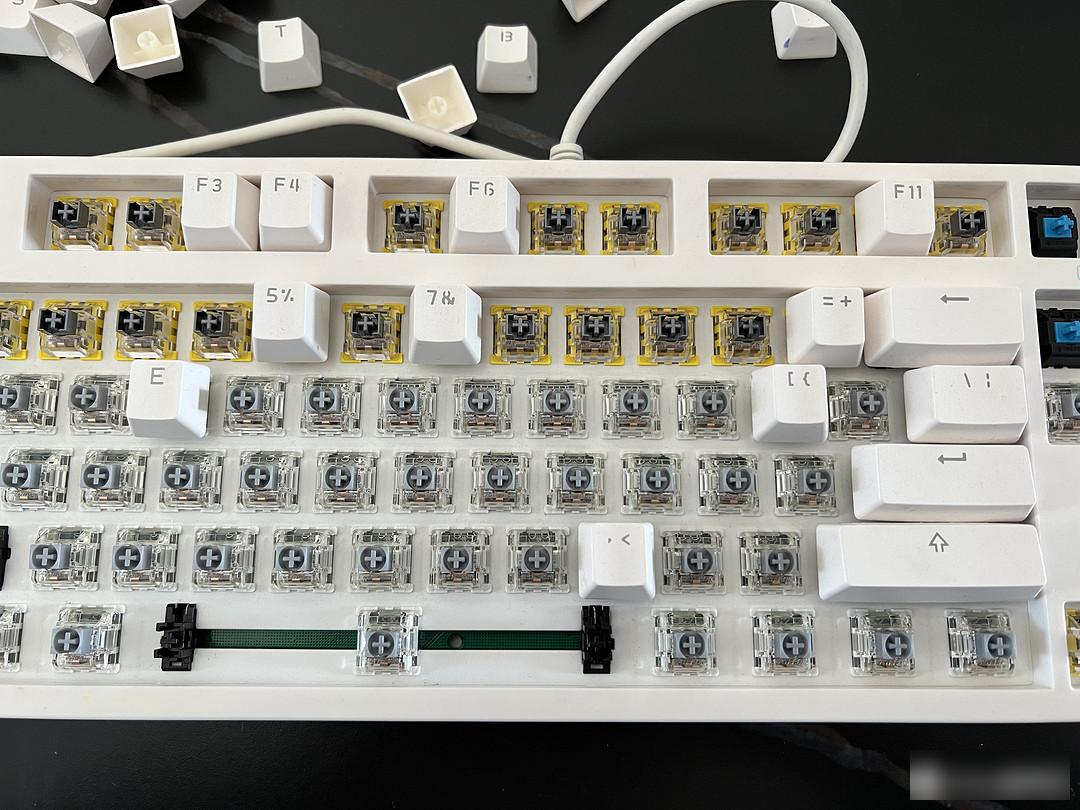 Install keycaps
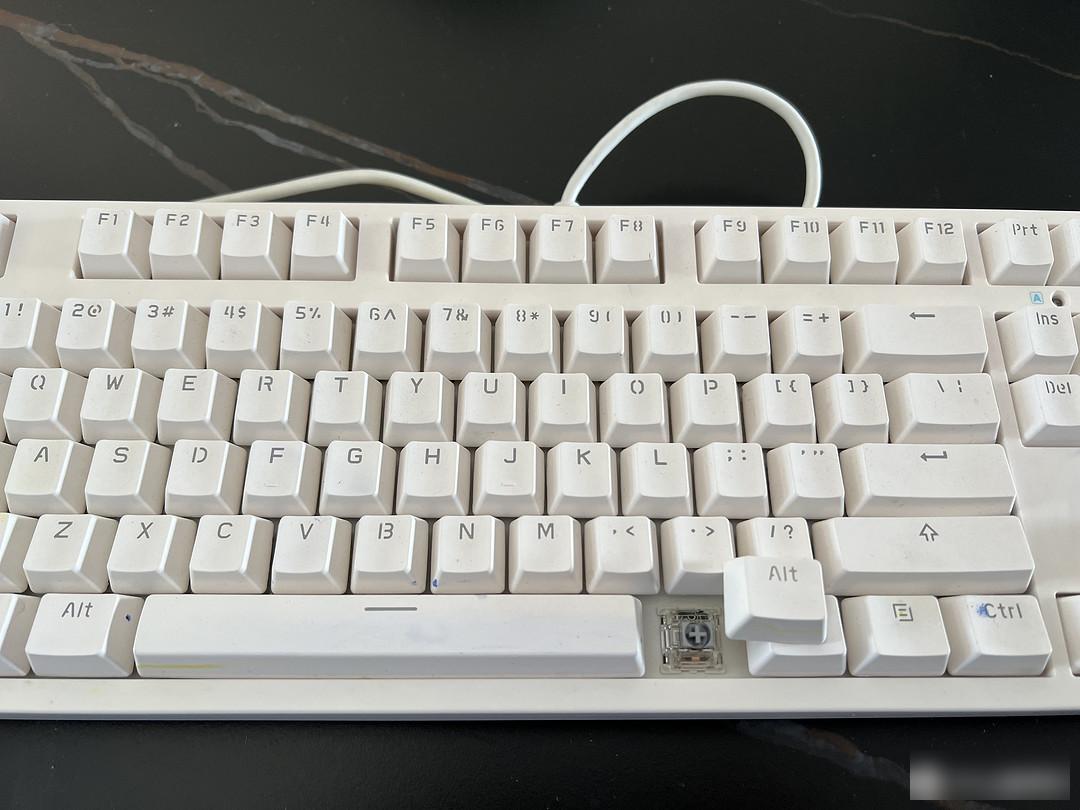 finished product
Personally prefer to use a linear axis;
The 26 letter areas use Jiadalong G silver PRO, the price is moderate, more than one yuan per piece, and the strength is just right;
The high-tech silver shaft is used in uncommonly used areas, which is cheap and feels close to Jiadalong G Silver PRO;
The edge area uses the blue switch removed from the old keyboard;
In addition, I purchased some TTC gold powder switches and ice static switches, which can be used interchangeably in the future, but the price of TTC is relatively expensive. Buy 30 of each and change the letter keys to experience it;
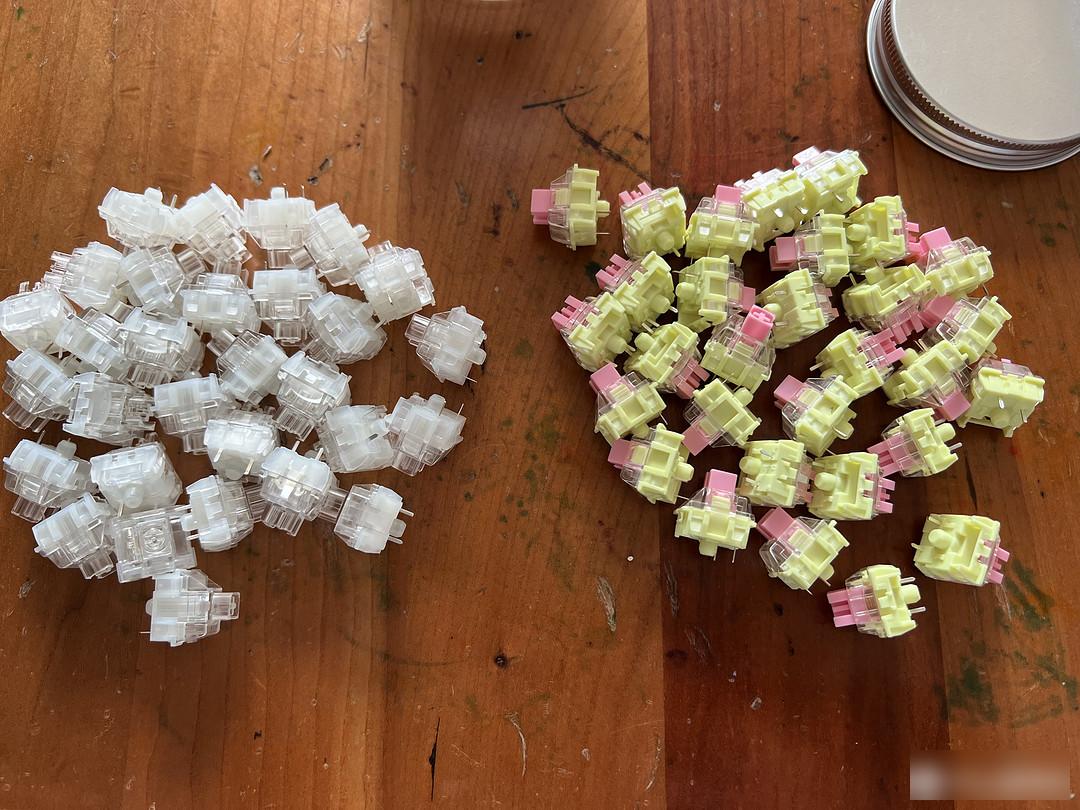 Ignore the not-so-clean desktop
People who have experience in using electric soldering iron and have strong hands-on ability can try it;
When removing the shaft and lamp beads, I personally think it is more appropriate to use a soldering iron + a suction gun, and it is not recommended to use a heat gun;
When removing the shaft body and lamp beads, remember not to pull out hard, it is easy to remove the pad;
The solder in the through-hole pad needs to be sucked clean;
If you need to continue to use lamp beads in the future, you need to pay attention to whether the switch body can support it. For example, Jiadalong G Silver PRO switch body cannot support plug-in lamp beads. It can only support that kind of SMD LED, and the high-tech switch can support plug-in Lamp beads, I personally don't like light pollution, so I didn't consider adding lamp beads this time;
Above, what I want to say is basically clear.
Signed in 2626 days, the first time to post, some descriptions are not in place, welcome to correct me!

Factory Adress: No.11,FengpingRoad