Keyboard Part 6: A keyboard that costs less than 100 yuan can also be used very well. Bald head 68V2 welding assembly tutorial
At the beginning of last year, taking advantage of the bald car, I bought two Welding Emperor 68v2 for 100 yuan. I personally still like welding, because of the low cost and the fun of welding, but unfortunately there are fewer and fewer welding kits now.
I installed Ashwood v2 in the previous one, and posted a video on station b, this time I will post a picture and text
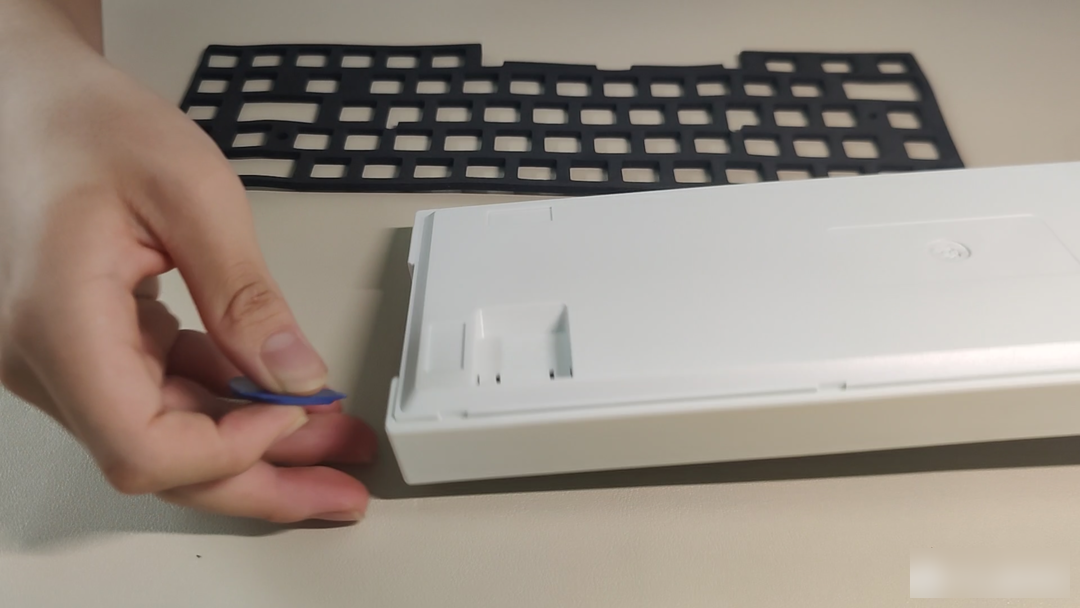
The first is the keyboard body, and the accessories include satellite shafts, sandwich cotton, foot supports, and non-slip stickers.
The entire keyboard is a buckle structure without screws. Therefore, use the warp to separate the upper and lower covers first. If there is no warp or crowbar, you can use a bank card instead (hope the card is fine).
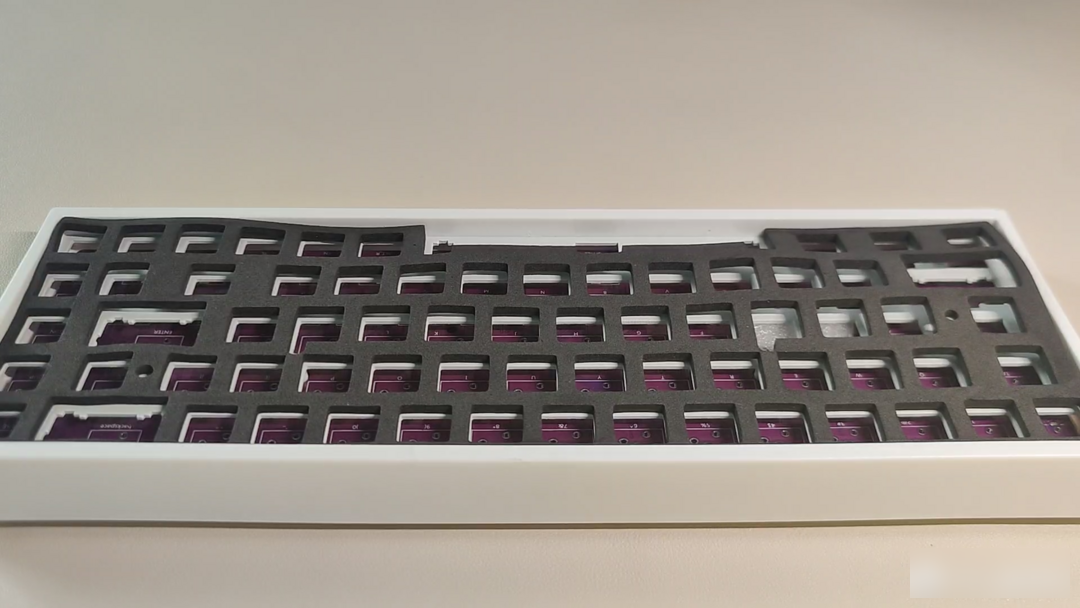
After opening, you can see the upper cover, the positioning board and the middle purple PCB
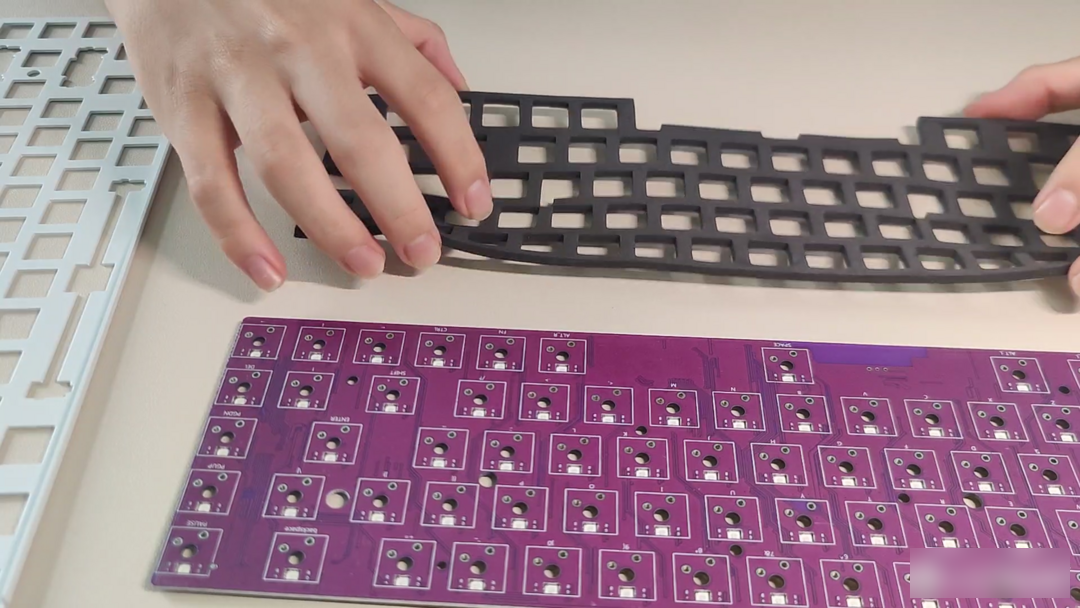
Stack them in the order of positioning board, sandwich cotton and PCB from top to bottom
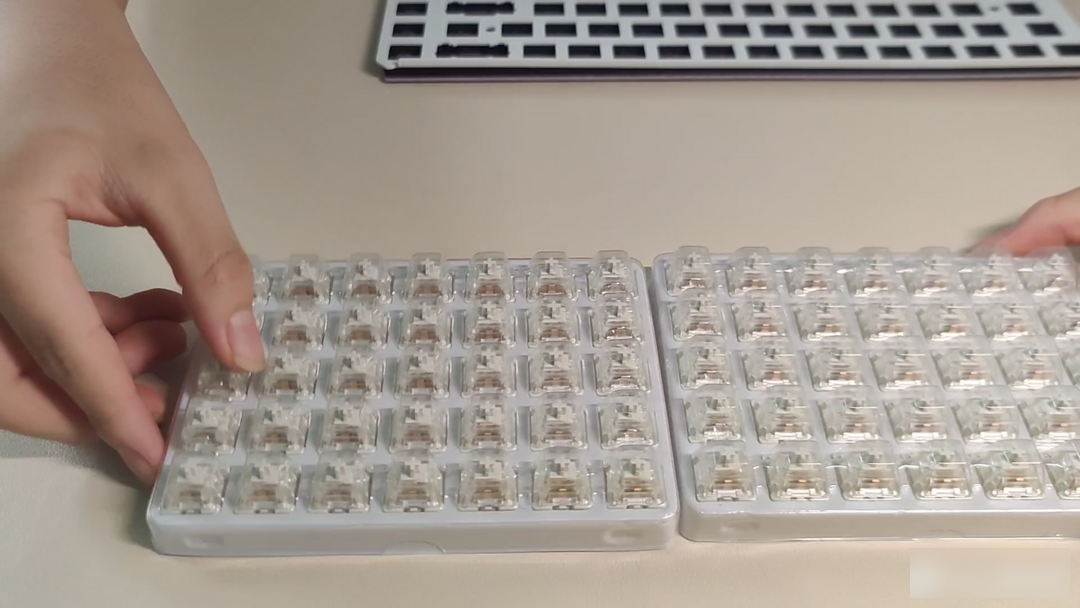
I took out the switch body, and here I used a second-hand Jiadalong pick-up white switch (G White Pro1.0), which costs 60 cents a piece, and only 42 yuan for 70 pieces, which is still very cost-effective. The first generation of pick-up white is still very good as a low-priced light-pressure linear axis, suitable for long-term coding and games. As for me, I am used to the heavy pressure of cherry black, it is right to take a rest
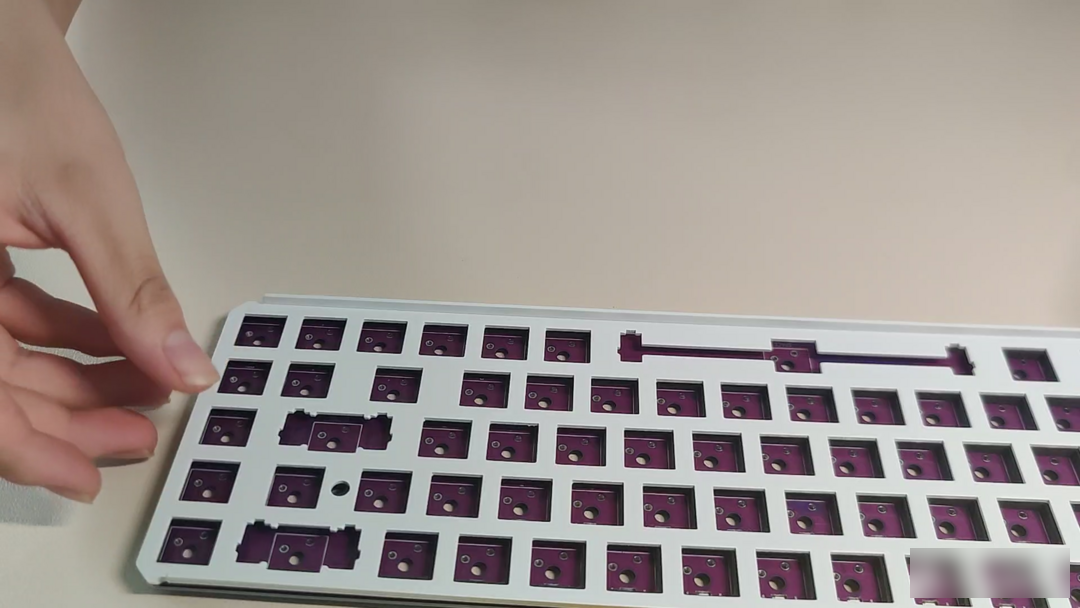
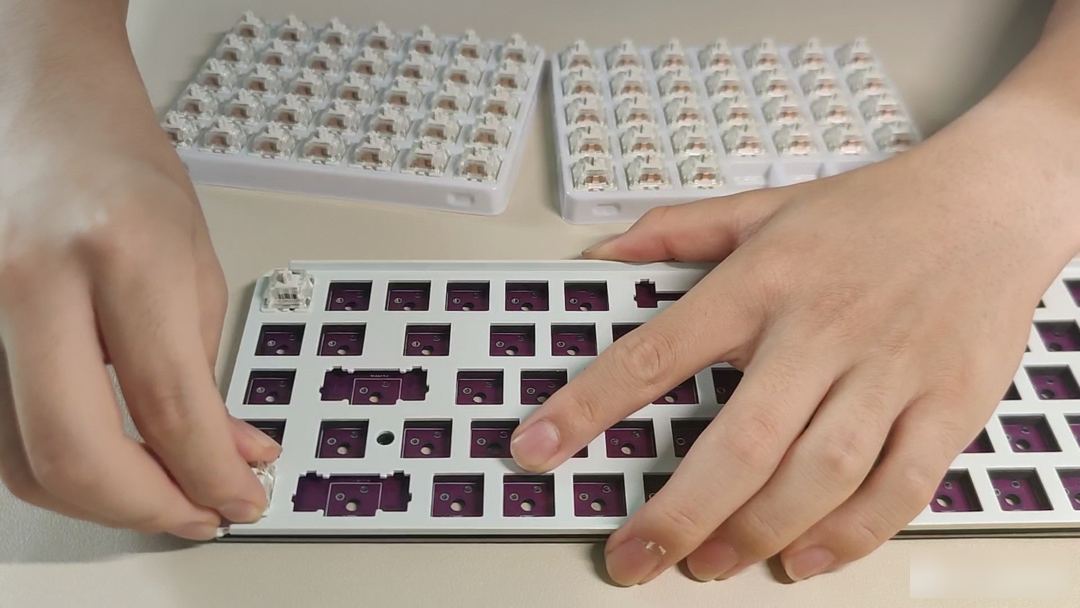
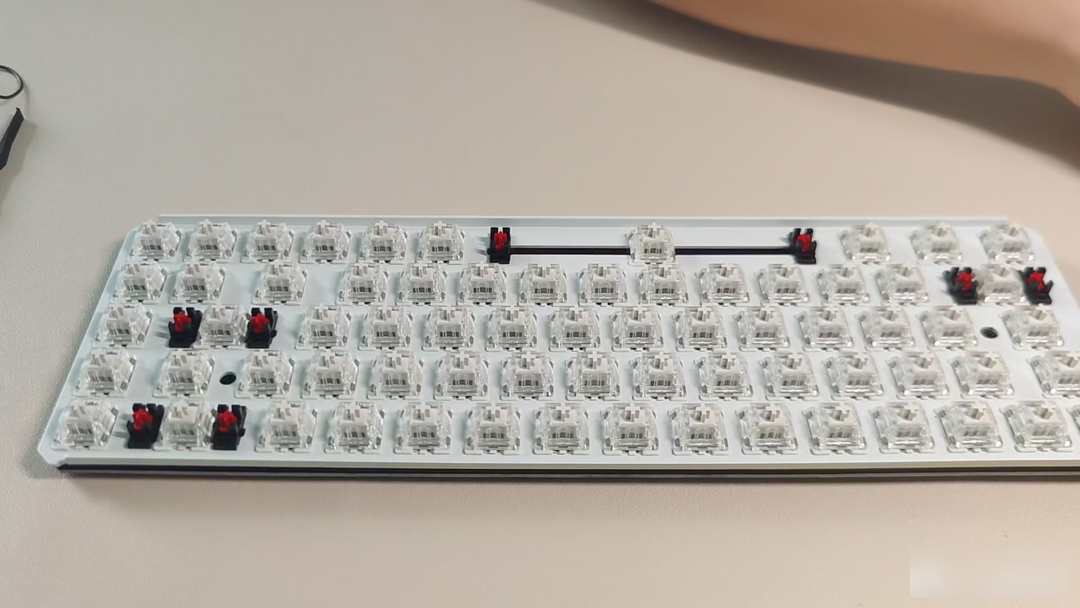
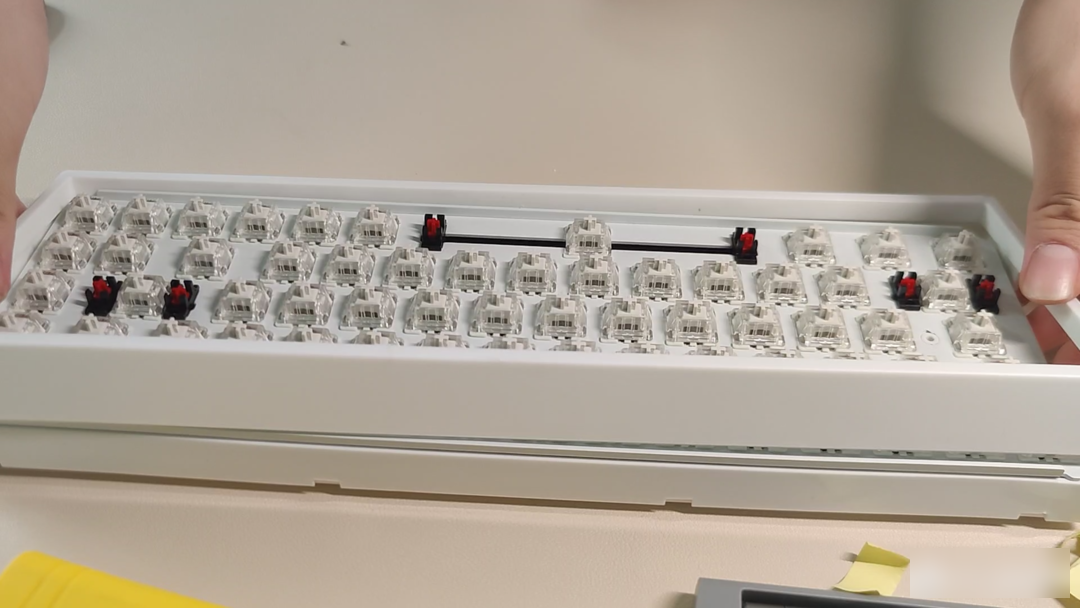
First fix the shaft on the four corners
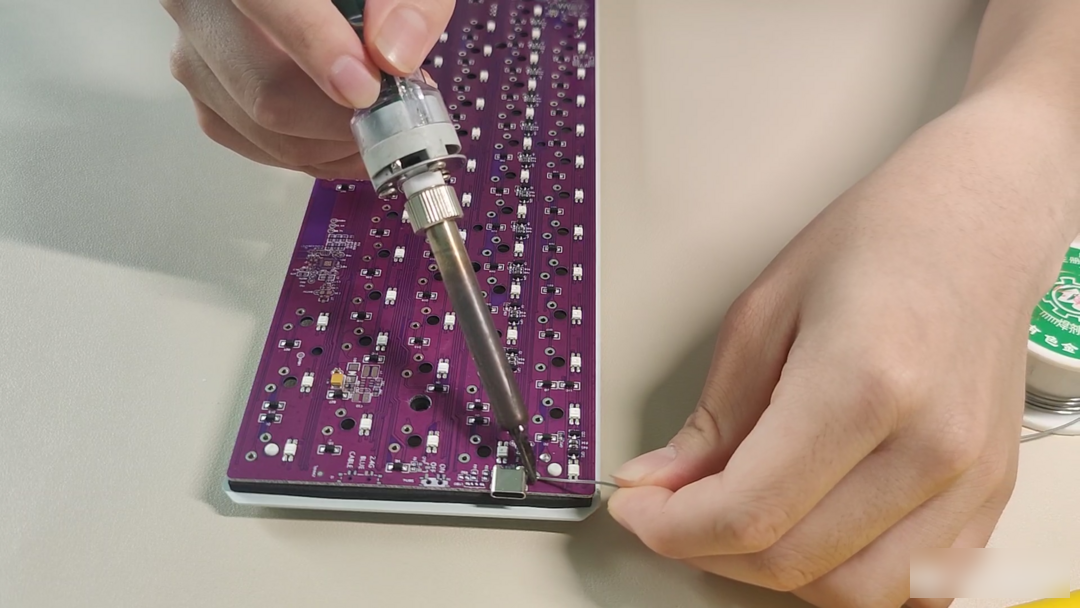
Weld the four corners of the shaft
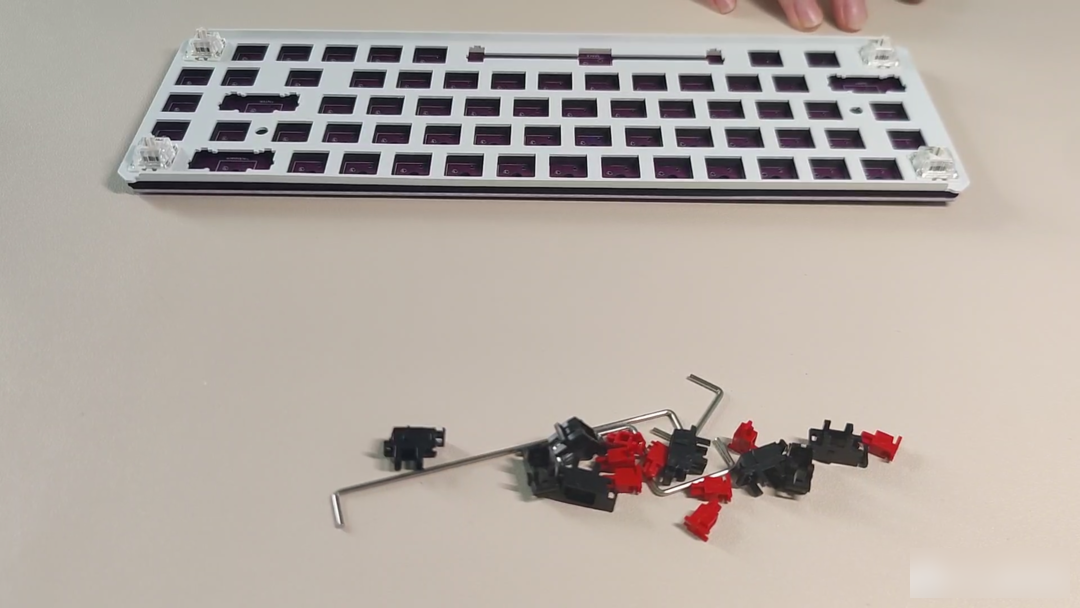
The red and black satellite switches that come with the kit feel good in quality, and most of the big keys can still maintain a good feel under my rough polishing method. I think at least it has the level of the second echelon. As a bonus at this price, it can be said to be very good.
On the satellite shaft and shaft body, the satellite shaft part forgot to paste Teflon, forget it
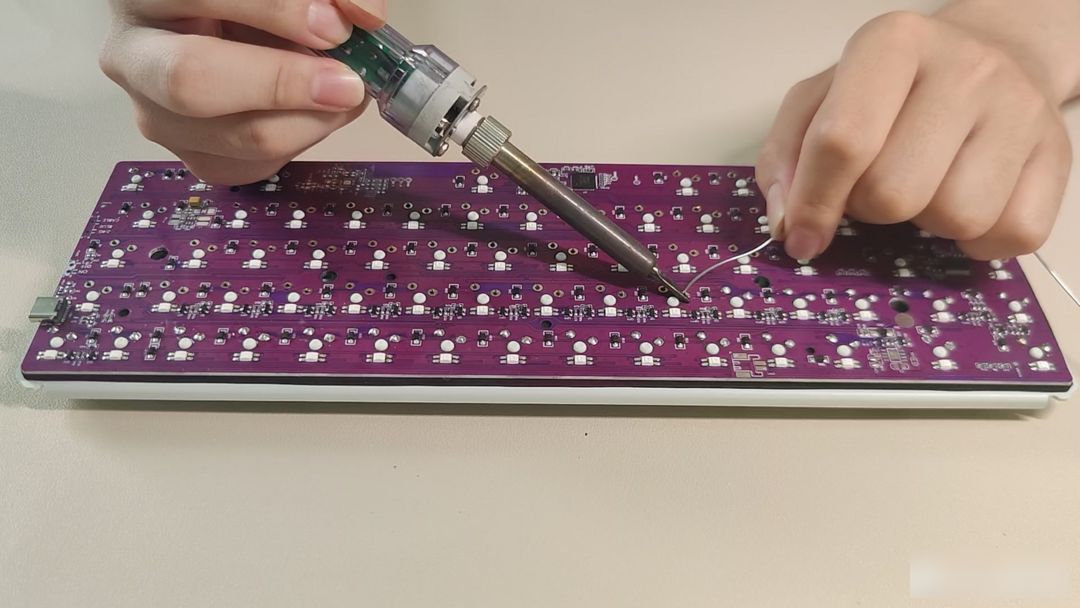
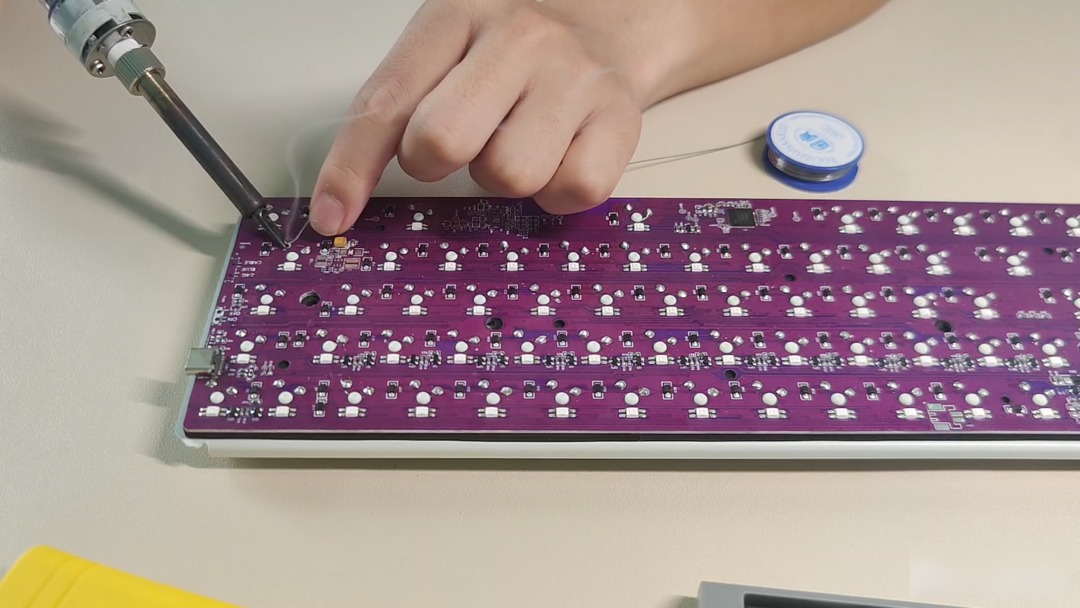
welding
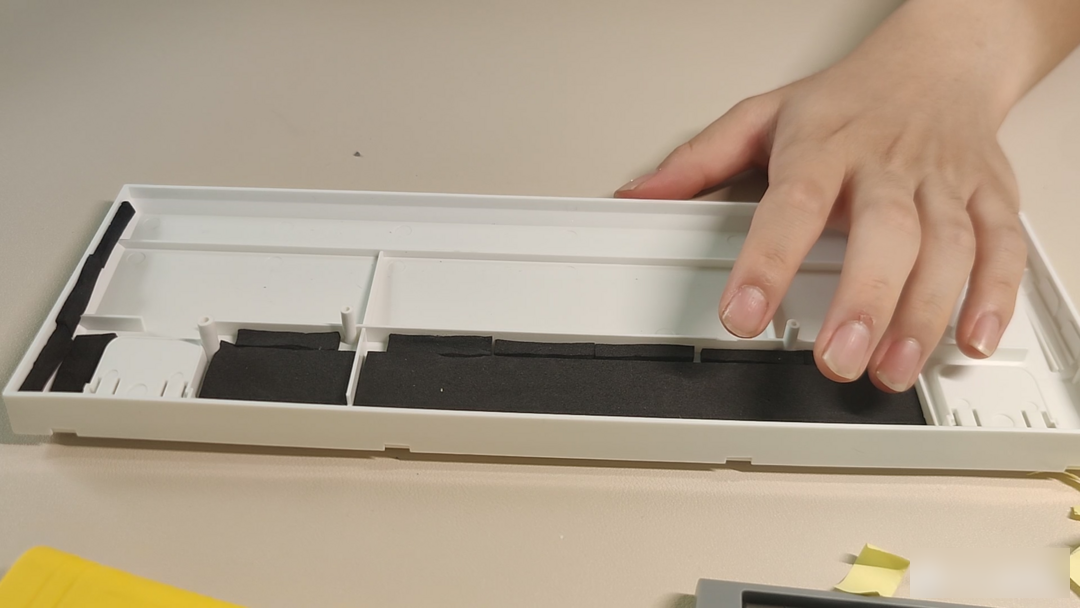
Do some simple noise reduction measures with EVA tape
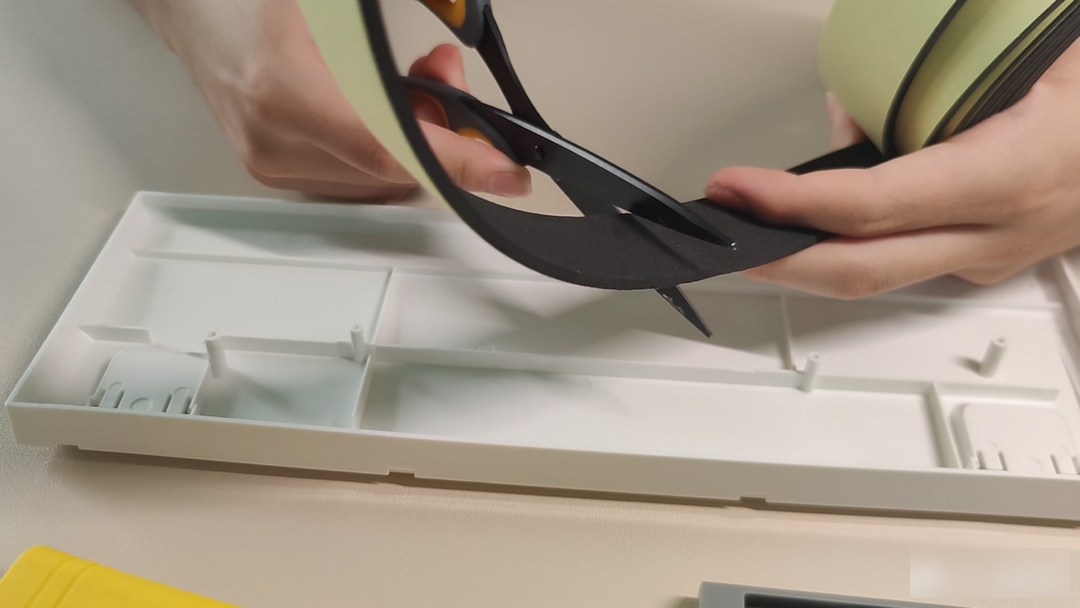
This eva cotton is relatively thick, so I won’t paste it below, so as not to fight with the PCB
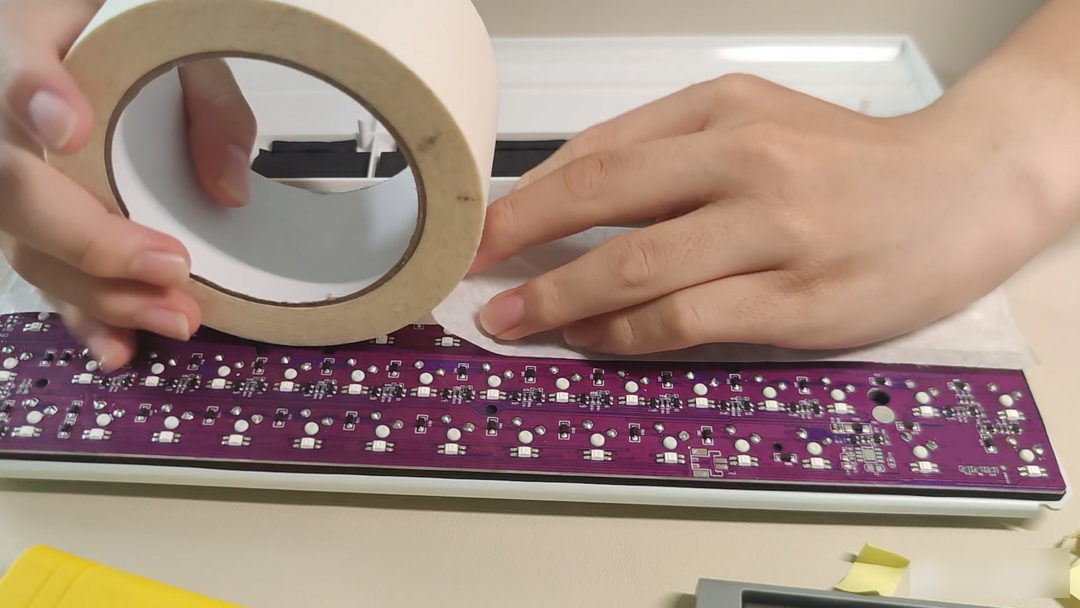
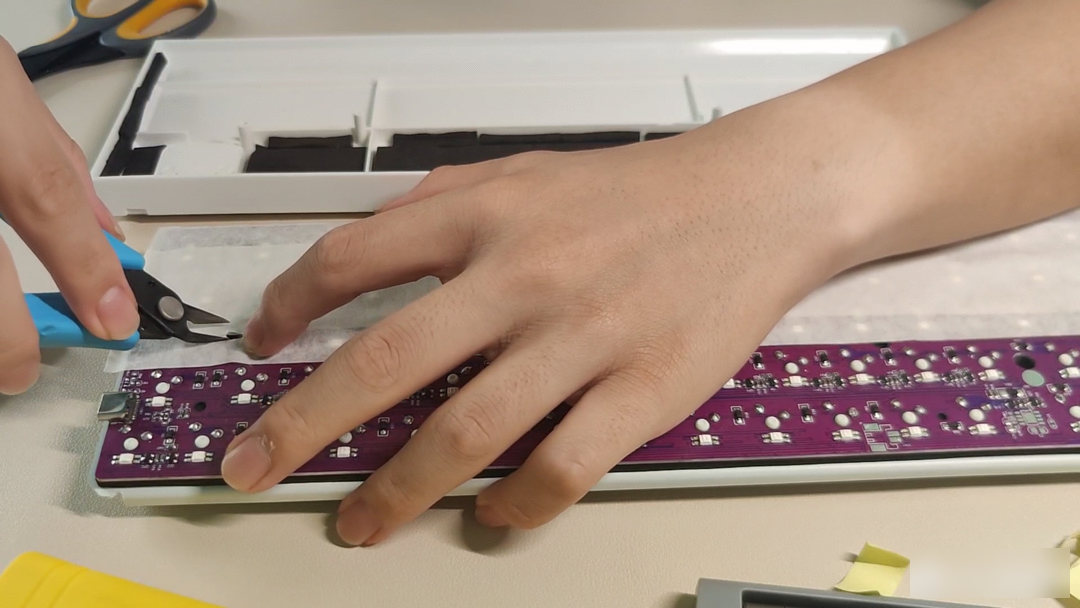
The lower part is handled with washi tape on the PCB, and it doesn't take a lot
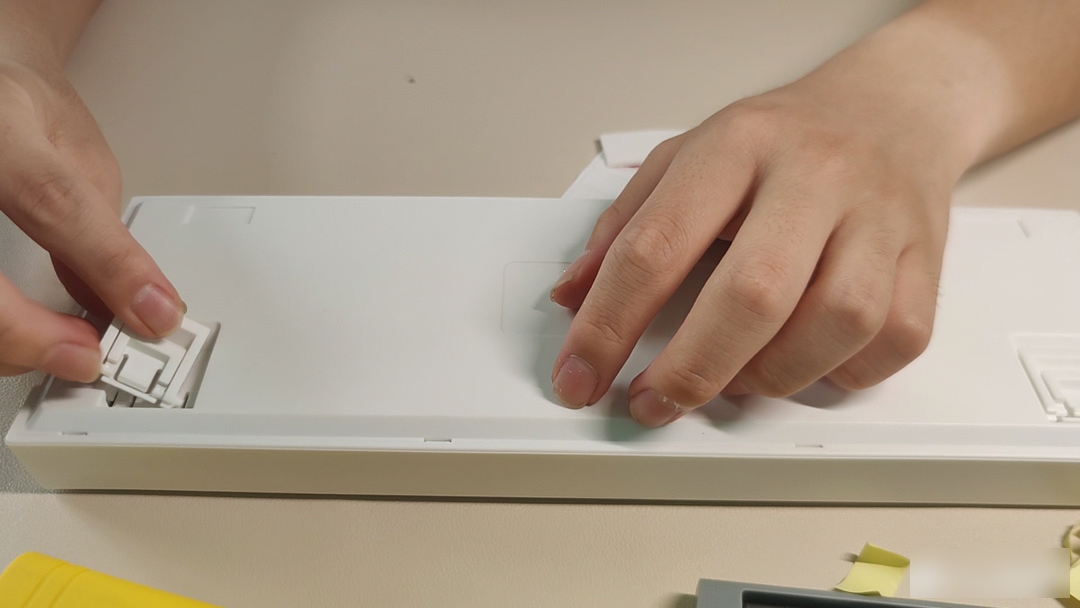
Use small pliers to open screw holes
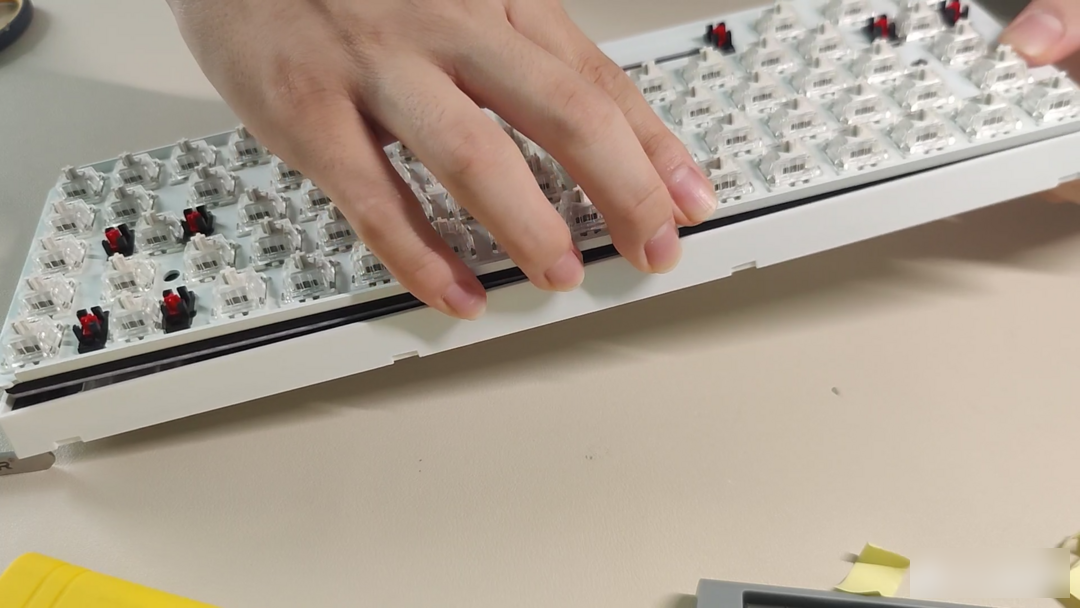
Insert the inner part into the lower cover, pay attention to the position of the TypeC interface
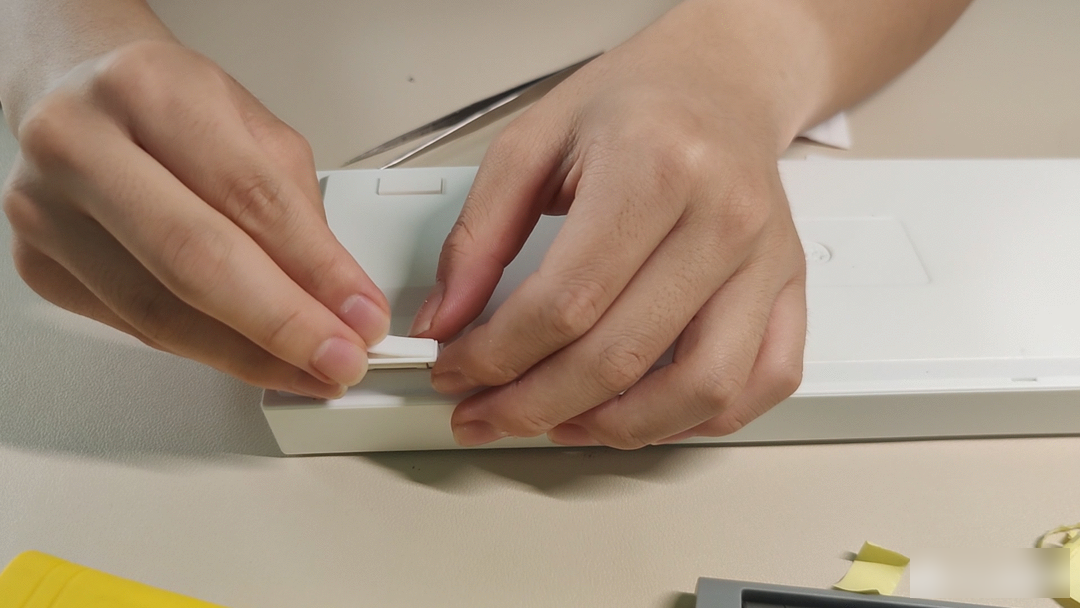
Close the top cover and snap in the buckle
Install the double-section kickstand
Attach the attached 3M non-slip foot stickers
Install the keycap, the keycap is avocado, I sent it before
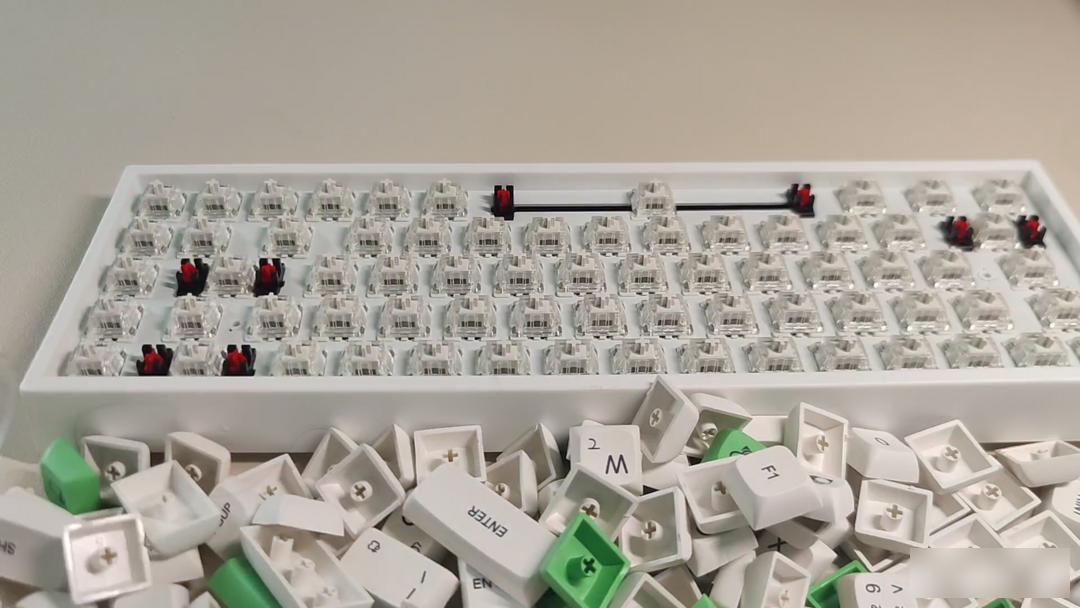
Finally, the finished product:
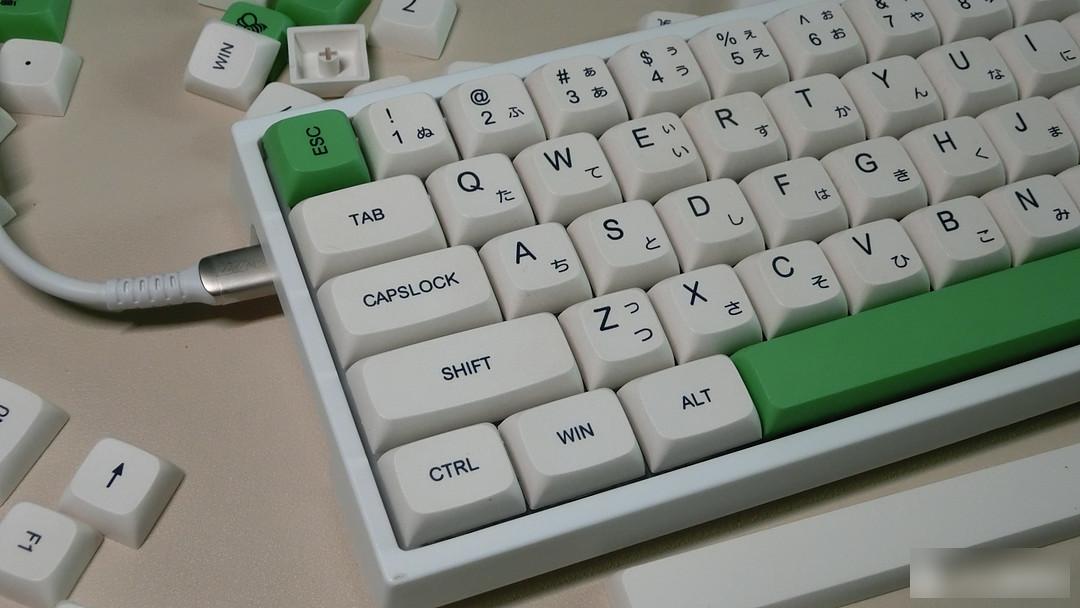
In the end, the kit is 50, the shaft body is 42, and the keycap part can be done within 100. The price/performance ratio is quite good.
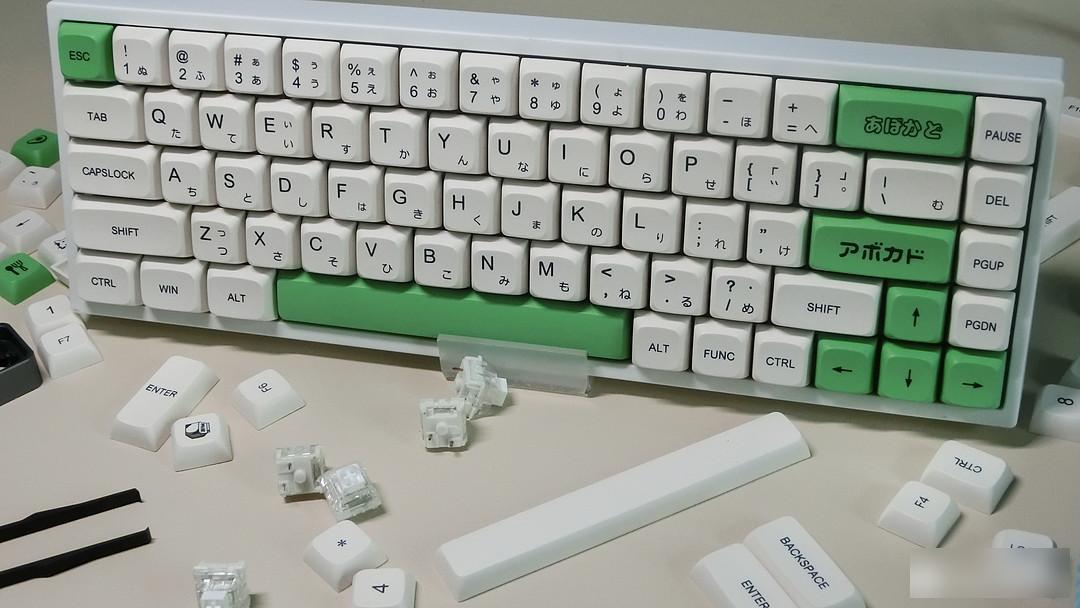
The pick-up white is very easy to use, the big key only has a little noise when backspace, which is expected, I hope there will be more cheap kits like this in the future
Factory Adress: No.11,FengpingRoad