Razer keyboard switch repair (cut 2.4G gear, actually display Bluetooth mode)
Razer BlackWidow V3 wireless version, since the computer is next to the bed, and the keyboard is always on, I often throw things on the table and the keyboard starts to measure again, so I often get up at night and press the switch of the keyboard, and then switch the switch There is a problem, no matter whether it is up or down, it is switched to Bluetooth mode. Later, I consulted customer service to ask me to flash the firmware, but it still didn't work. And because my keyboard is out of warranty, and I don’t want to spend money on repairs, the main reason is that the domestic keyboard is quite curly now, so I might as well buy a new one with this money.
Later, I disassembled the keyboard according to the tutorial on the Internet. One said that this Razer keyboard has a total of 18 screws, which is enough.
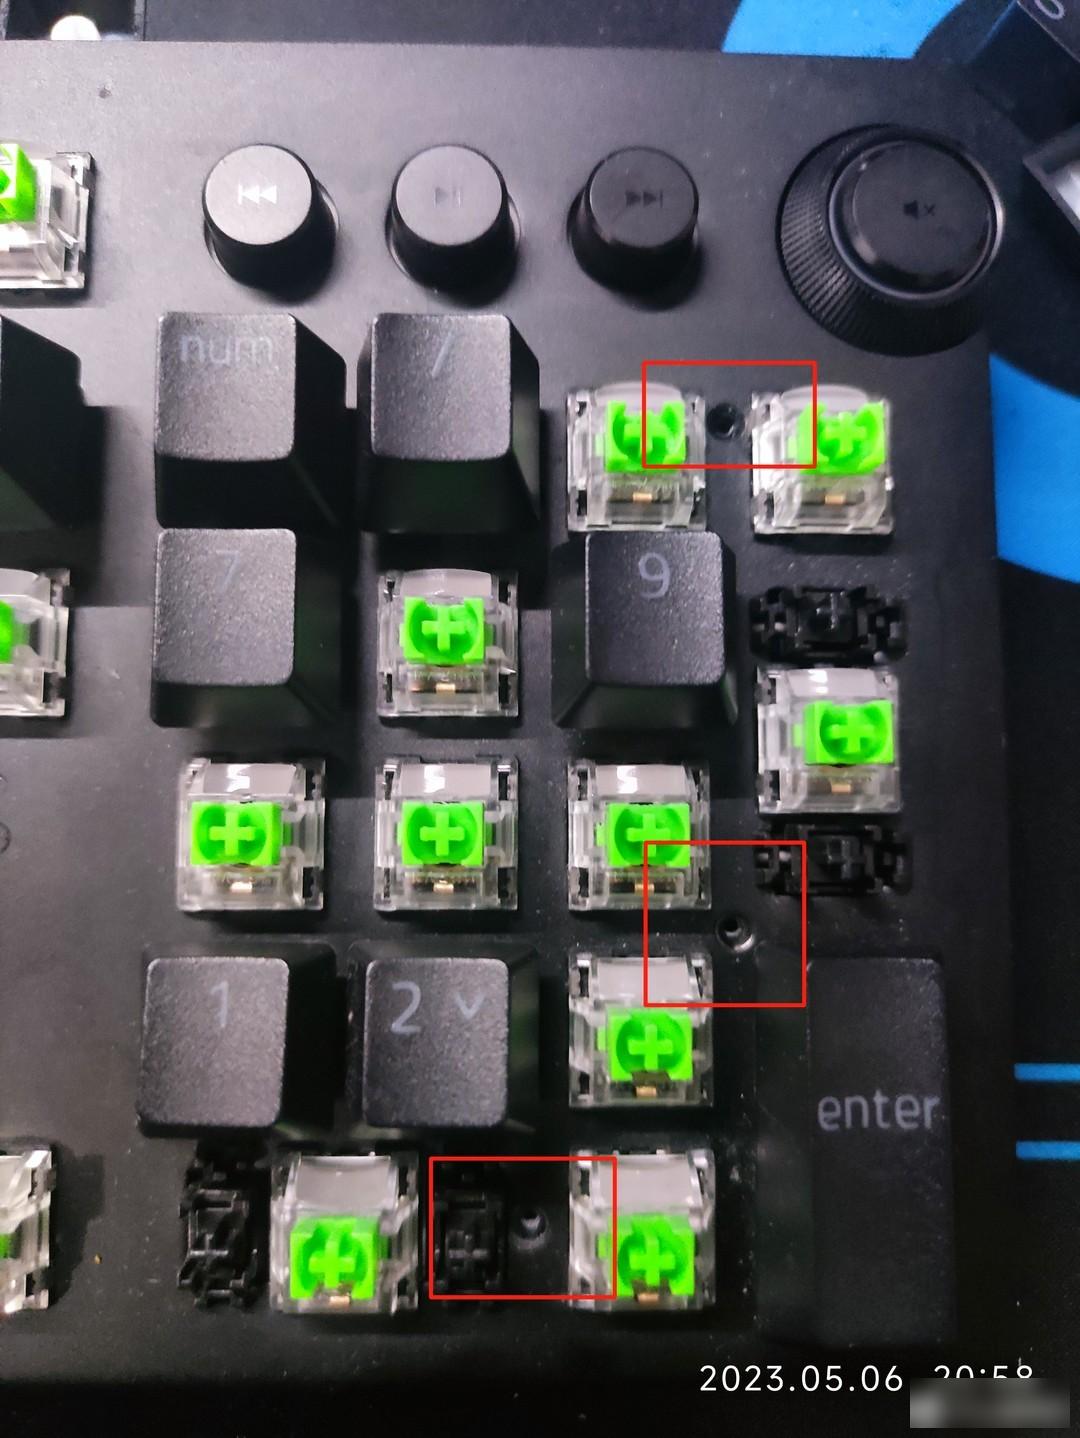 3 screw positions in the small keyboard area
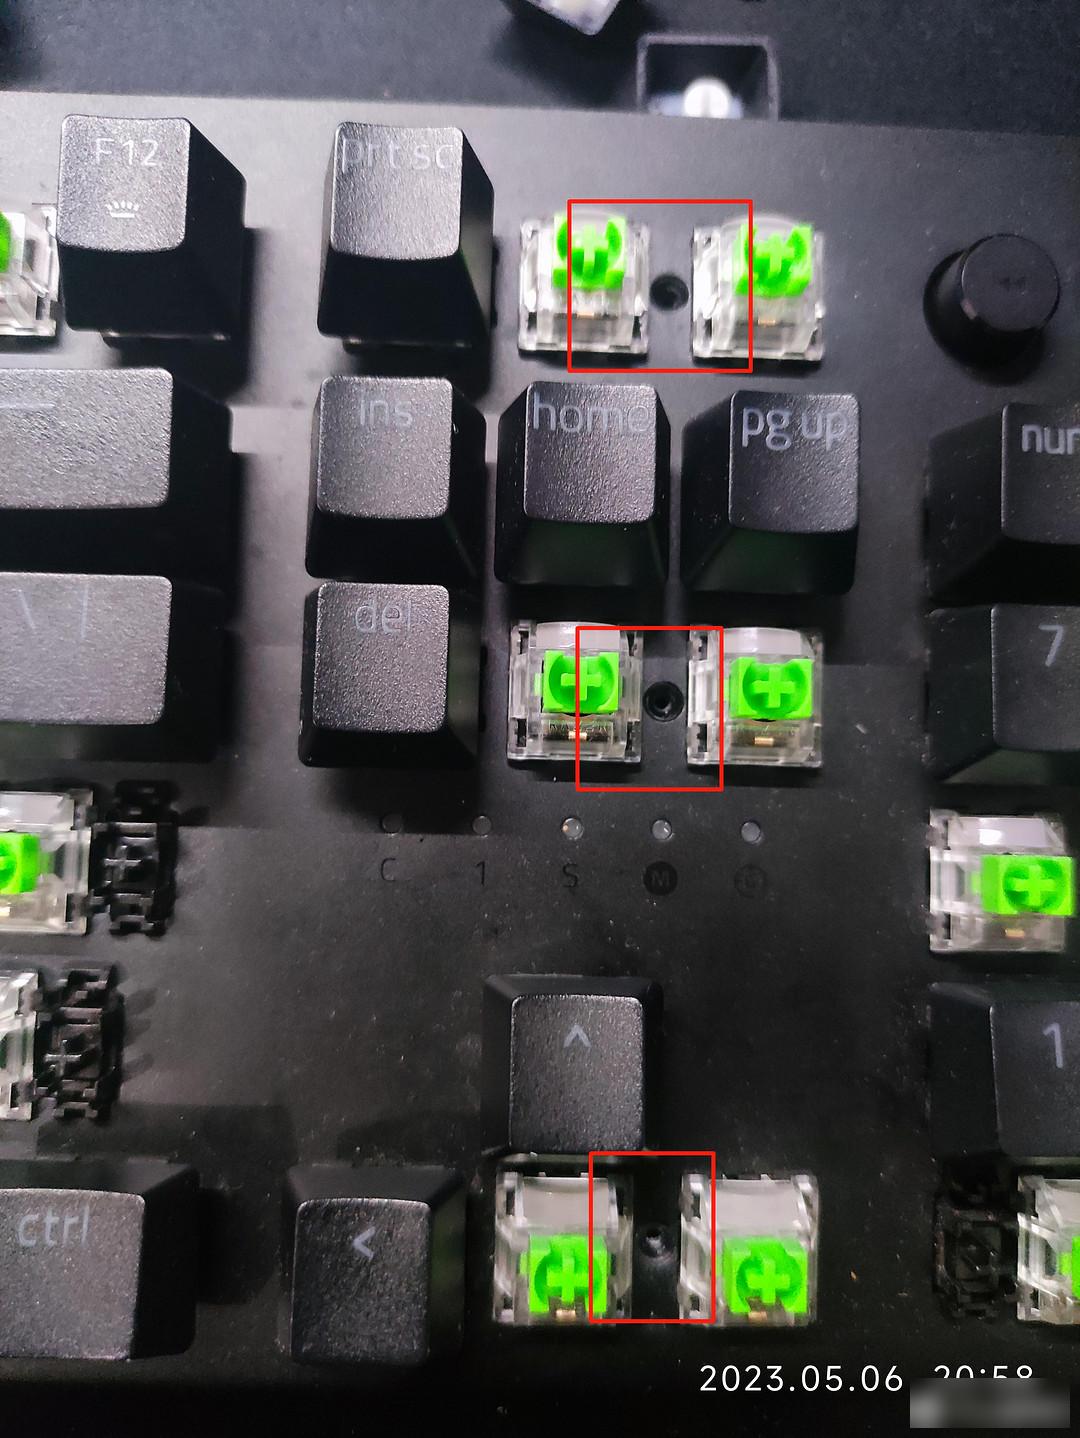 3 screw positions in the function area of the direction key
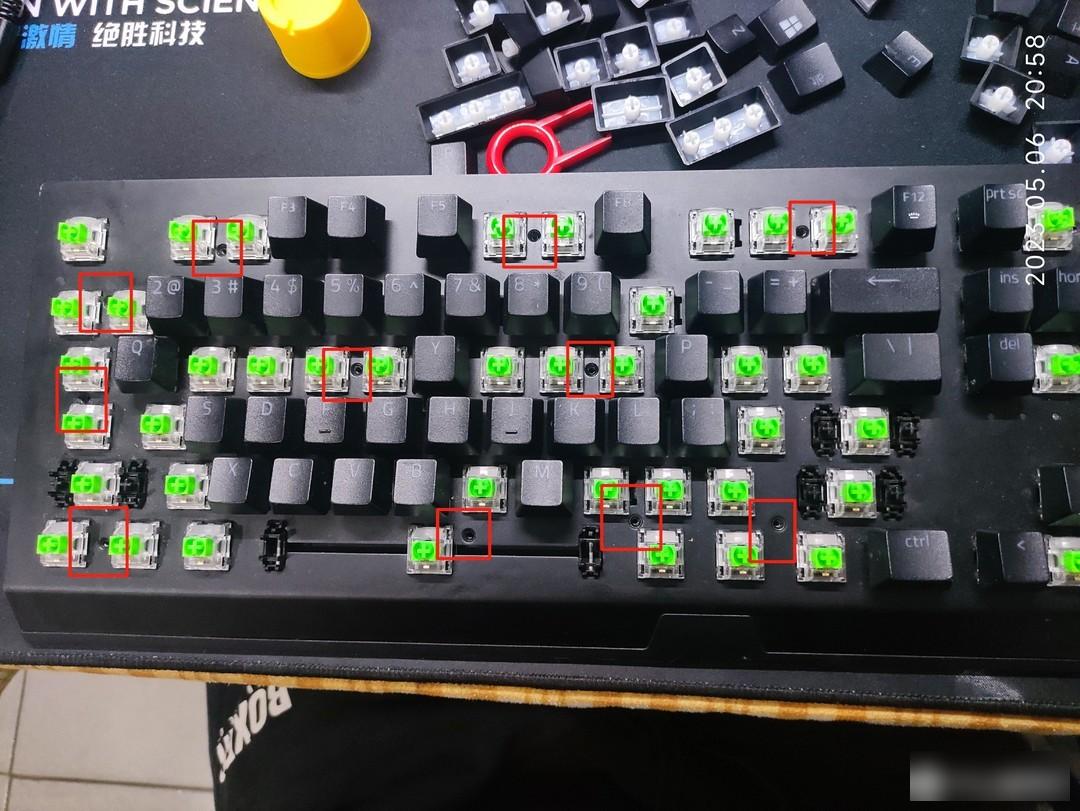 11 screw positions in the keyboard area
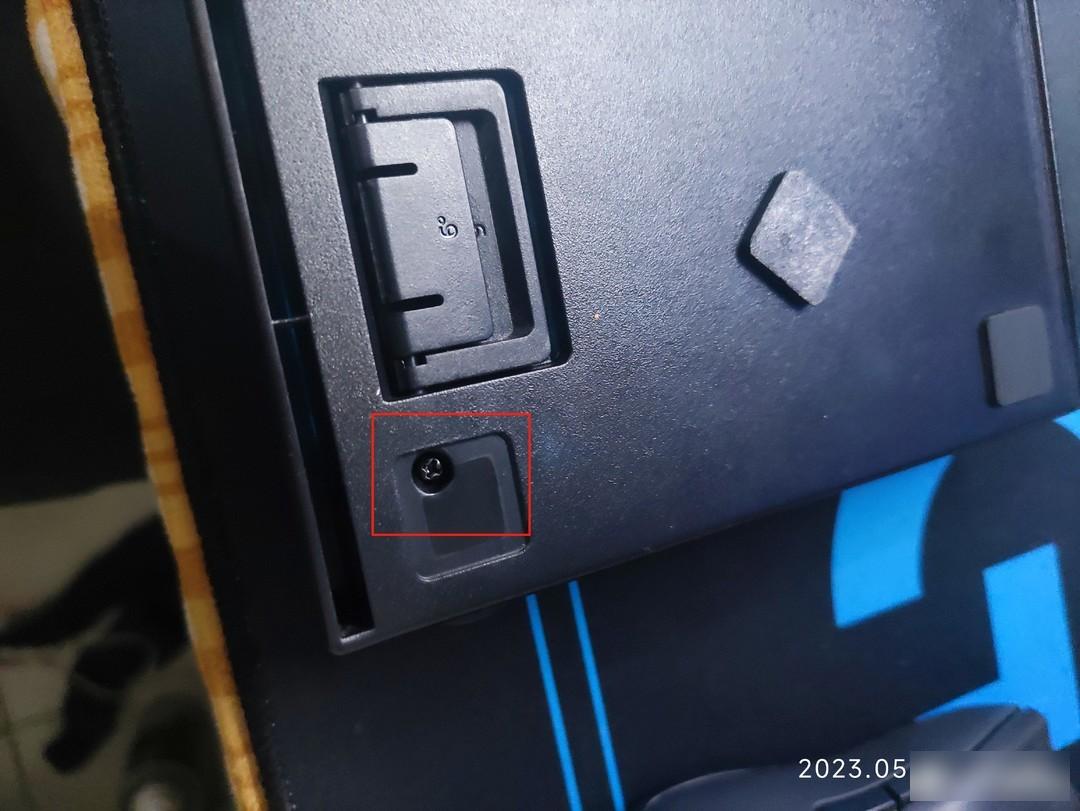 One screw under the pad behind the volume knob
It is recommended to use a hair dryer to heat the foot pads and tear them off so that they can be pasted back later. It is also recommended to heat the glue on the surface of the foot pads with a hair dryer before pasting them back. The screw on the back of the foot pad is different from other screws.
After taking it apart, it was found that there were no faults such as empty soldering or breakage around the switch, and then tried to heat and dry the circuit board, but the problem was not solved.
Then I tried spraying wd-40, which didn't solve the problem either. Because it is difficult to toggle the switch in my impression, so try to press the metal part above the switch and then try to toggle the switch, finally the problem is solved, the 2.4g mode is successfully connected, but after releasing it, it returns to the previous situation, so the judgment It should be that the upper metal pressure piece is loose or deformed, resulting in poor internal contact and unable to trigger the 2.4g mode.
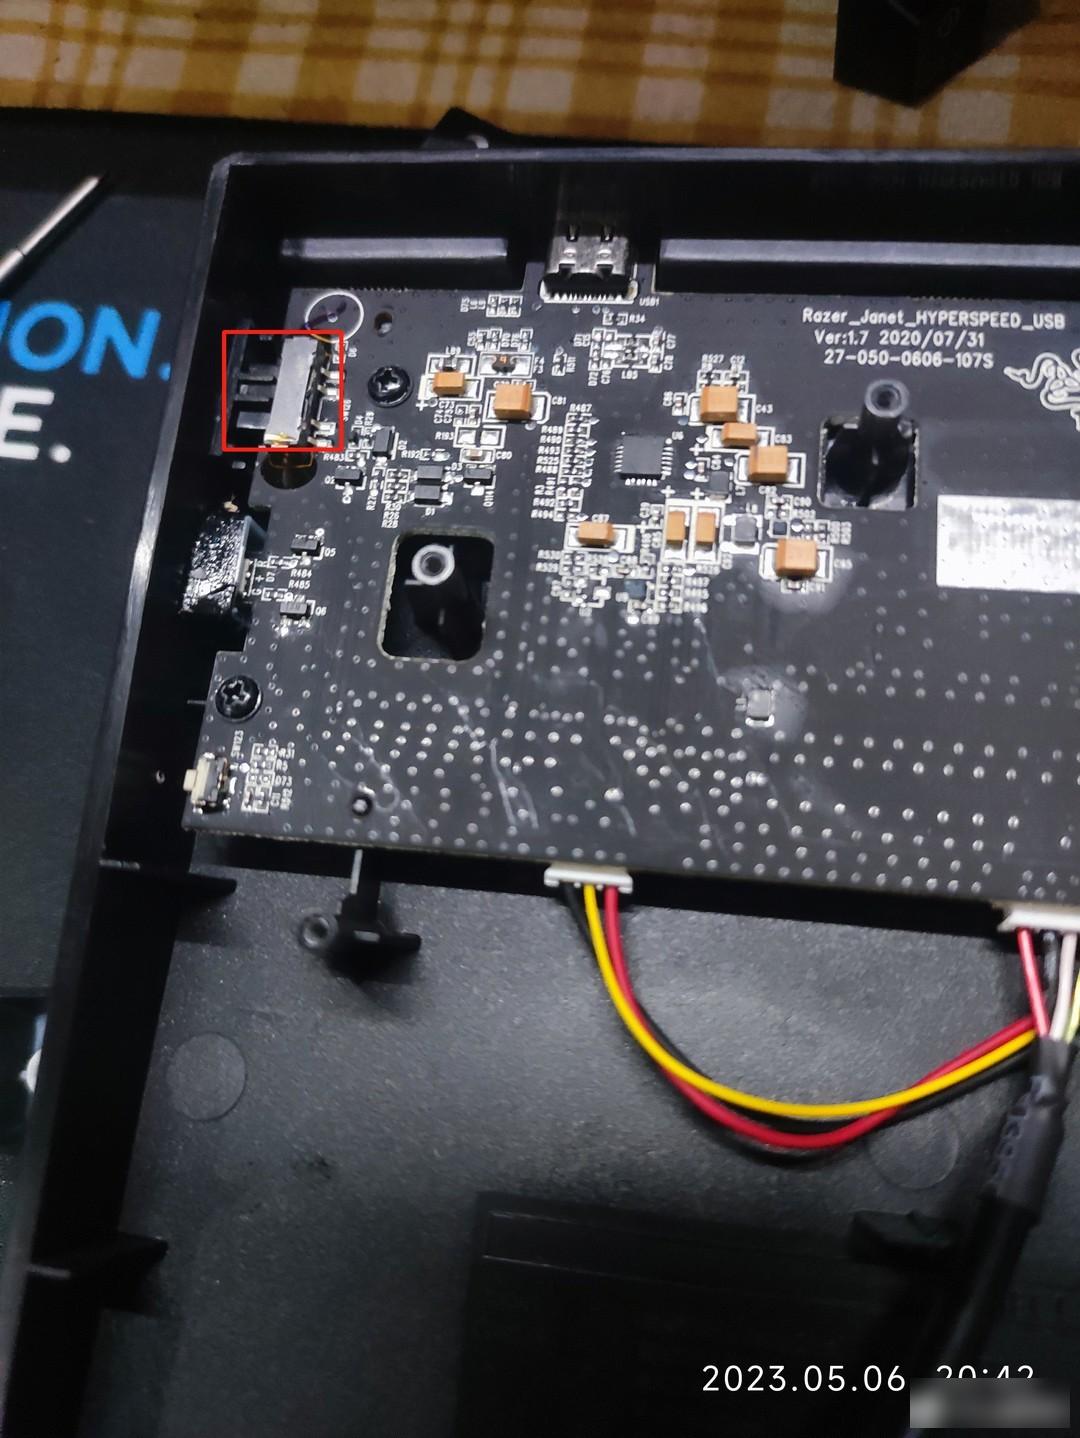 metal sheet
Considering that this position is located under the keyboard shaft body PCB, it is considered to use materials to fill the top of the metal pressure sheet, so that the shaft body PCB can press the metal pressure sheet to ensure good internal contact of the switch. Considering that the material needs to be easy to form and control the filling height and has It has good flexibility and deformation characteristics, and it needs insulation. After thinking about the most suitable tool on hand, it should be hot melt adhesive, so I applied some hot melt adhesive on the switch, waited for it to dry, and then covered it. Look at the error, and then consider cutting the height with a utility knife or adding hot melt glue to adjust the height. It is recommended to leave a height gap of about one millimeter, and then cooperate with the screw to lock it, so as to ensure a certain downward pressure to ensure good internal contact of the switch. .
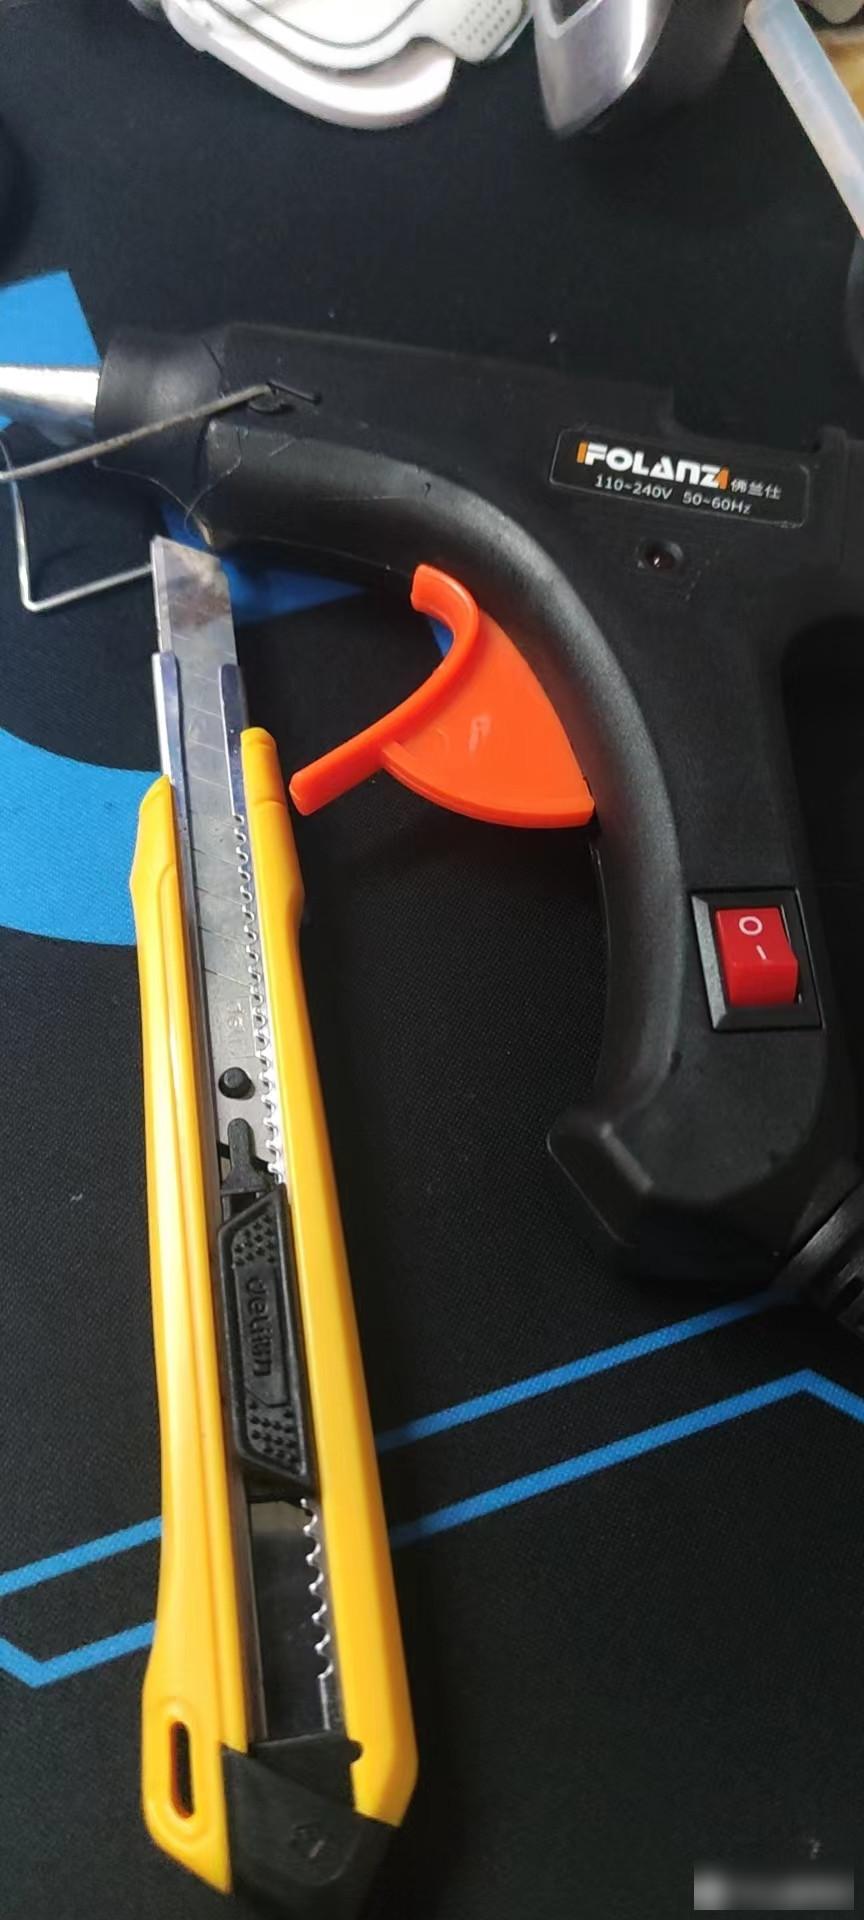 glue gun and utility knife
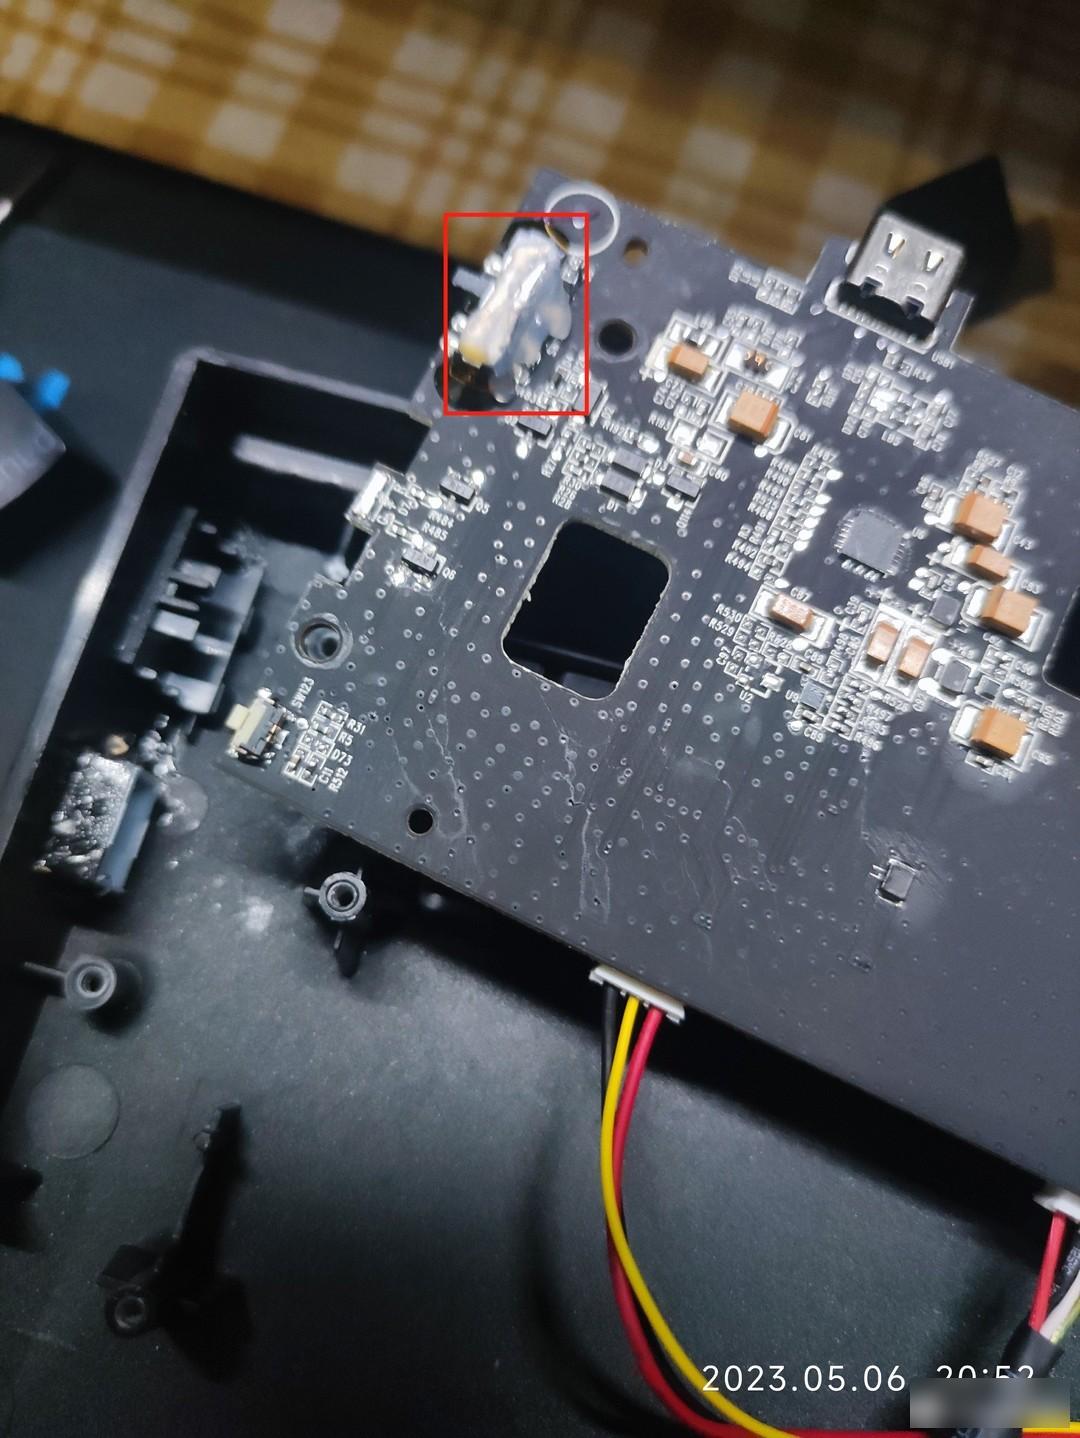 Hot melt adhesive height
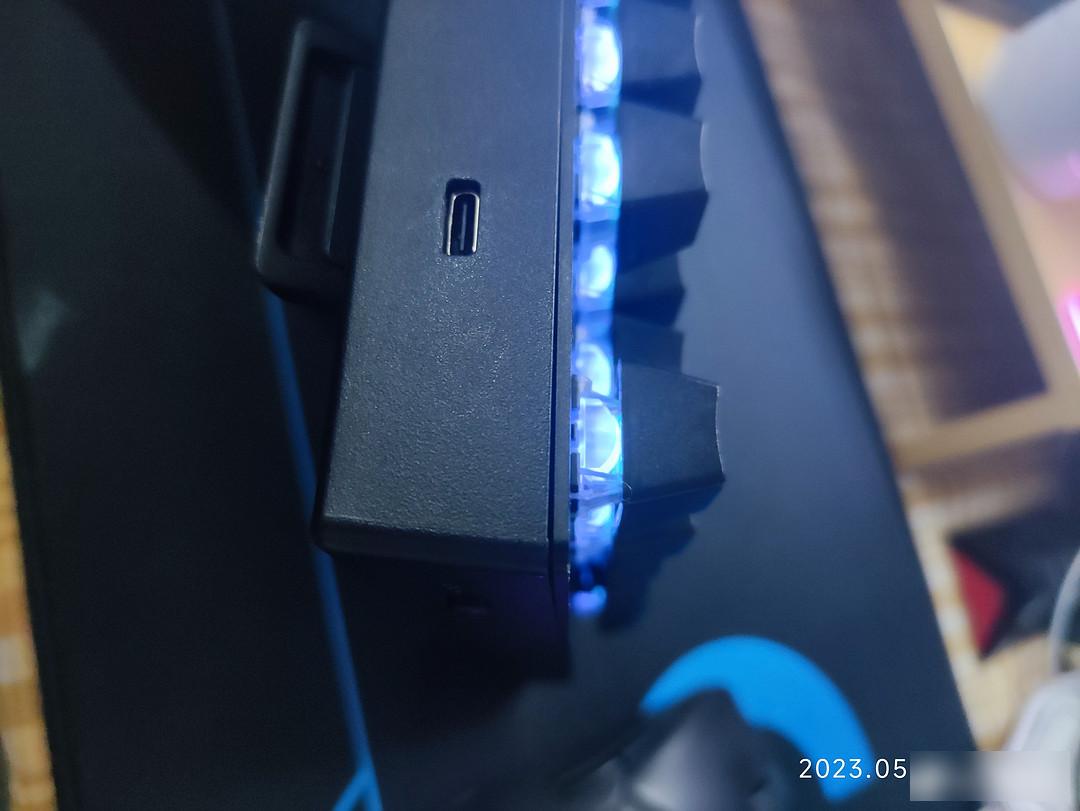 jacked up gap
I also disassembled this keyboard a few times, and checked a lot on the Internet, but I couldn’t find a relevant solution. I even thought about buying a Nailsnake keyboard in the past to replace the small board, but considering the price, it will soon be replaced. Persuaded, the small board is about 50, and the nail snake unrepaired keyboard is about 80-90, and the repaired nail snake will cost more than 200. In the end, my trash guy heart organized me to do this, and finally today, by chance, I fixed this problem. Although the repair is not perfect (there is a millimeter gap over there, but you can't see that place normally), but fortunately it saved this money.
Factory Adress: No.11,FengpingRoad
