[Start from scratch] Big key tuning
Hi everyone, it's me again. Didn’t I DIY a mechanical keyboard last time? After a month of high-intensity use, I finally couldn’t stand its extremely stretchy big keys, so I decided to adjust it myself, so there is a picture in everyone’s head. This thing I saw - the ear PCB satellite shaft spacer package.
In fact, if you adjust it yourself, you don’t need to buy this thing. I just placed an order for the sake of saving trouble, and seeing that there are quite a lot of things contained in it, so I have today’s article.
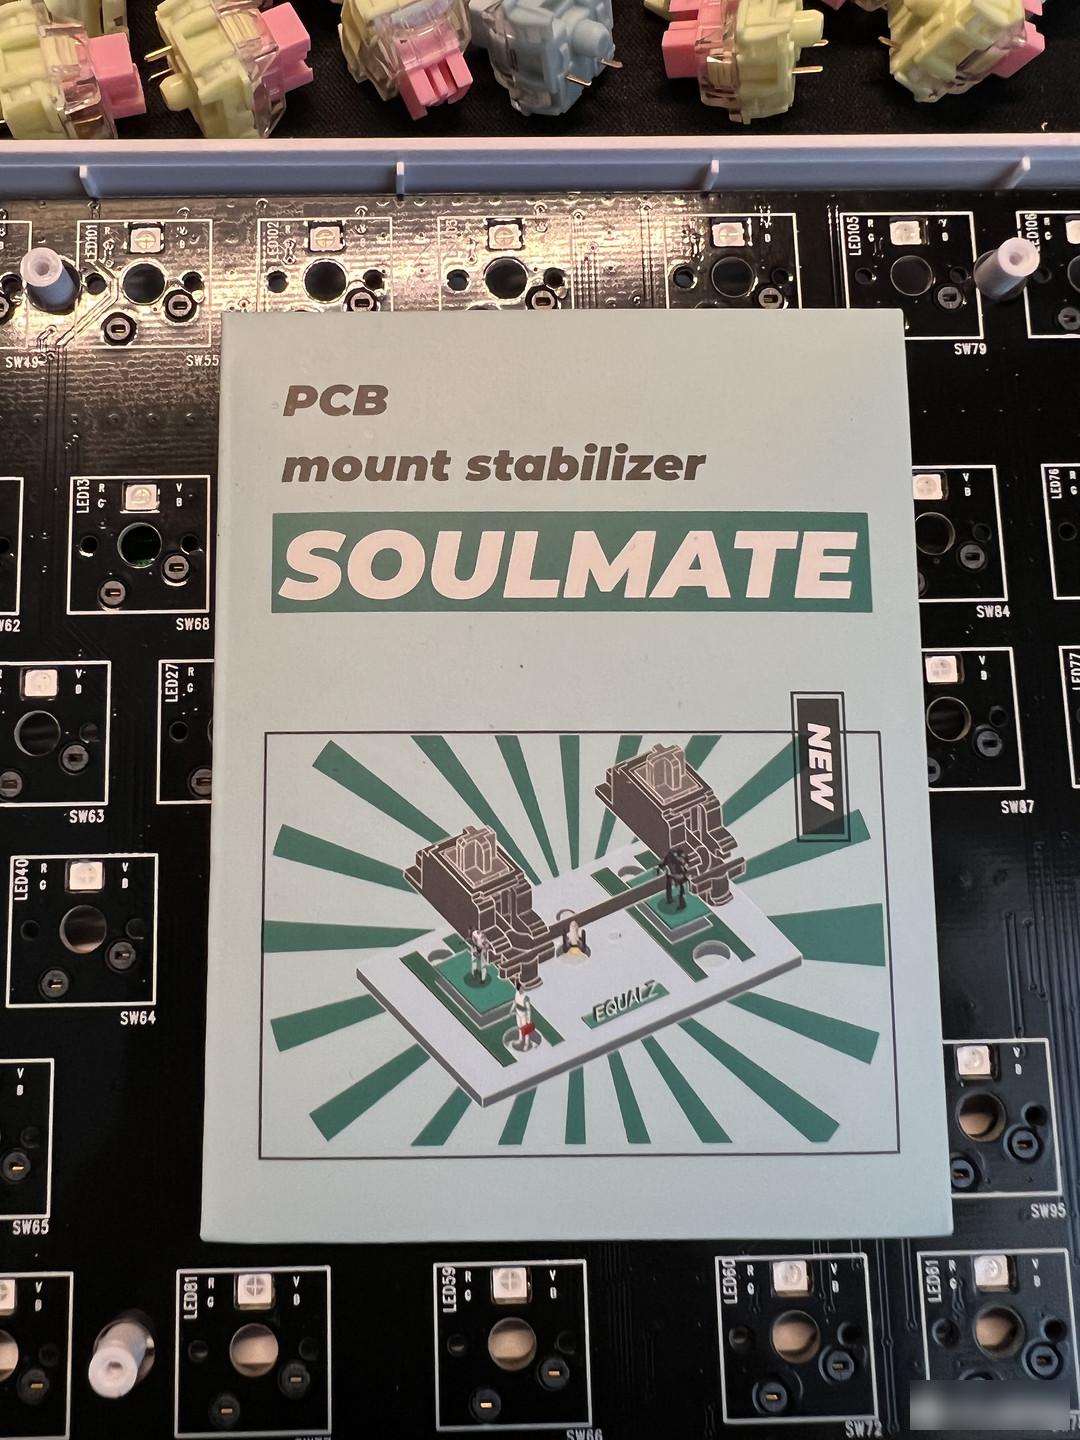 this is it
this is it
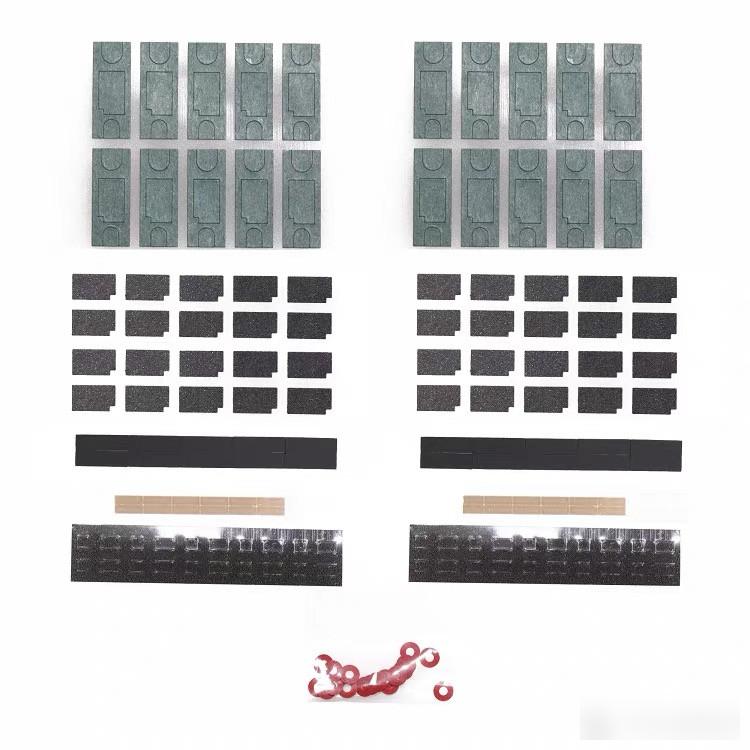 These things are all included in it. Since I forgot to take pictures, I just used the pictures of the merchants directly.
These things are all included in it. Since I forgot to take pictures, I just used the pictures of the merchants directly.
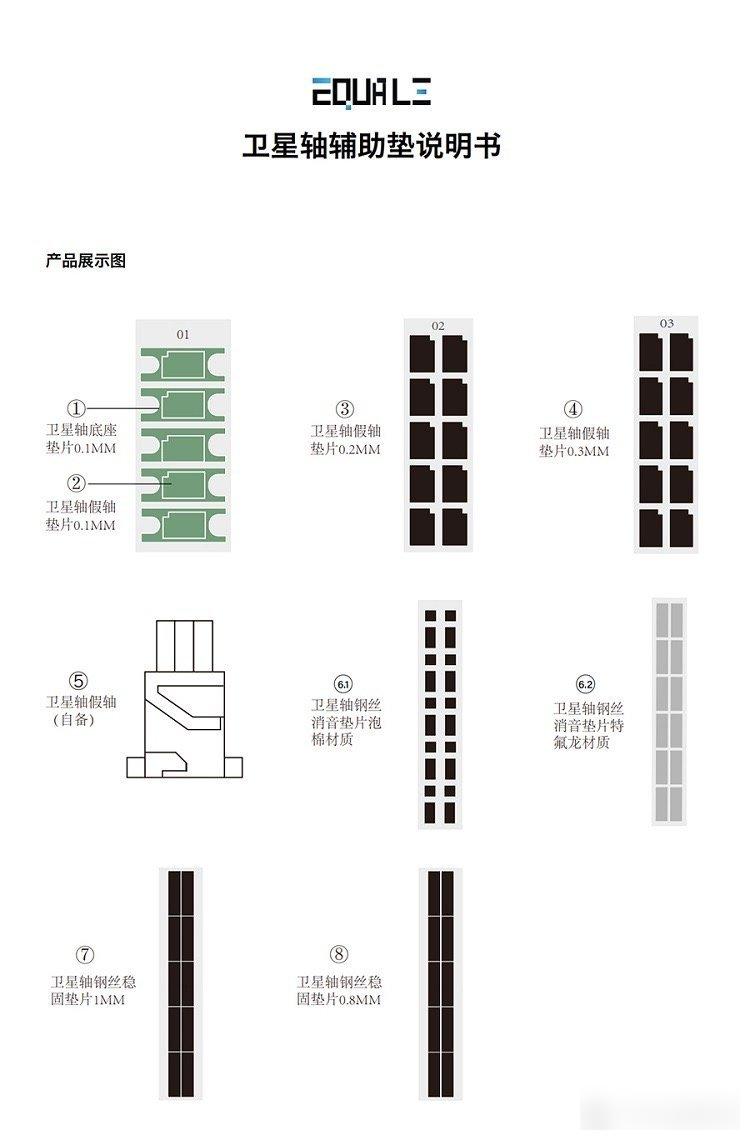 This is the basic description of each content, and it can be used basically
This is the basic description of each content, and it can be used basically
 Restore...
Restore...
The first thing is to remove the installed keyboard and restore it to the way it was when it was just received by express delivery...
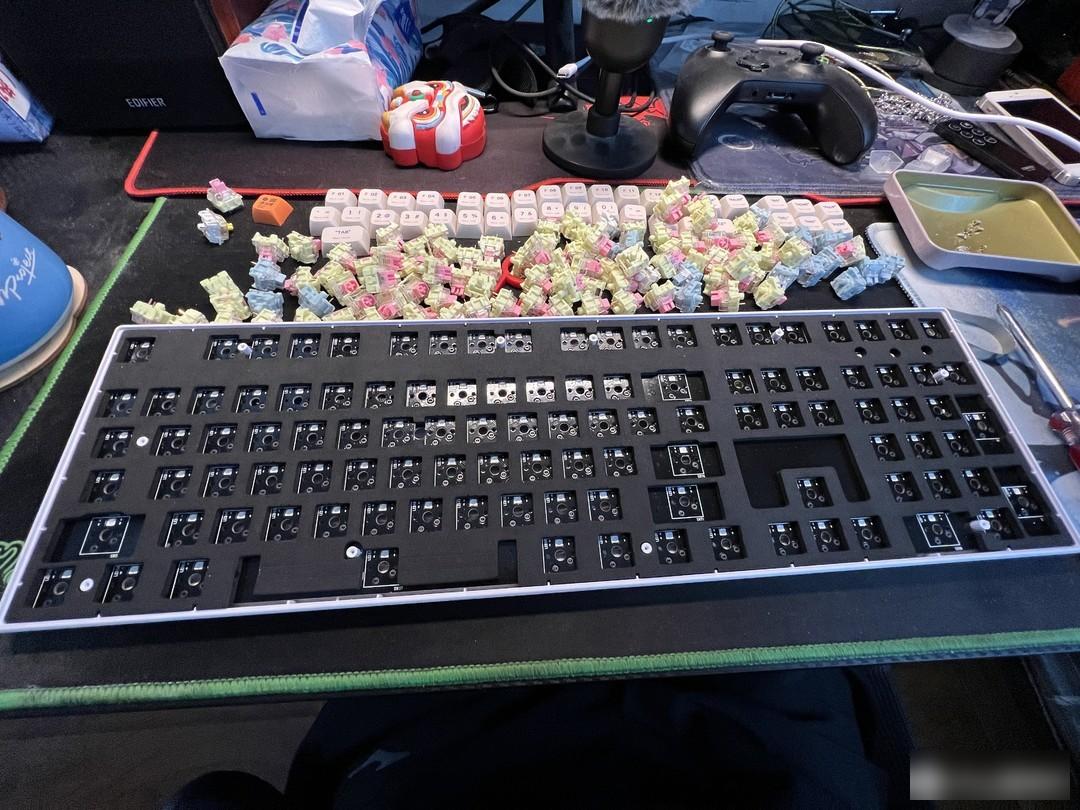 Remove the panel
Remove the panel
Then remove the screws on the panel, remove the panel, and you can see that there is a layer of sound-absorbing cotton under the panel, which cannot be compared with those manufacturers who are crazy about stacking materials. Their sound-absorbing cotton and silicone sound-absorbing pads are really strong, but considering As long as the price of my kit is less than 200, it doesn't seem to be an unacceptable thing.
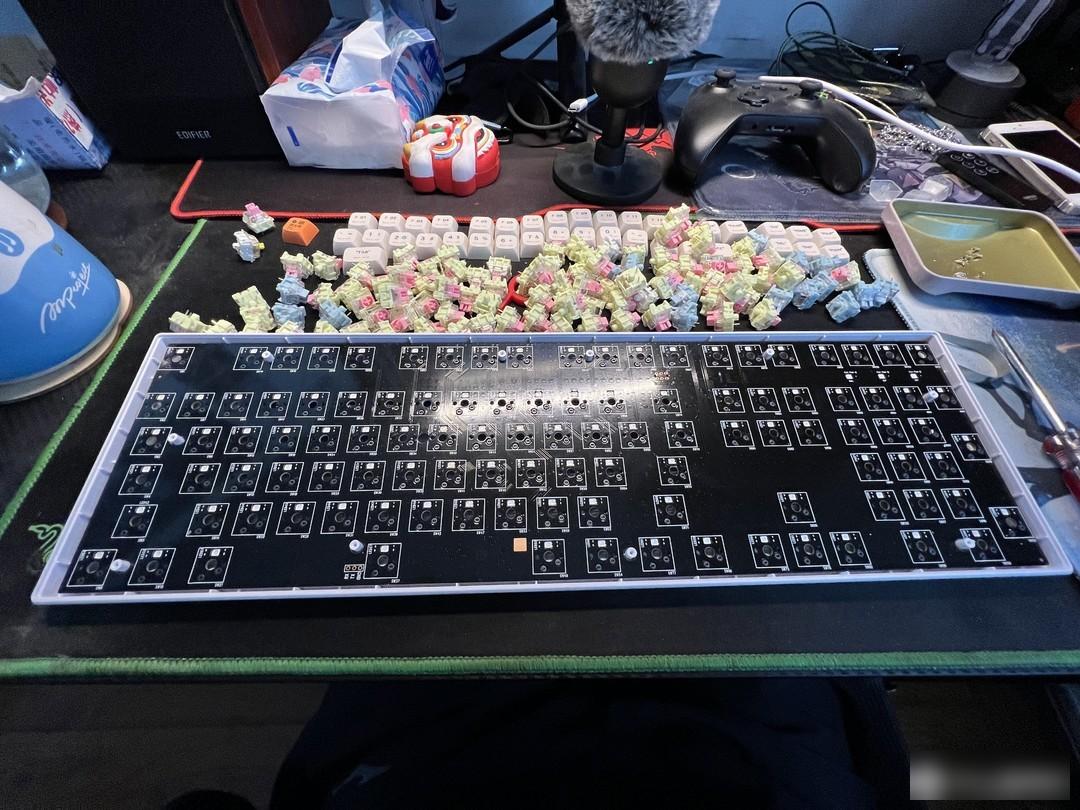 Take out the sound-absorbing cotton and leak out the PCB board
Take out the sound-absorbing cotton and leak out the PCB board
Then we removed the sound-absorbing cotton and leaked the PCB board below. This is the main construction site of our transformation~
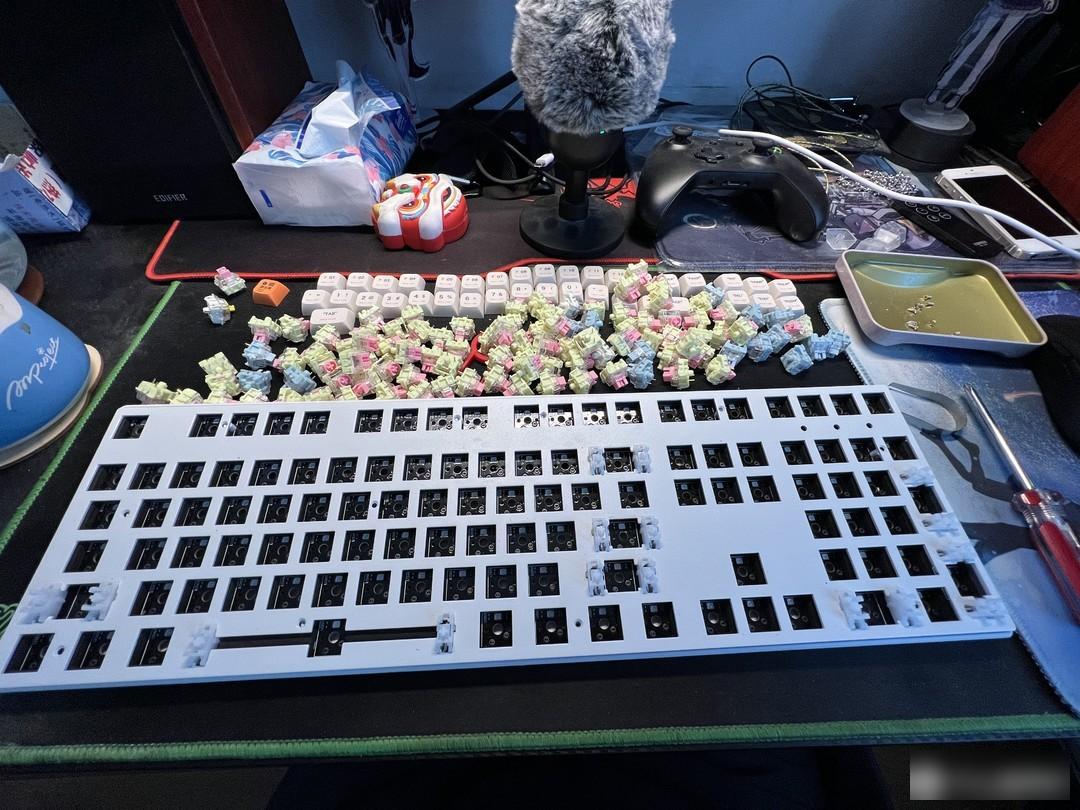
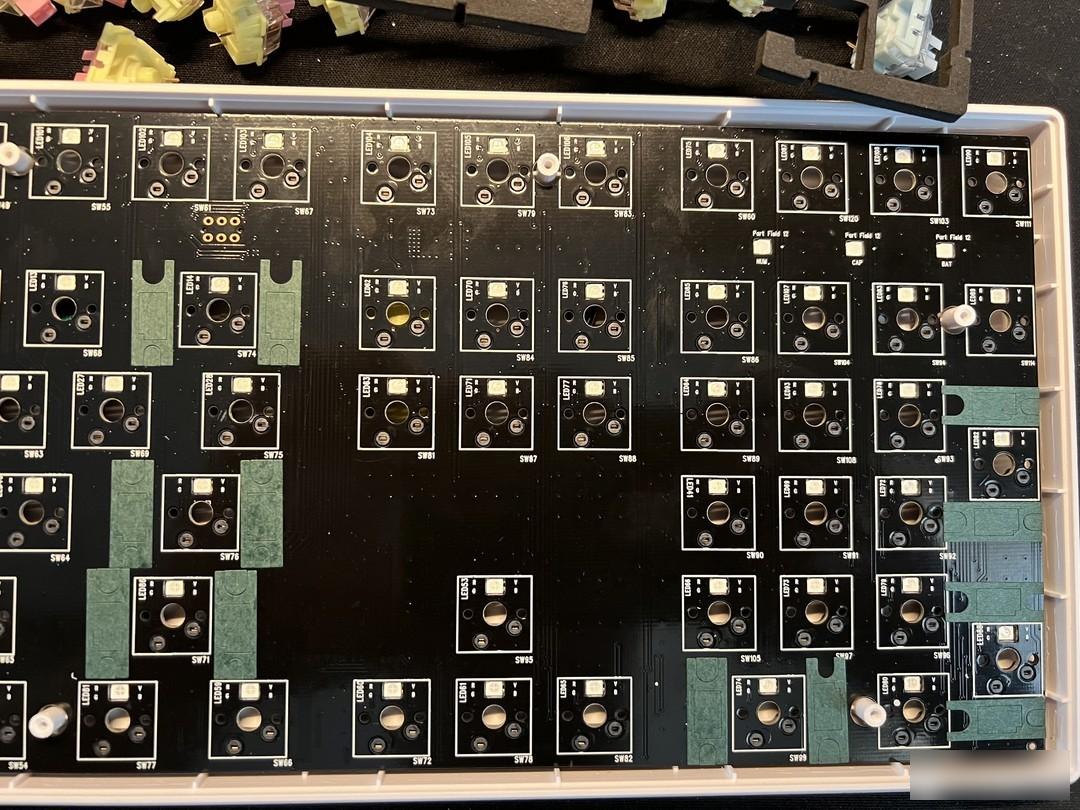 Paste the spacers on the satellite shaft and shaft seat
Paste the spacers on the satellite shaft and shaft seat
Then we take out the spacers of the satellite shaft seat and paste them according to the position; then use the satellite shaft dummy shaft spacers to stick them in the middle, then the construction on the PCB is over.
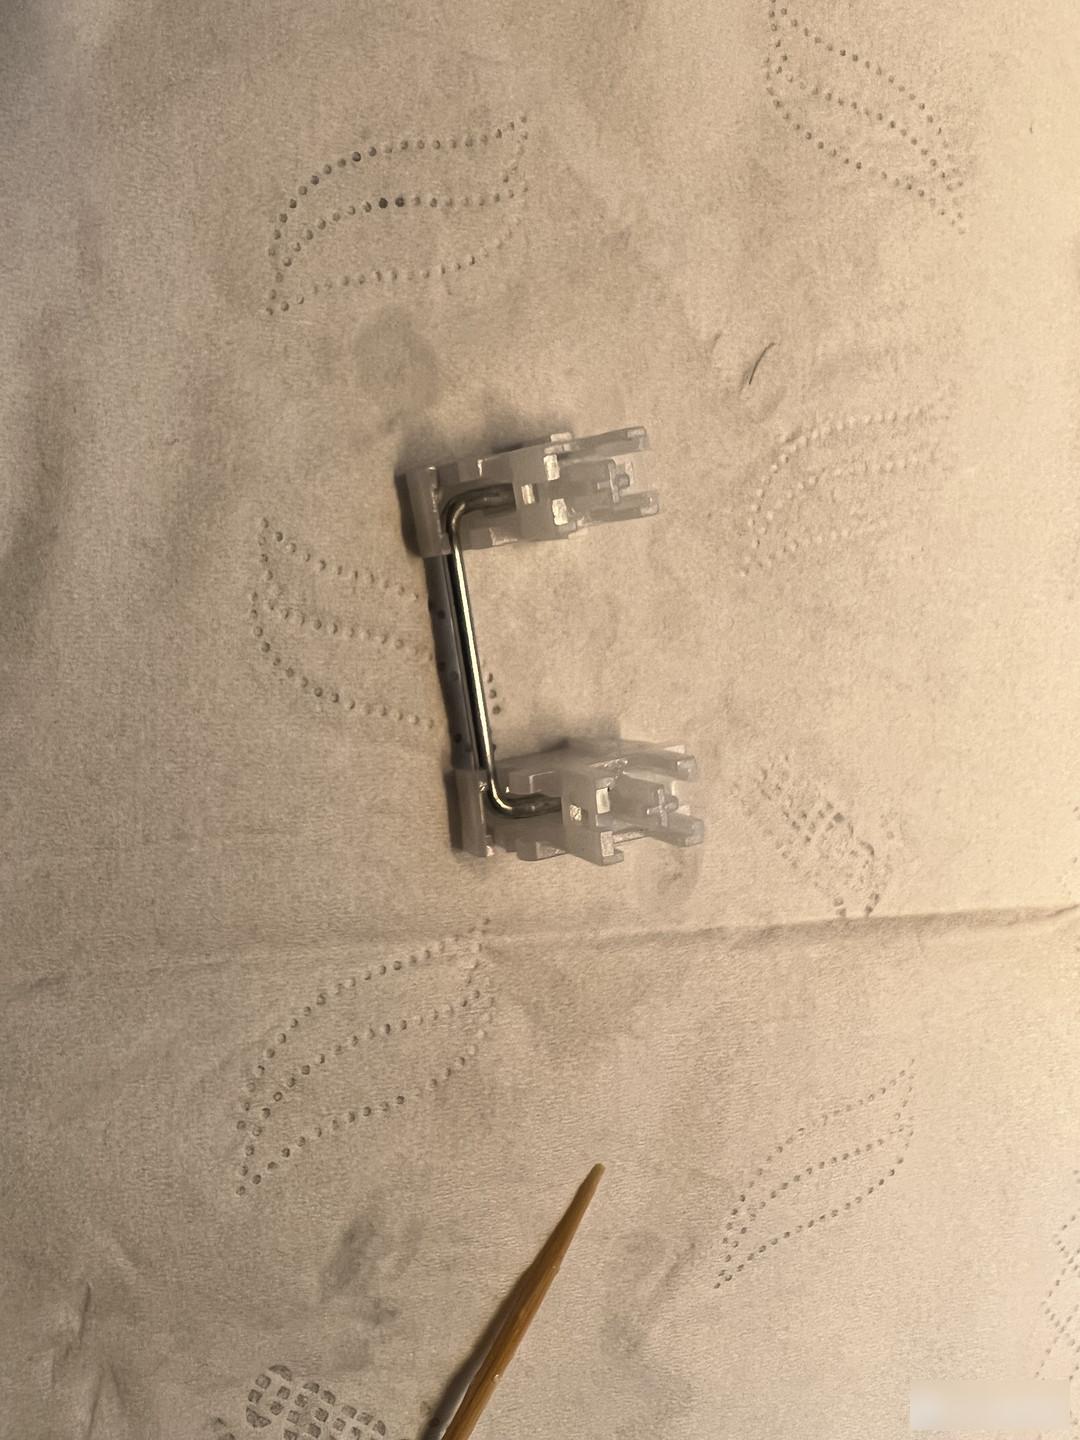 This is the satellite axis
This is the satellite axis
The last job is to moisten the satellite axis. You can find the video tutorial for the specific steps. I won’t go into details here. This process is not very complicated, but it is very time-consuming. The main purpose of this transformation Time is wasted on this...
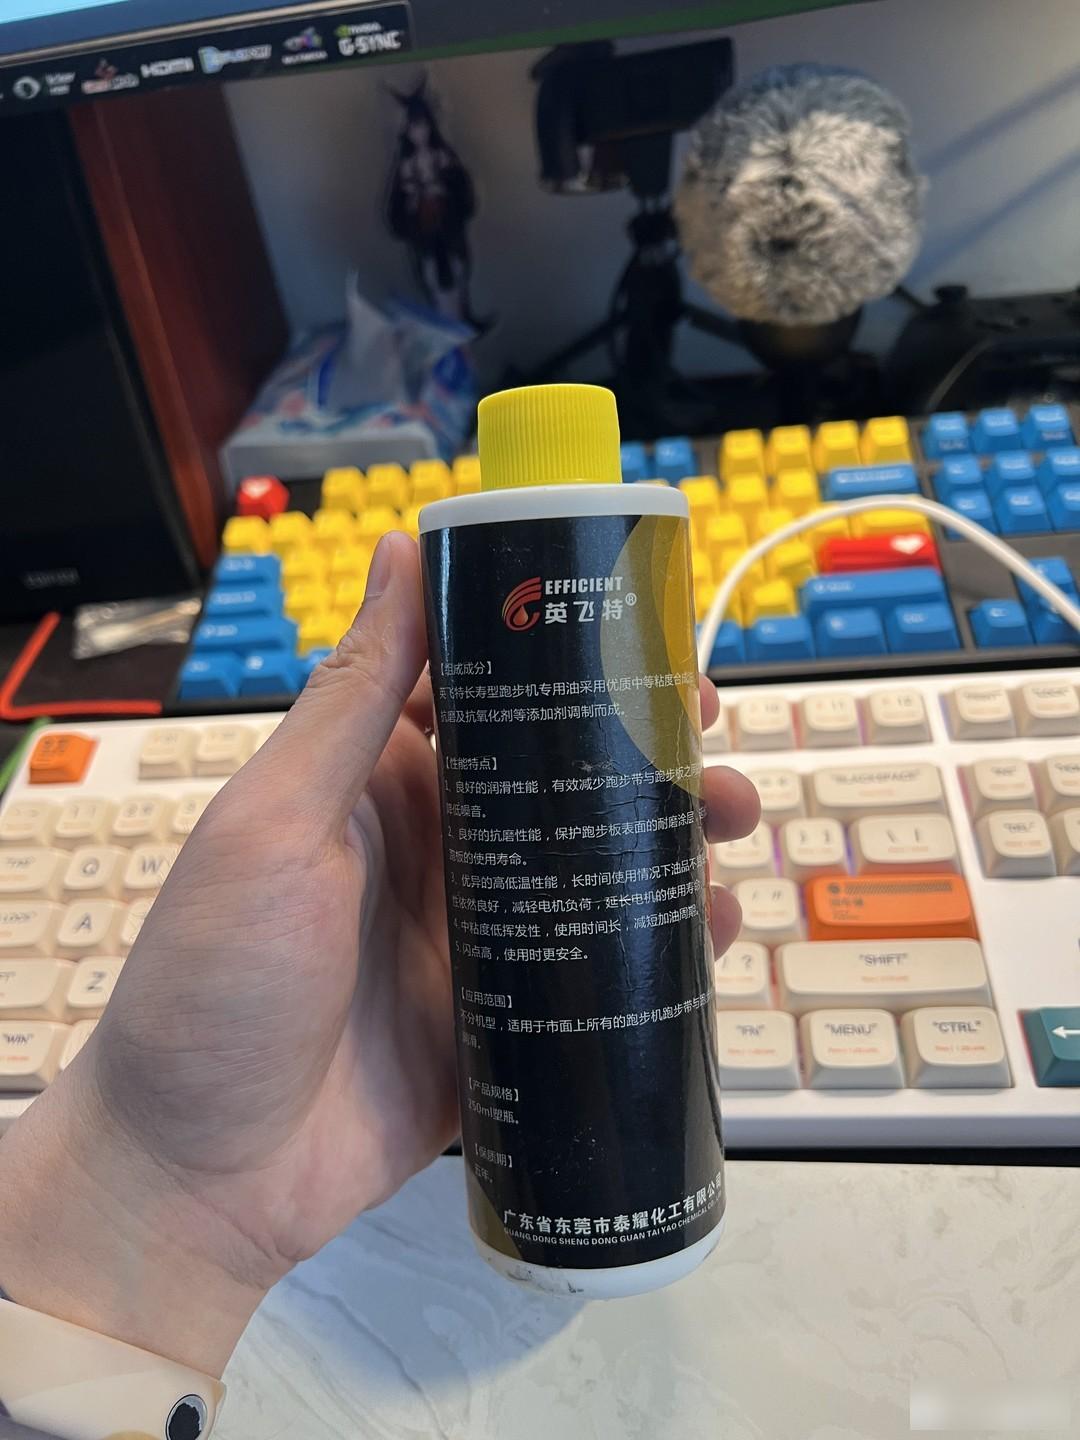 This is the lubricant used this time
This is the lubricant used this time
Finally, the lubricant used this time, yes, it is the lubricant used on my treadmill~

You see, the judges here have worked hard. It turns out that the large keys feel relatively loose, and there is a very obvious wire sound. Now after an afternoon of struggle, the large keys of this keyboard have been cleaned up by me. The level is basically acceptable, limited by the level of the satellite axis itself, the possibility of further progress is not particularly great, so this transformation process will stop here~
Well, if friends want to improve the feel of the large keys of their keyboards by themselves, you can buy a set of this set like me. Part of it can be cut down and pasted on the PCB board, and the lubricant can be used directly with hand cream.

The final summary: For those who don’t like or are not good at tossing and novices, just buy a mass-produced keyboard and you’re done~

Factory Adress: No.11,FengpingRoad