Typhoon Nasar is coming, take a refreshing bath for the old keyboard
The collection in 2015 has been kept on the desktop, but it is not used on the main machine. When using it recently, I found that sometimes the contact is poor. I wonder if it has aged for a long time. Buttons do not respond.
Riding on Typhoon Nasha, I just happened to be idle at home. Ready to take it apart and have a look.
 Typhoon is coming
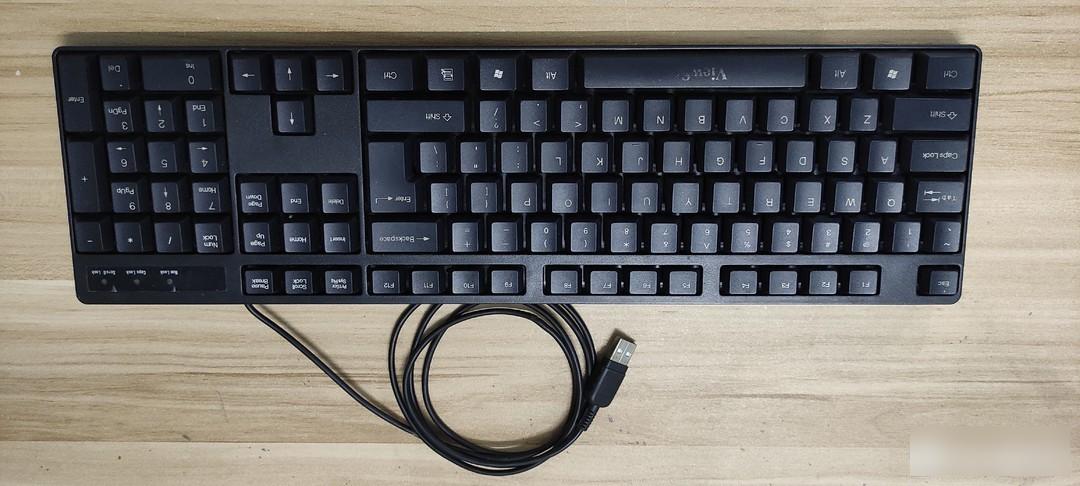
When I took it apart, there was a lot of dust around it. Looking at it from the front, it seems that it can fight for a few more years. At least the silkscreen is quite clear.
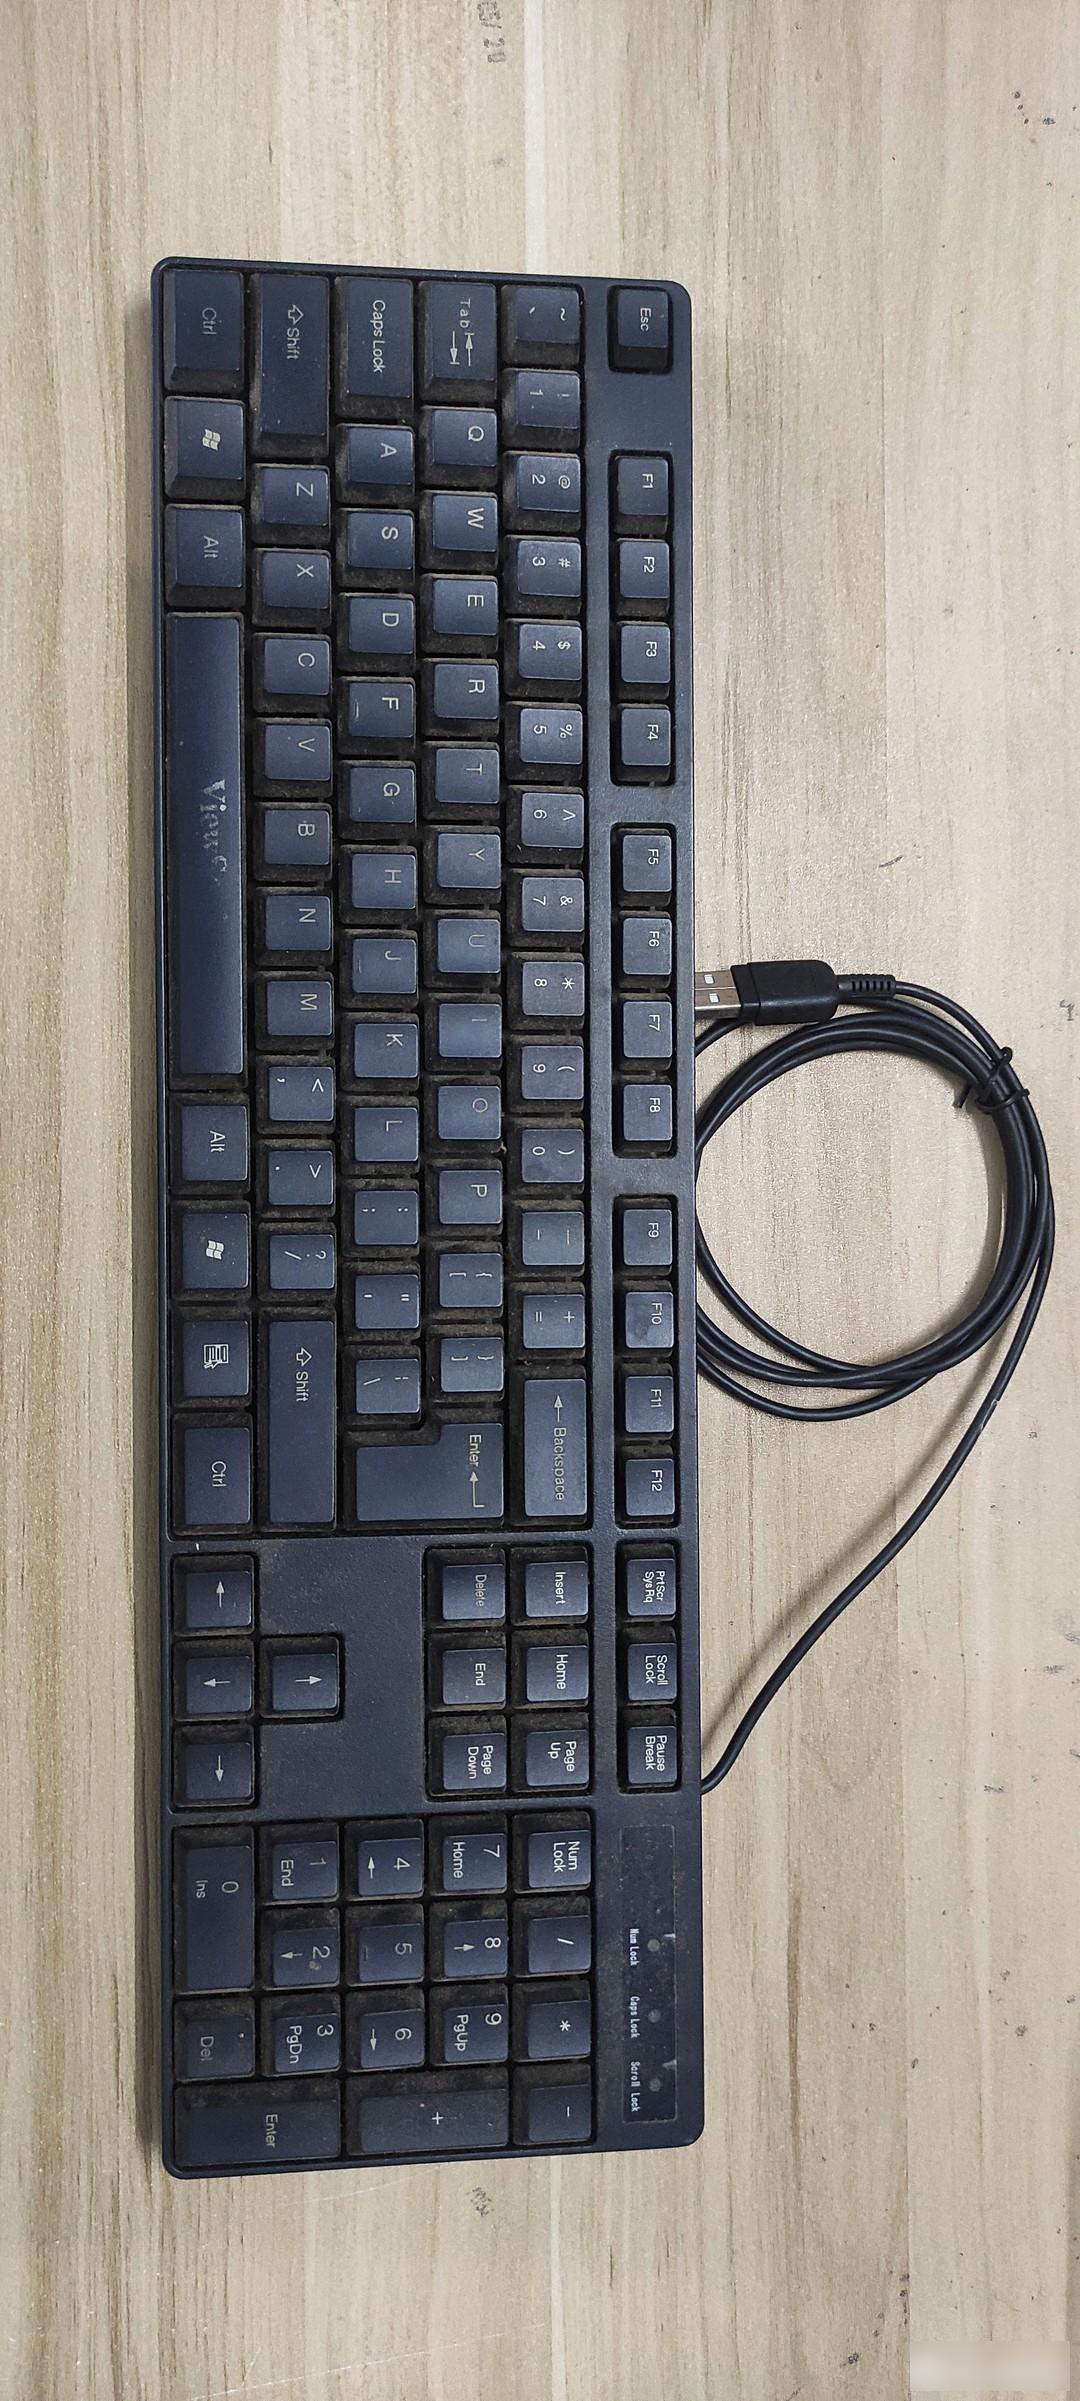 good condition
I can't even see the sign. It was a keyboard given as a gift. I didn't care what brand it was, as long as it worked.
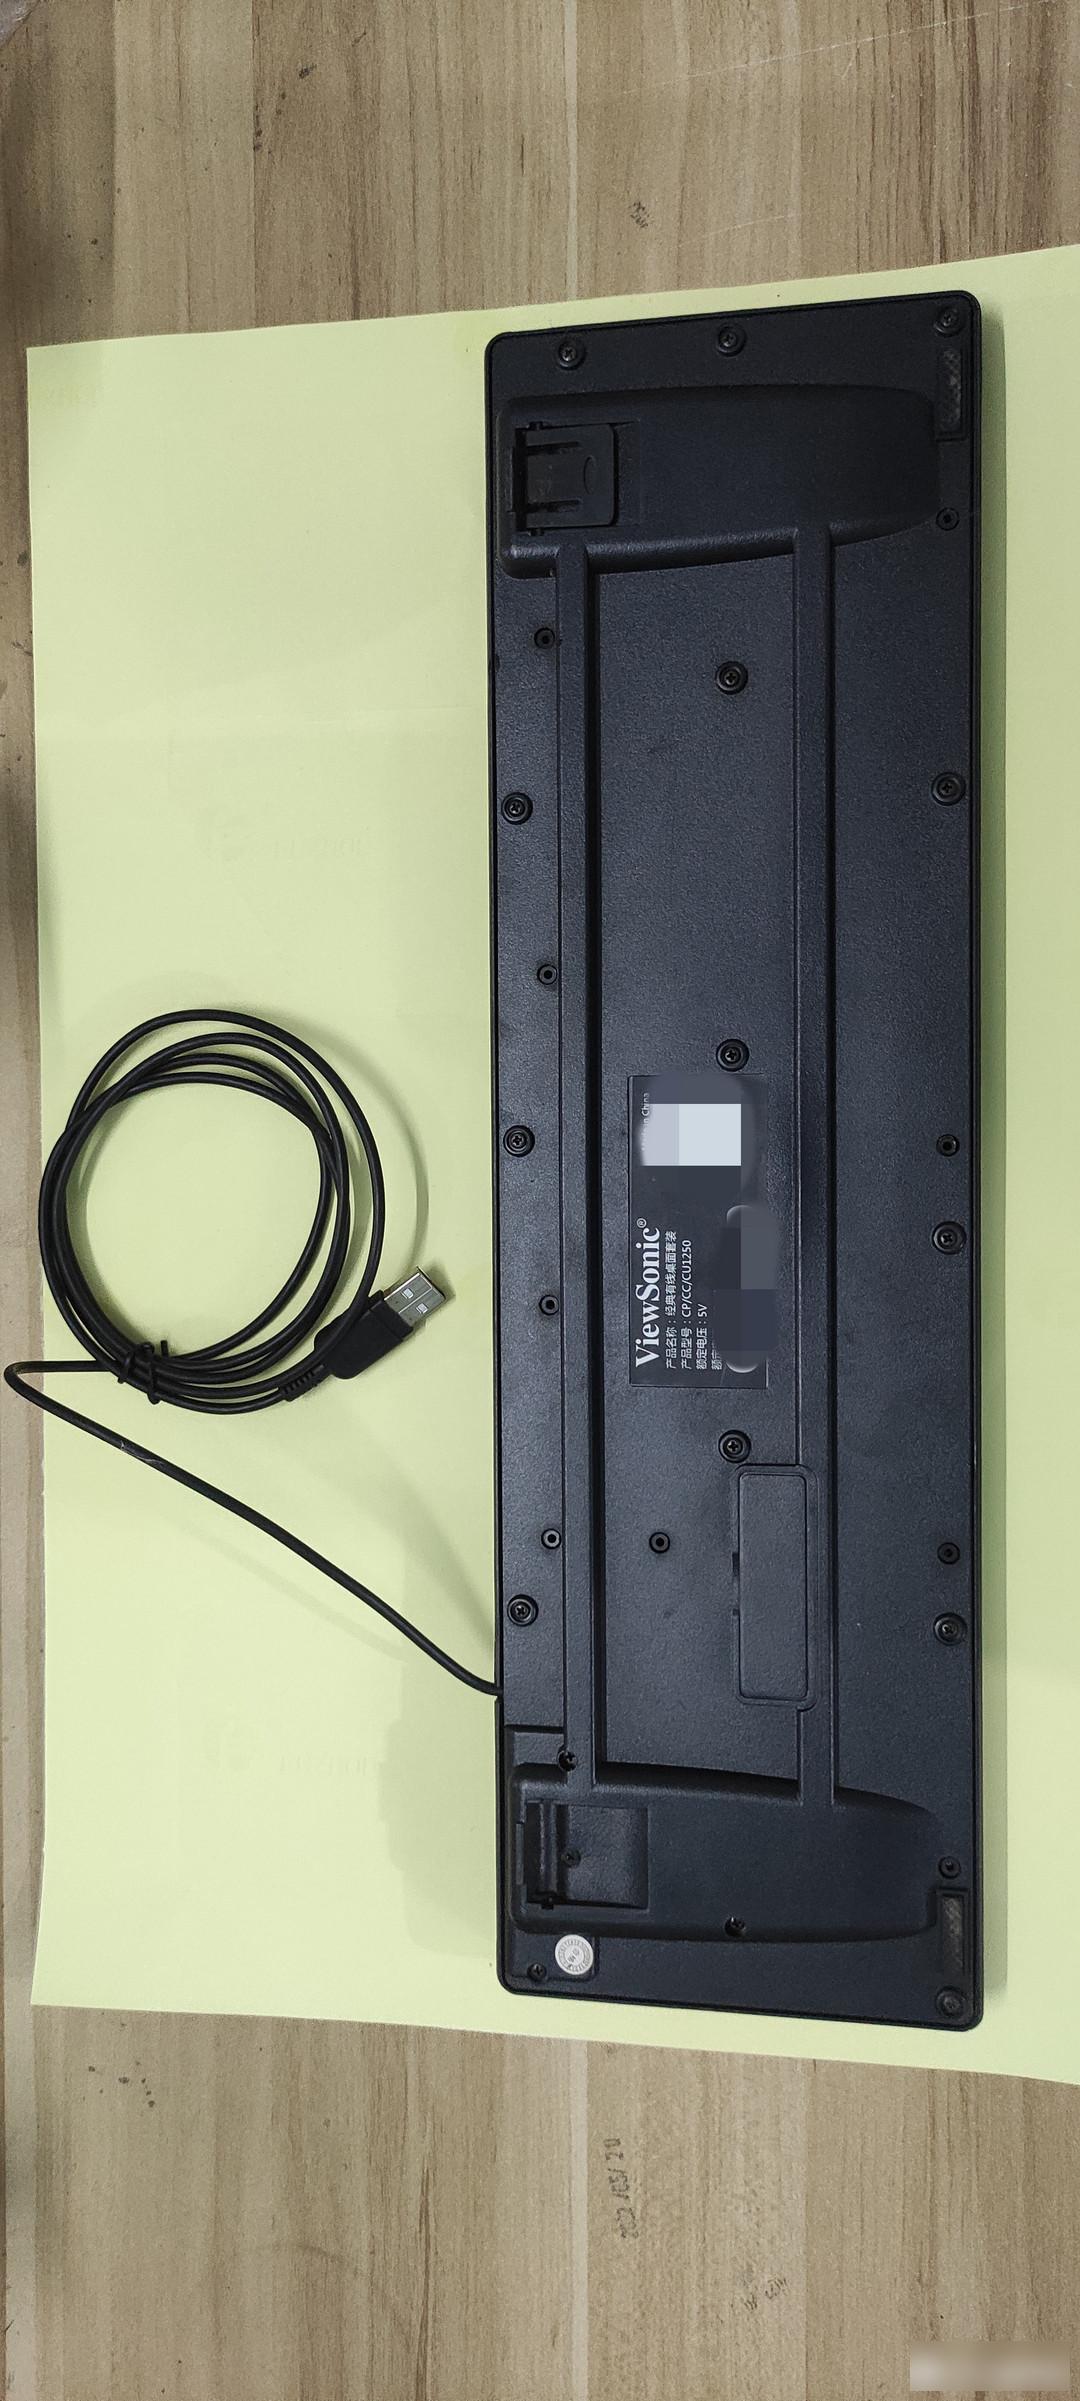 keyboard back
Peel off the warranty sticker. It has long since failed. It still sticks fine though. Usually there is a screw hidden under this sticker. It seems to be an international practice.
 Remove the warranty sticker
When I took it apart for the first time, I found that there were two types of screws.
 flat head and round head
No matter, I chose to remove the most screws, but found that it still couldn't be removed, so I had to remove all the screws.
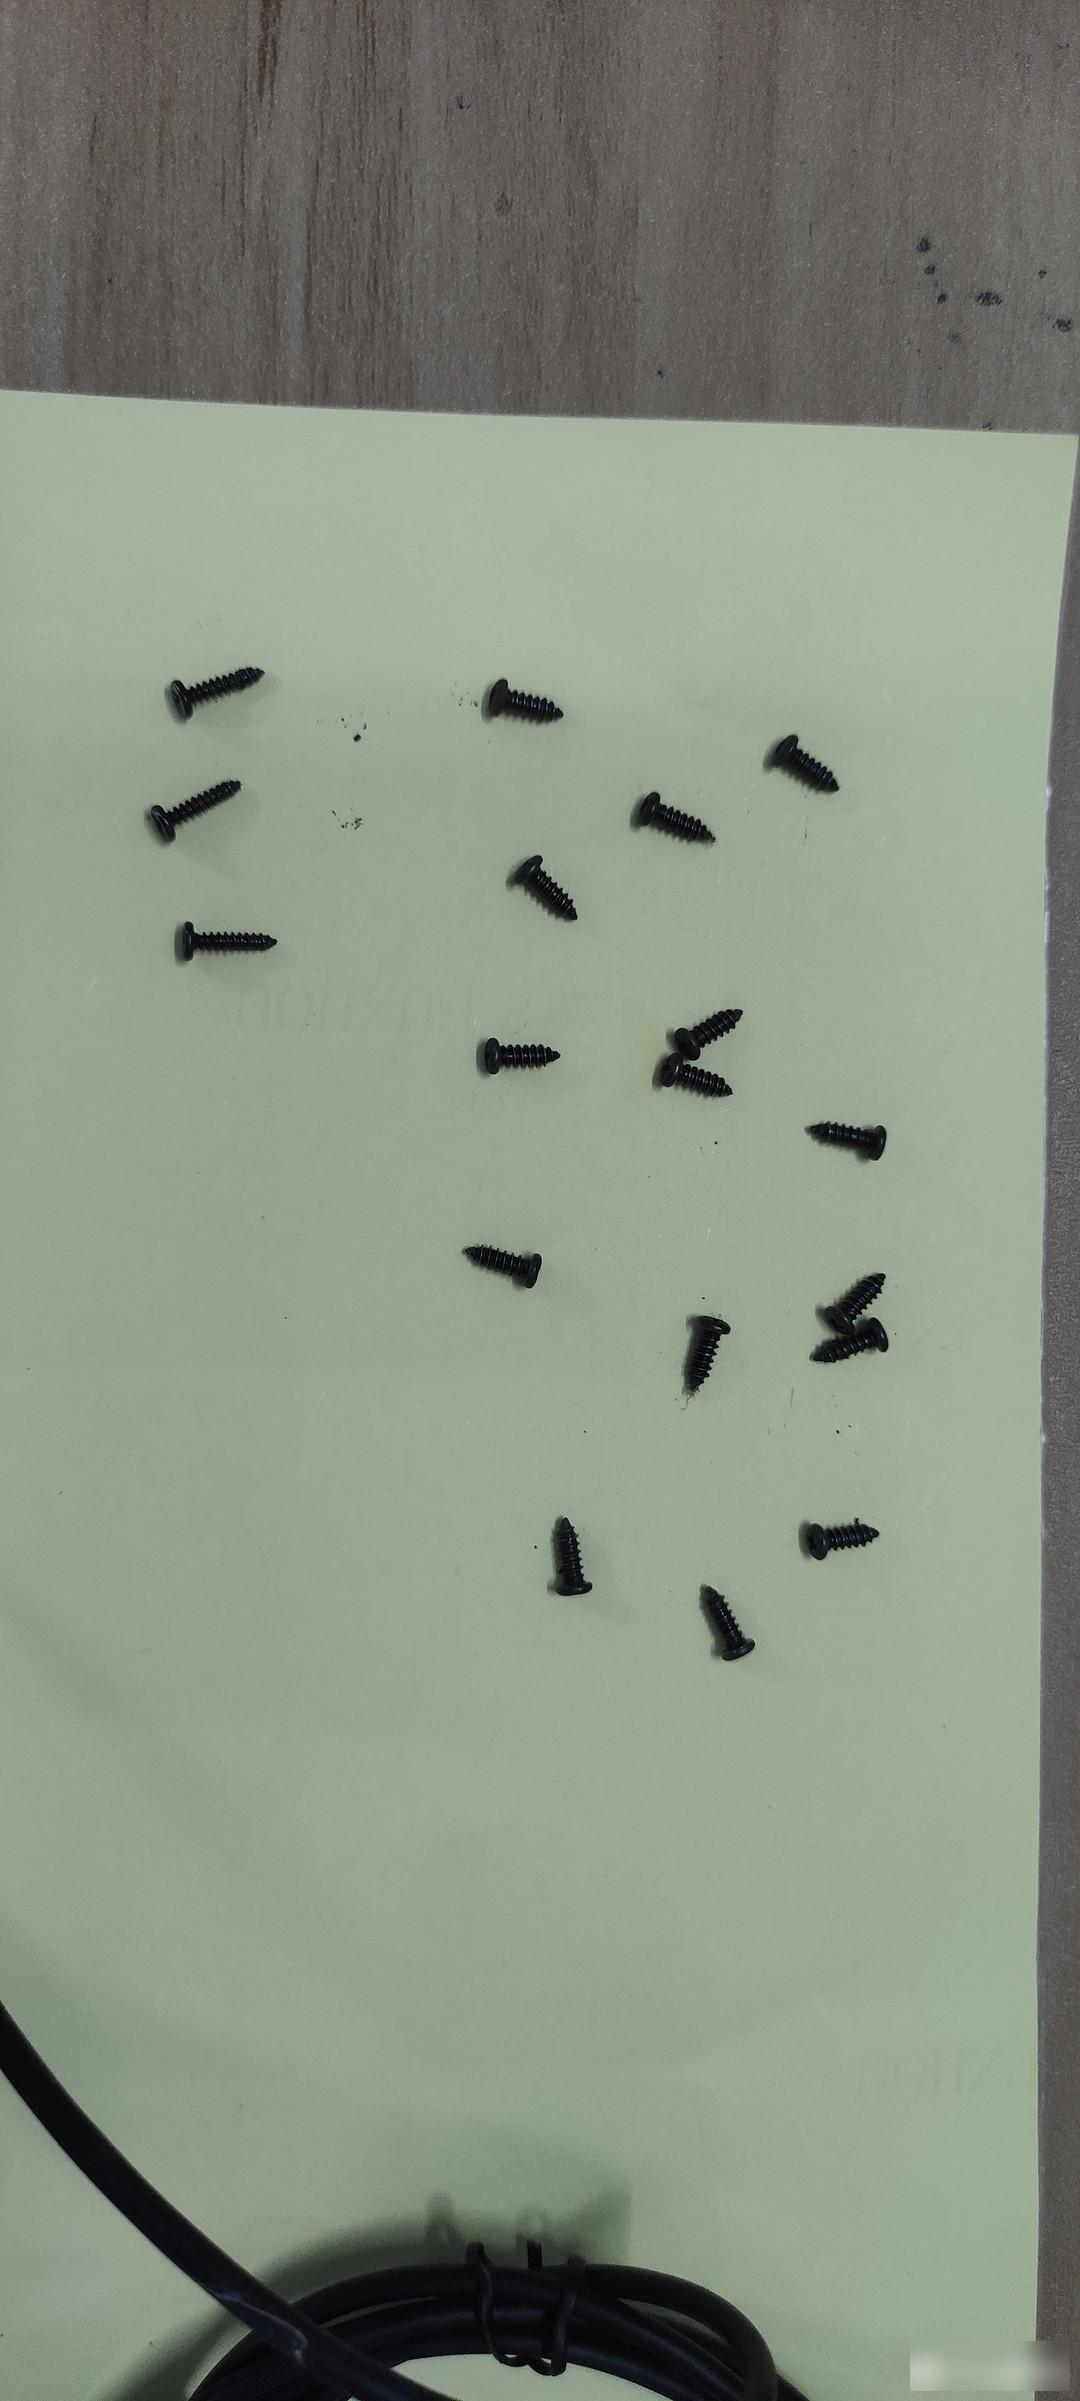 screw
screw
It turns out that the three long screws are used to fix the small board. There is also a soft rubber strip on it.
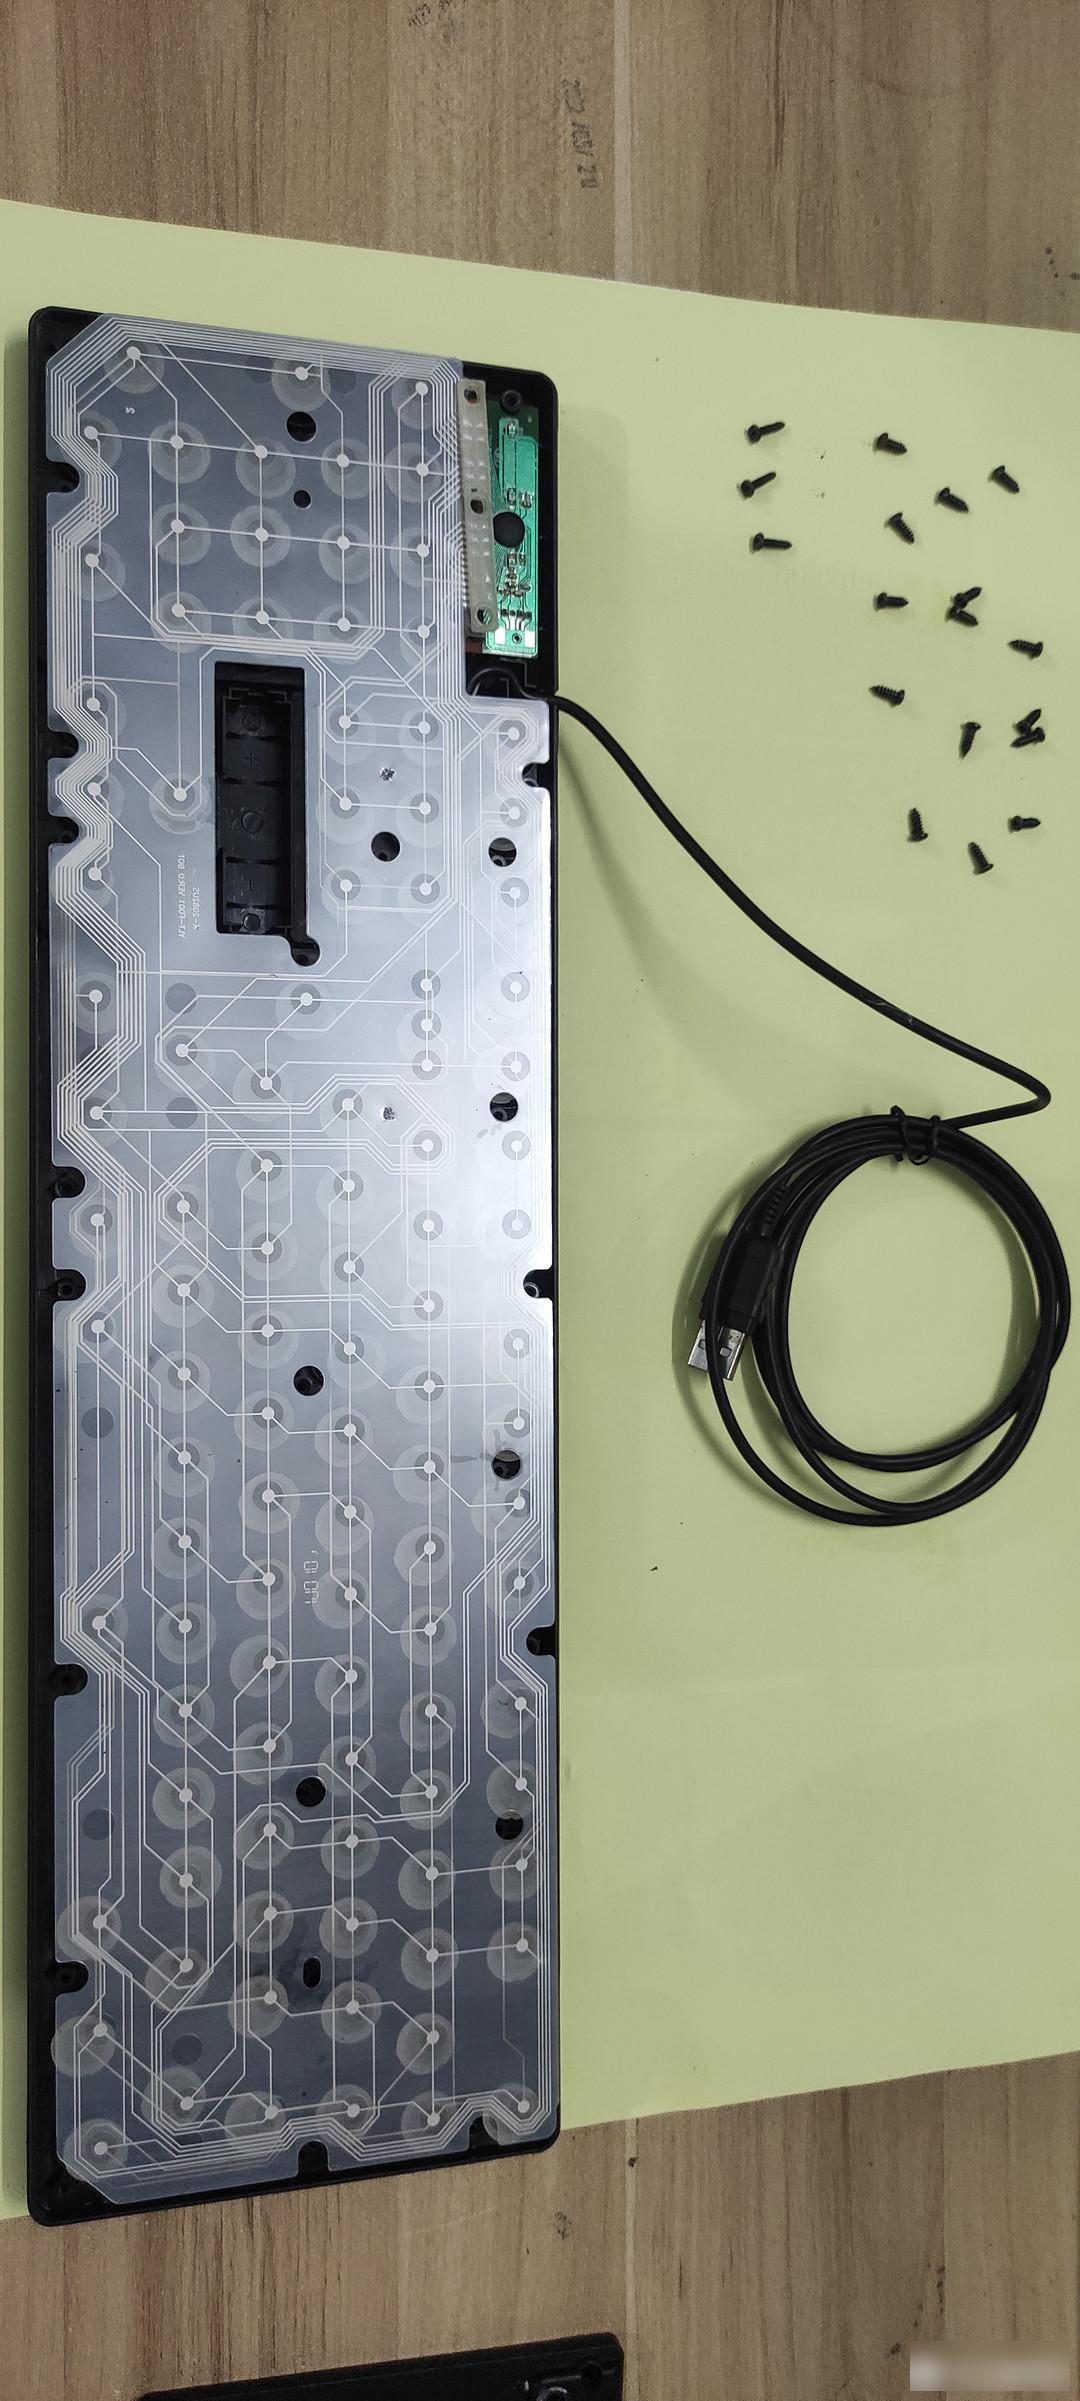 disassemble the back
Put away three screws of different specifications.
 Take out the adhesive strip pressed on the small plate
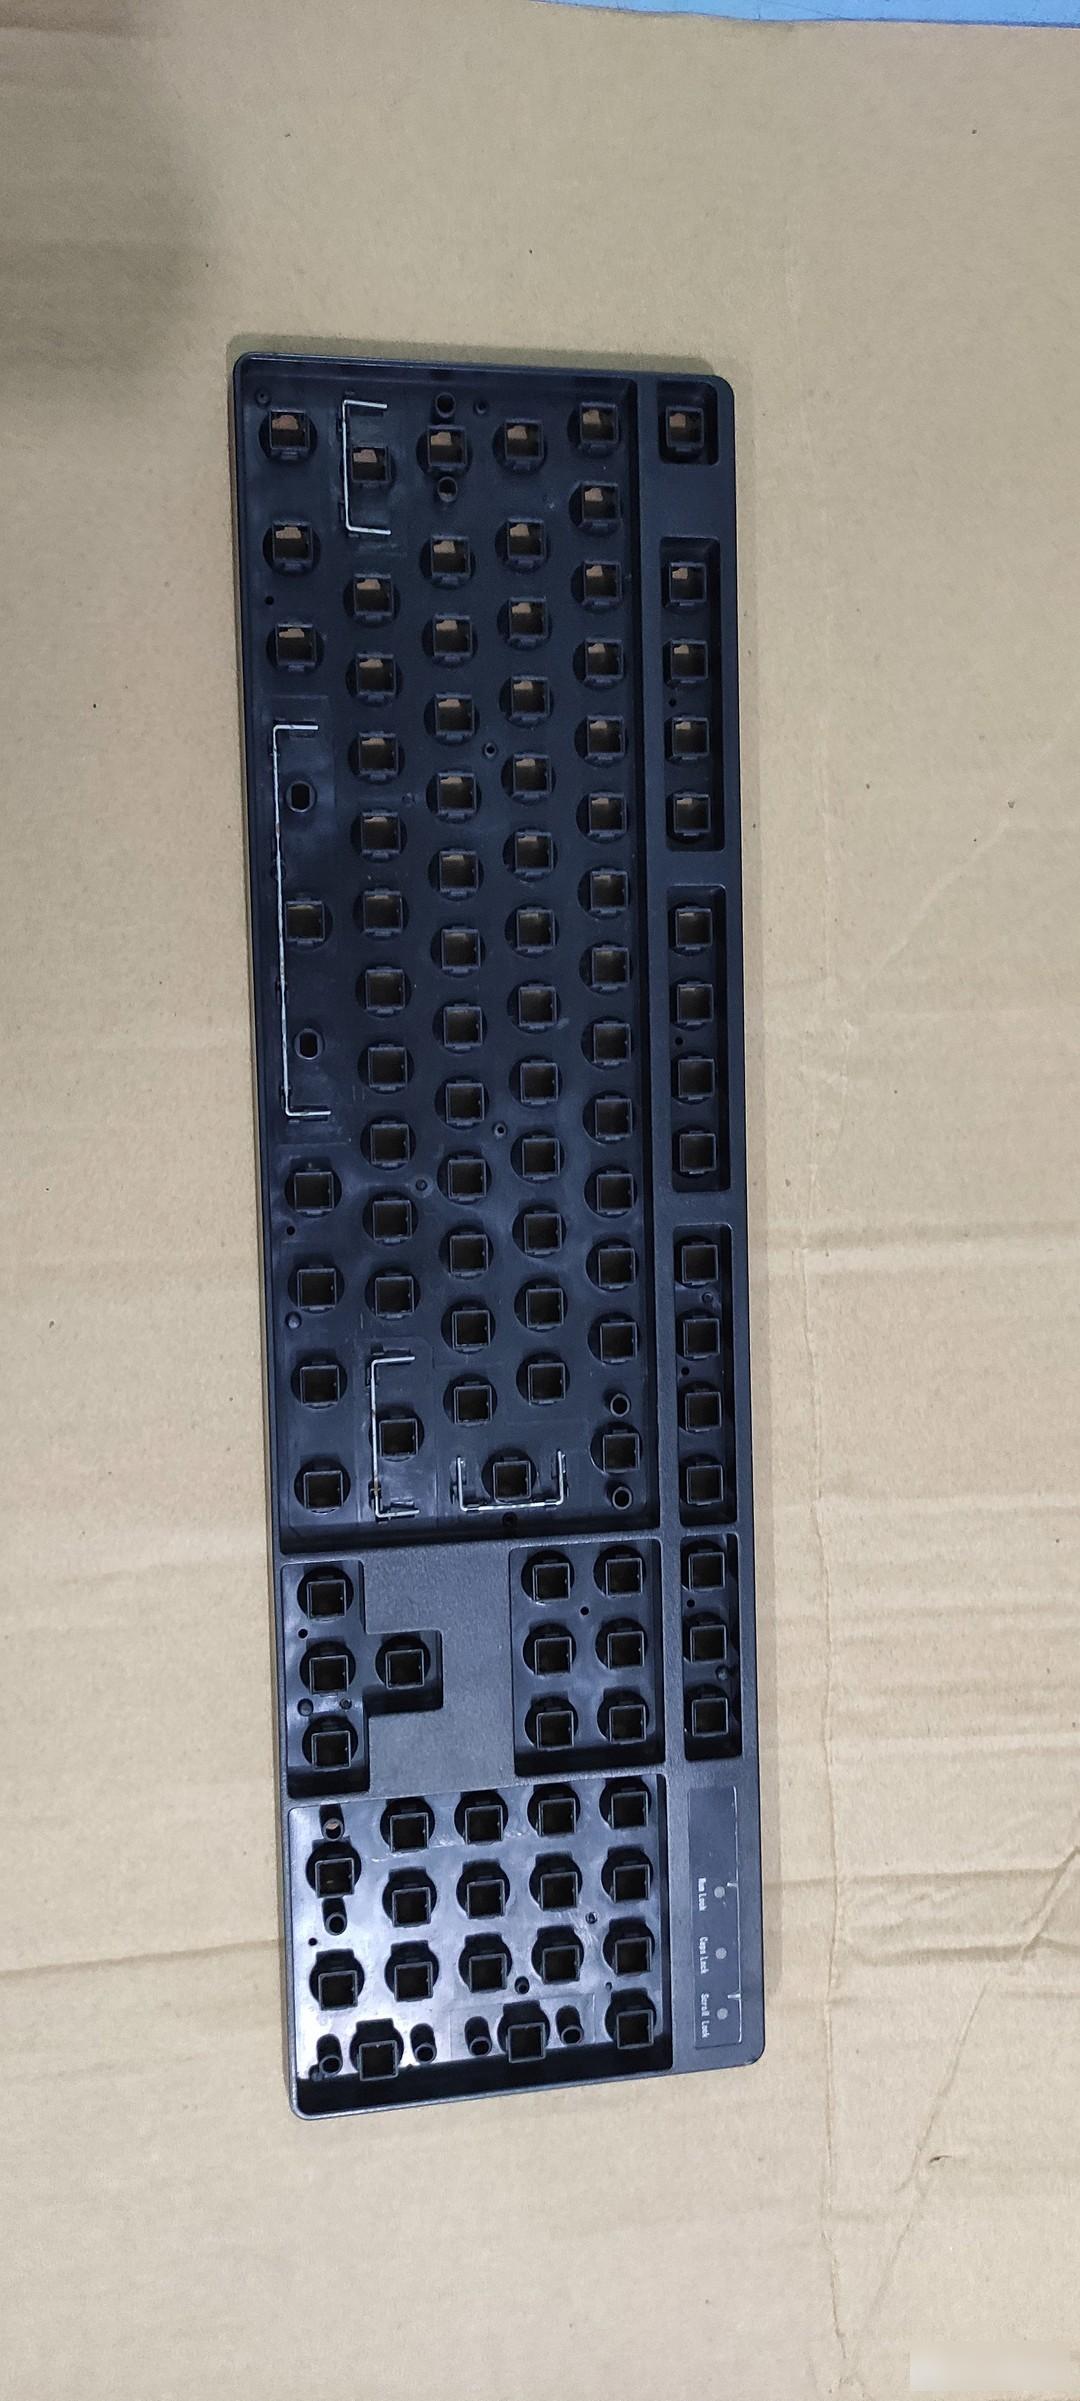
Start to remove the membrane and keyboard bottom case.
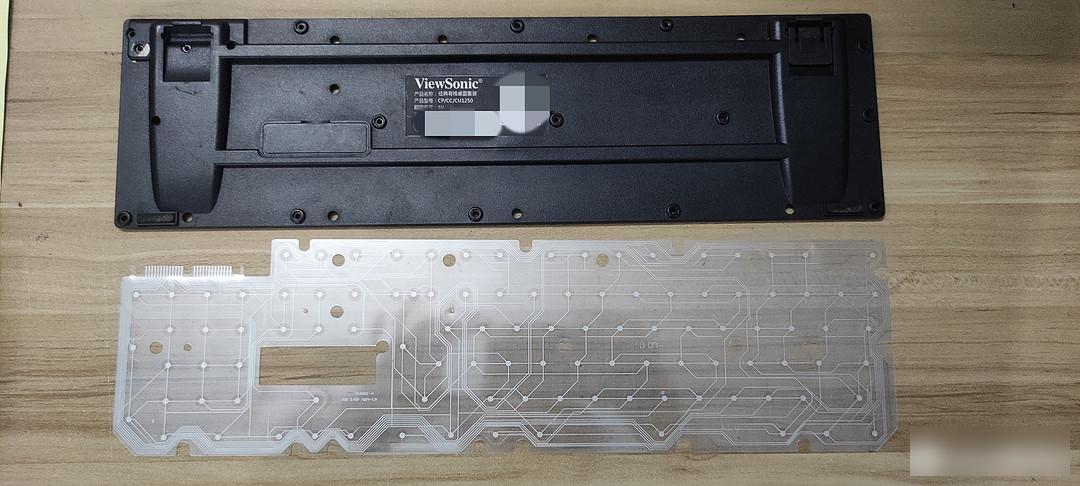 film contact point
The thin film contact points were found to be somewhat oxidized. You'll have to wipe it off with an eraser later.

Lots of button glue.
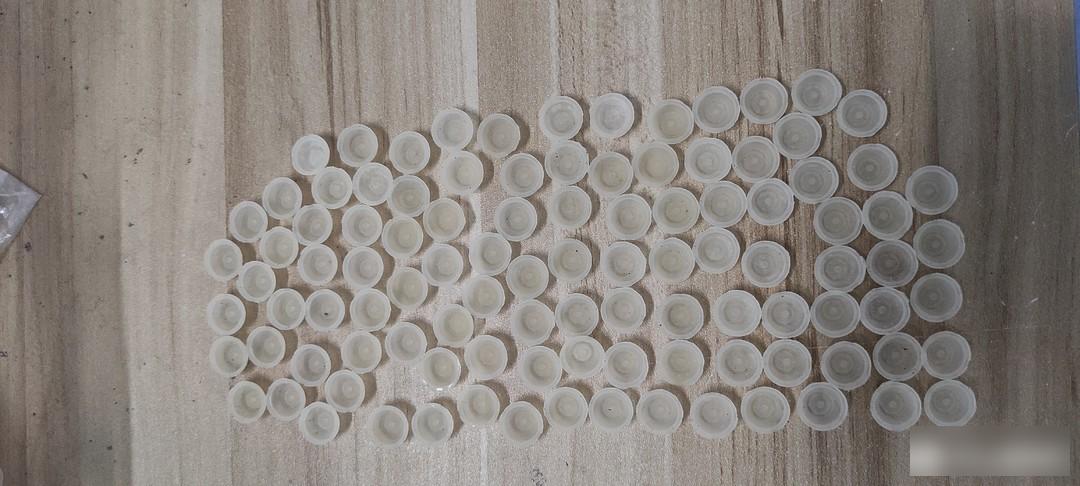
 Keyboard Small Plastic Parts
After taking out the plastic parts, only the plastic parts of the front of the keyboard and the keys are left.
 take out everything
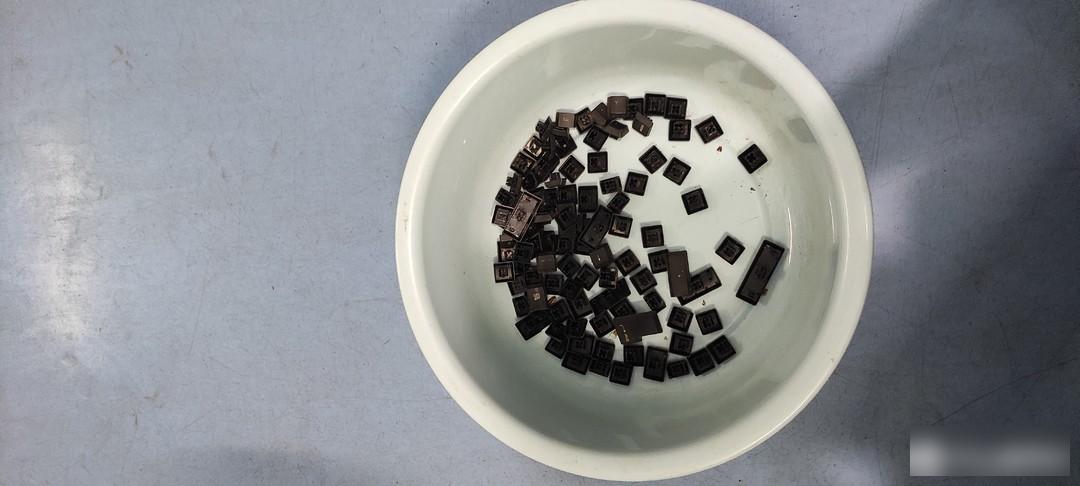
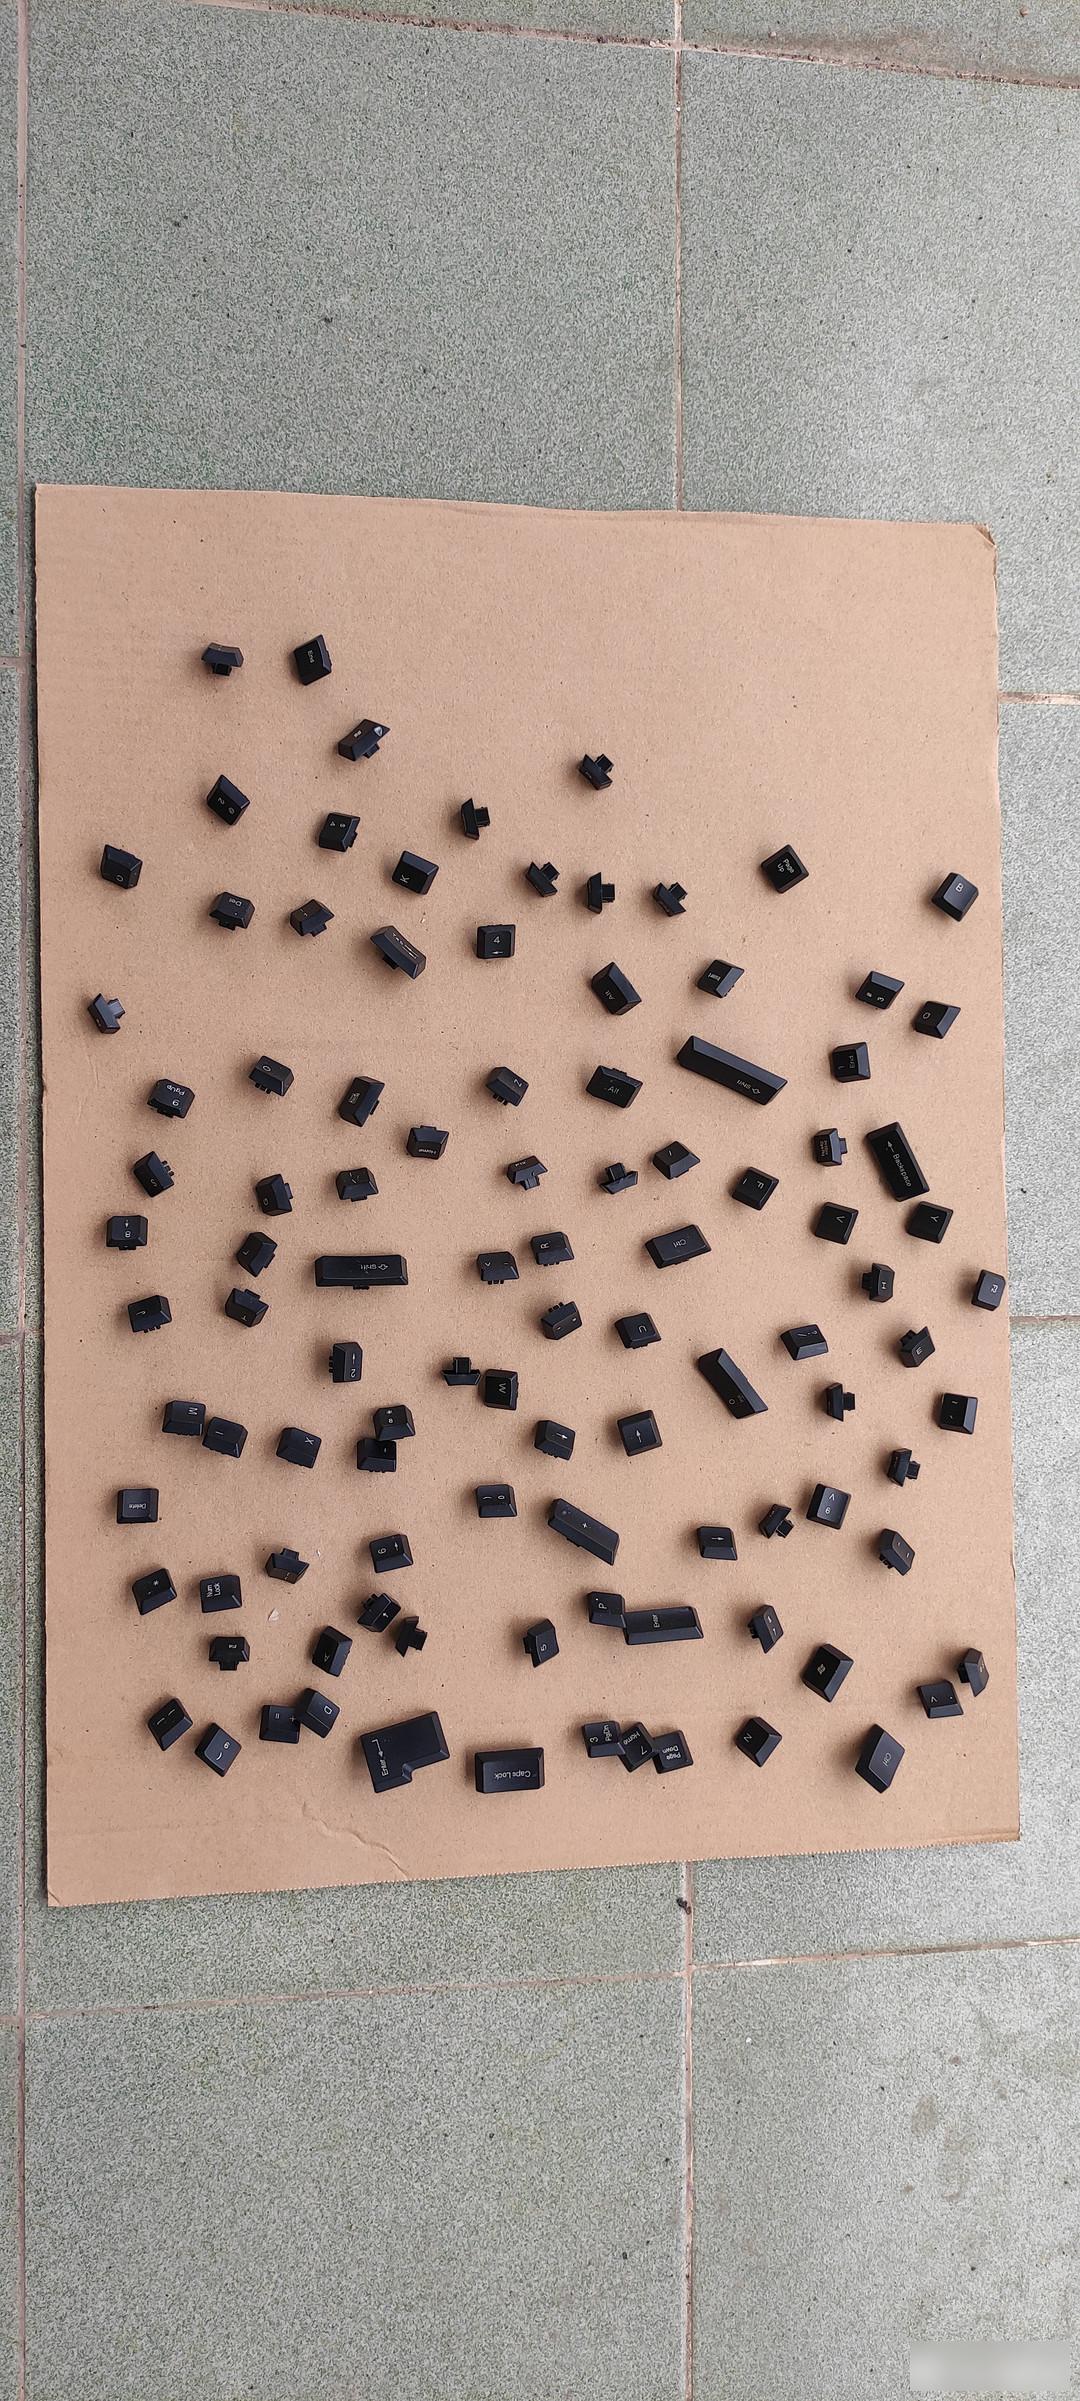
There are more than one hundred of these small plastic parts. hehe. Take half a day.
Next, remove the long buttons first. Start with the space bar first. The space bar has two springs. There is also a wire. But all rusty.
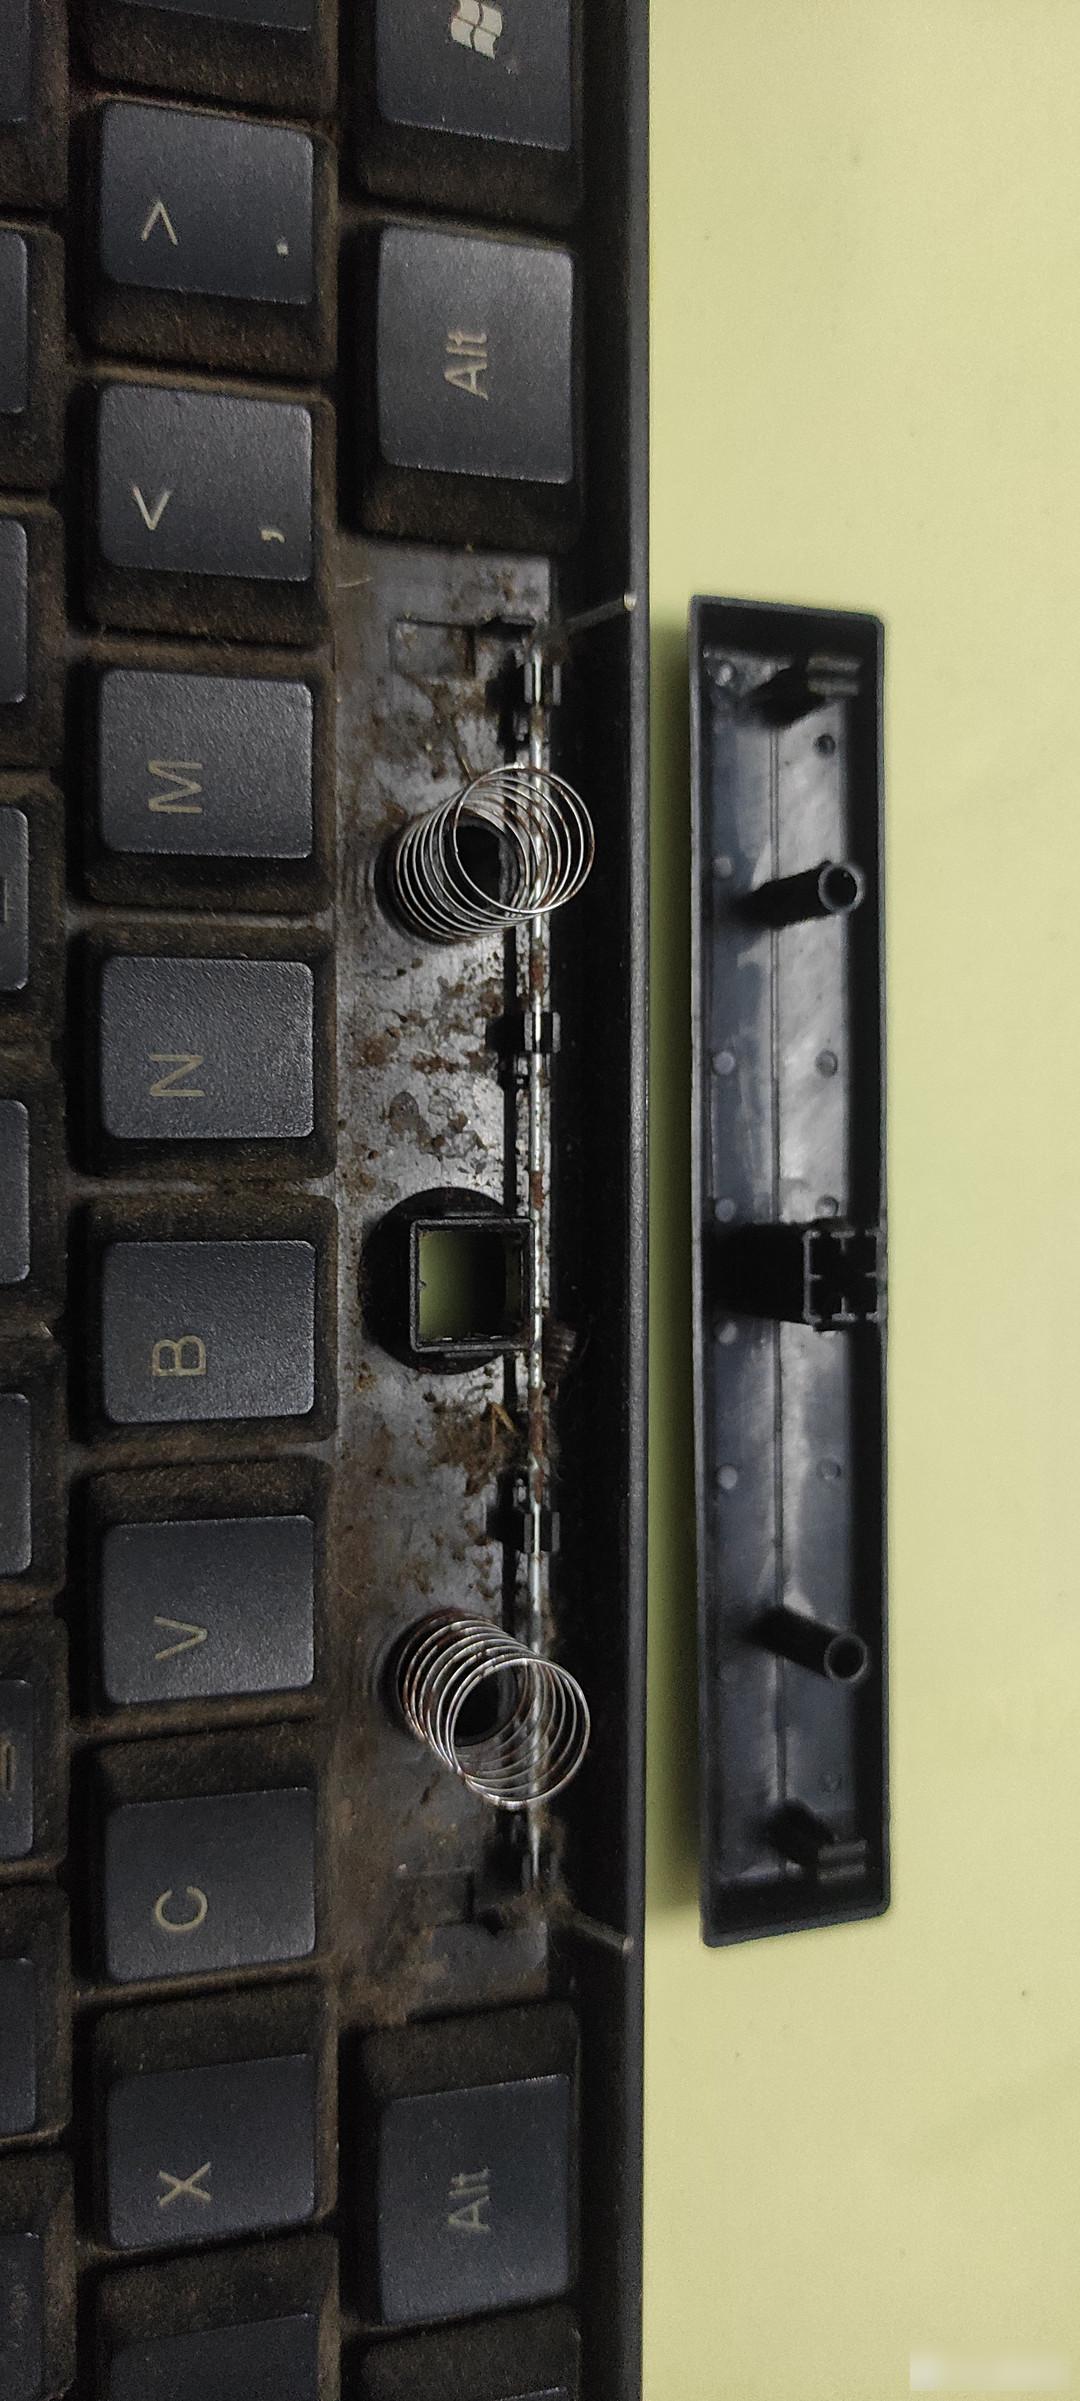 longest space bar
At first glance, one can tell that there are definitely traces of Xiaoqiang's activities below.
 first sight
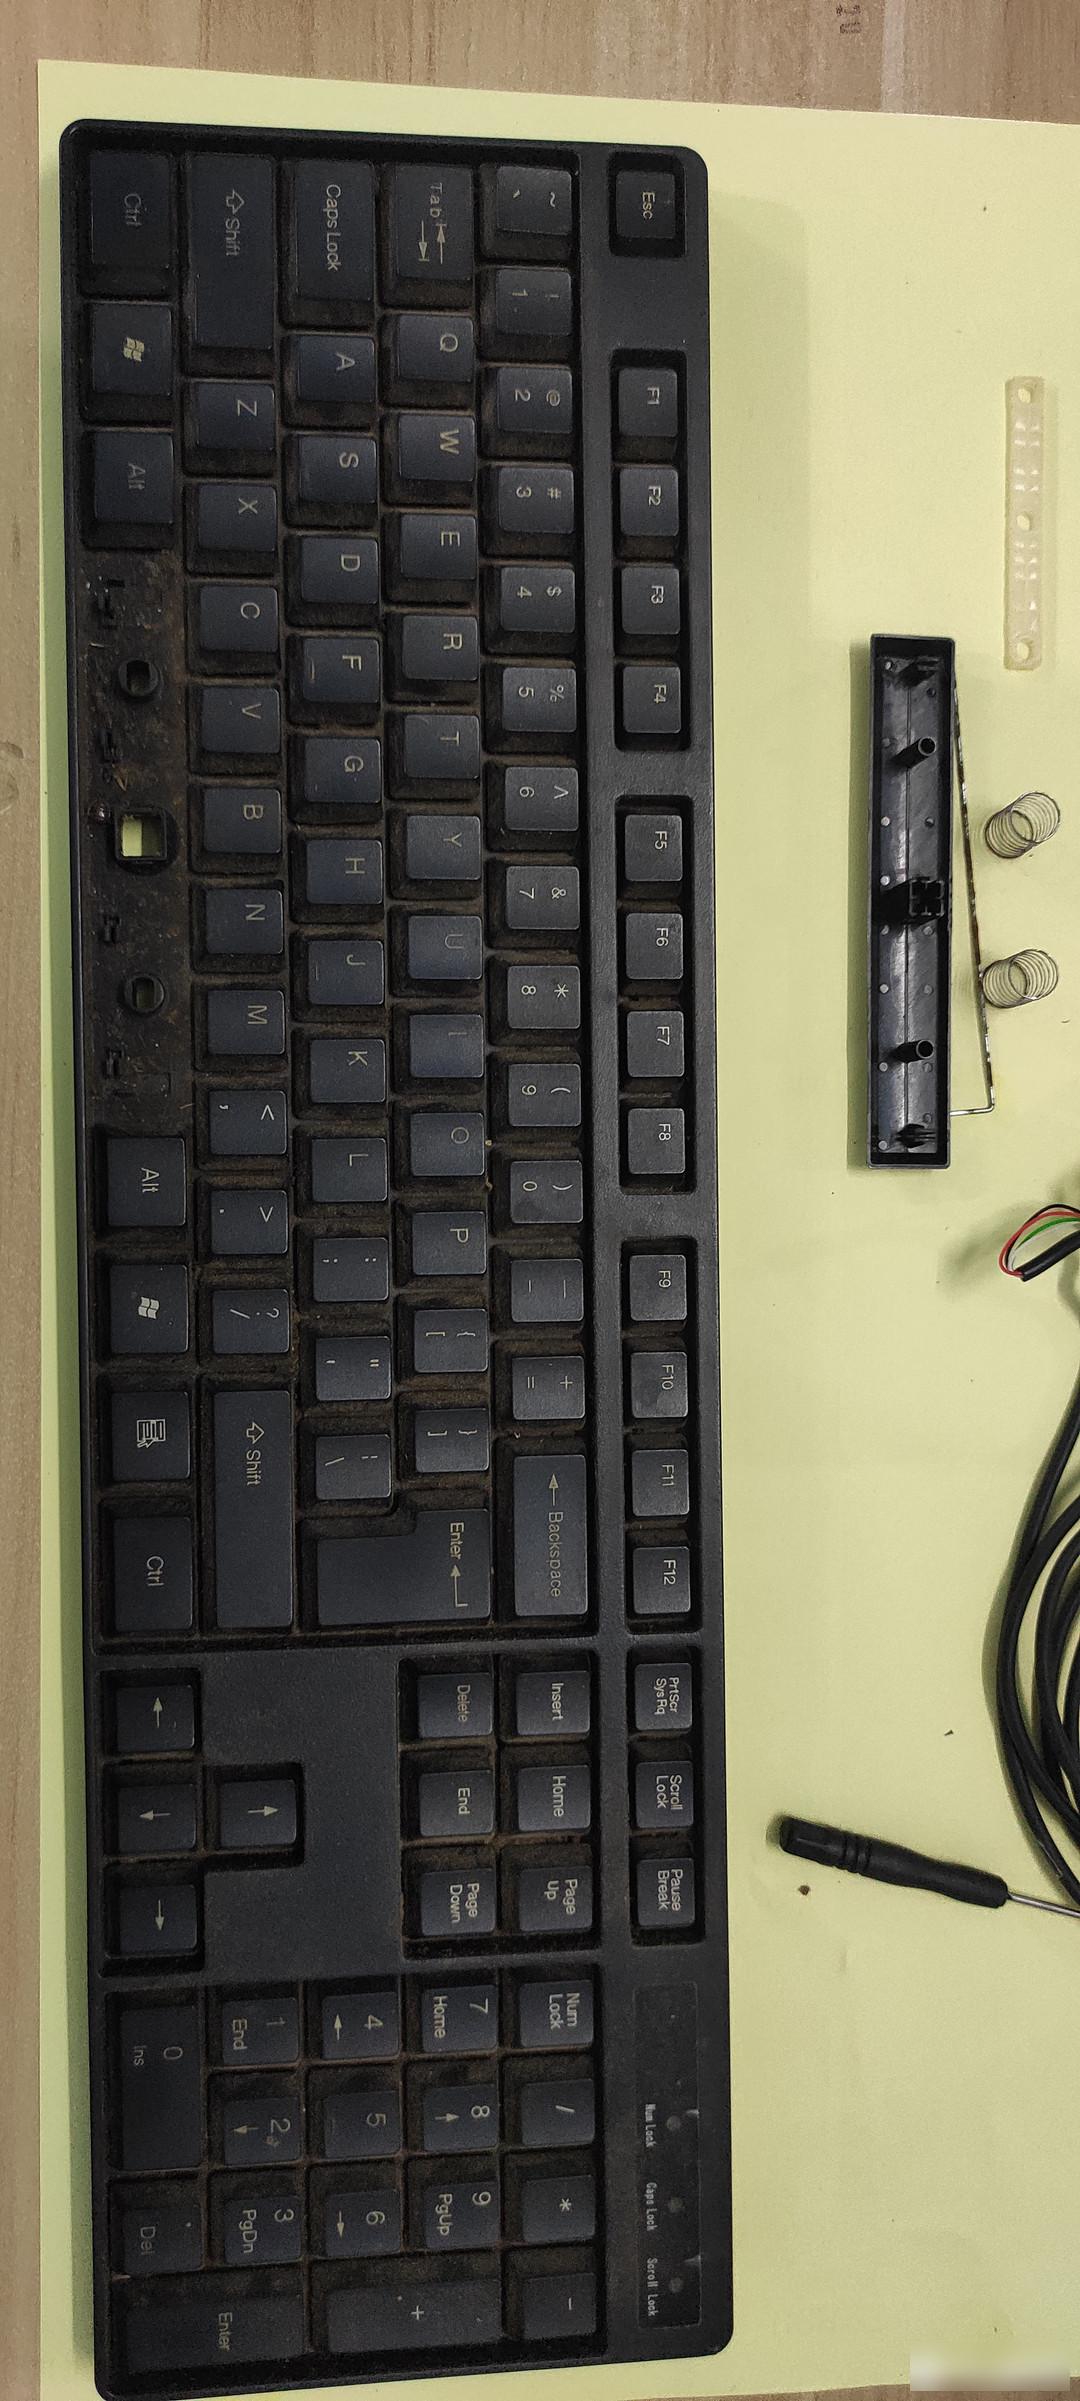
Then remove the small button. It can be easily removed with a small screw.
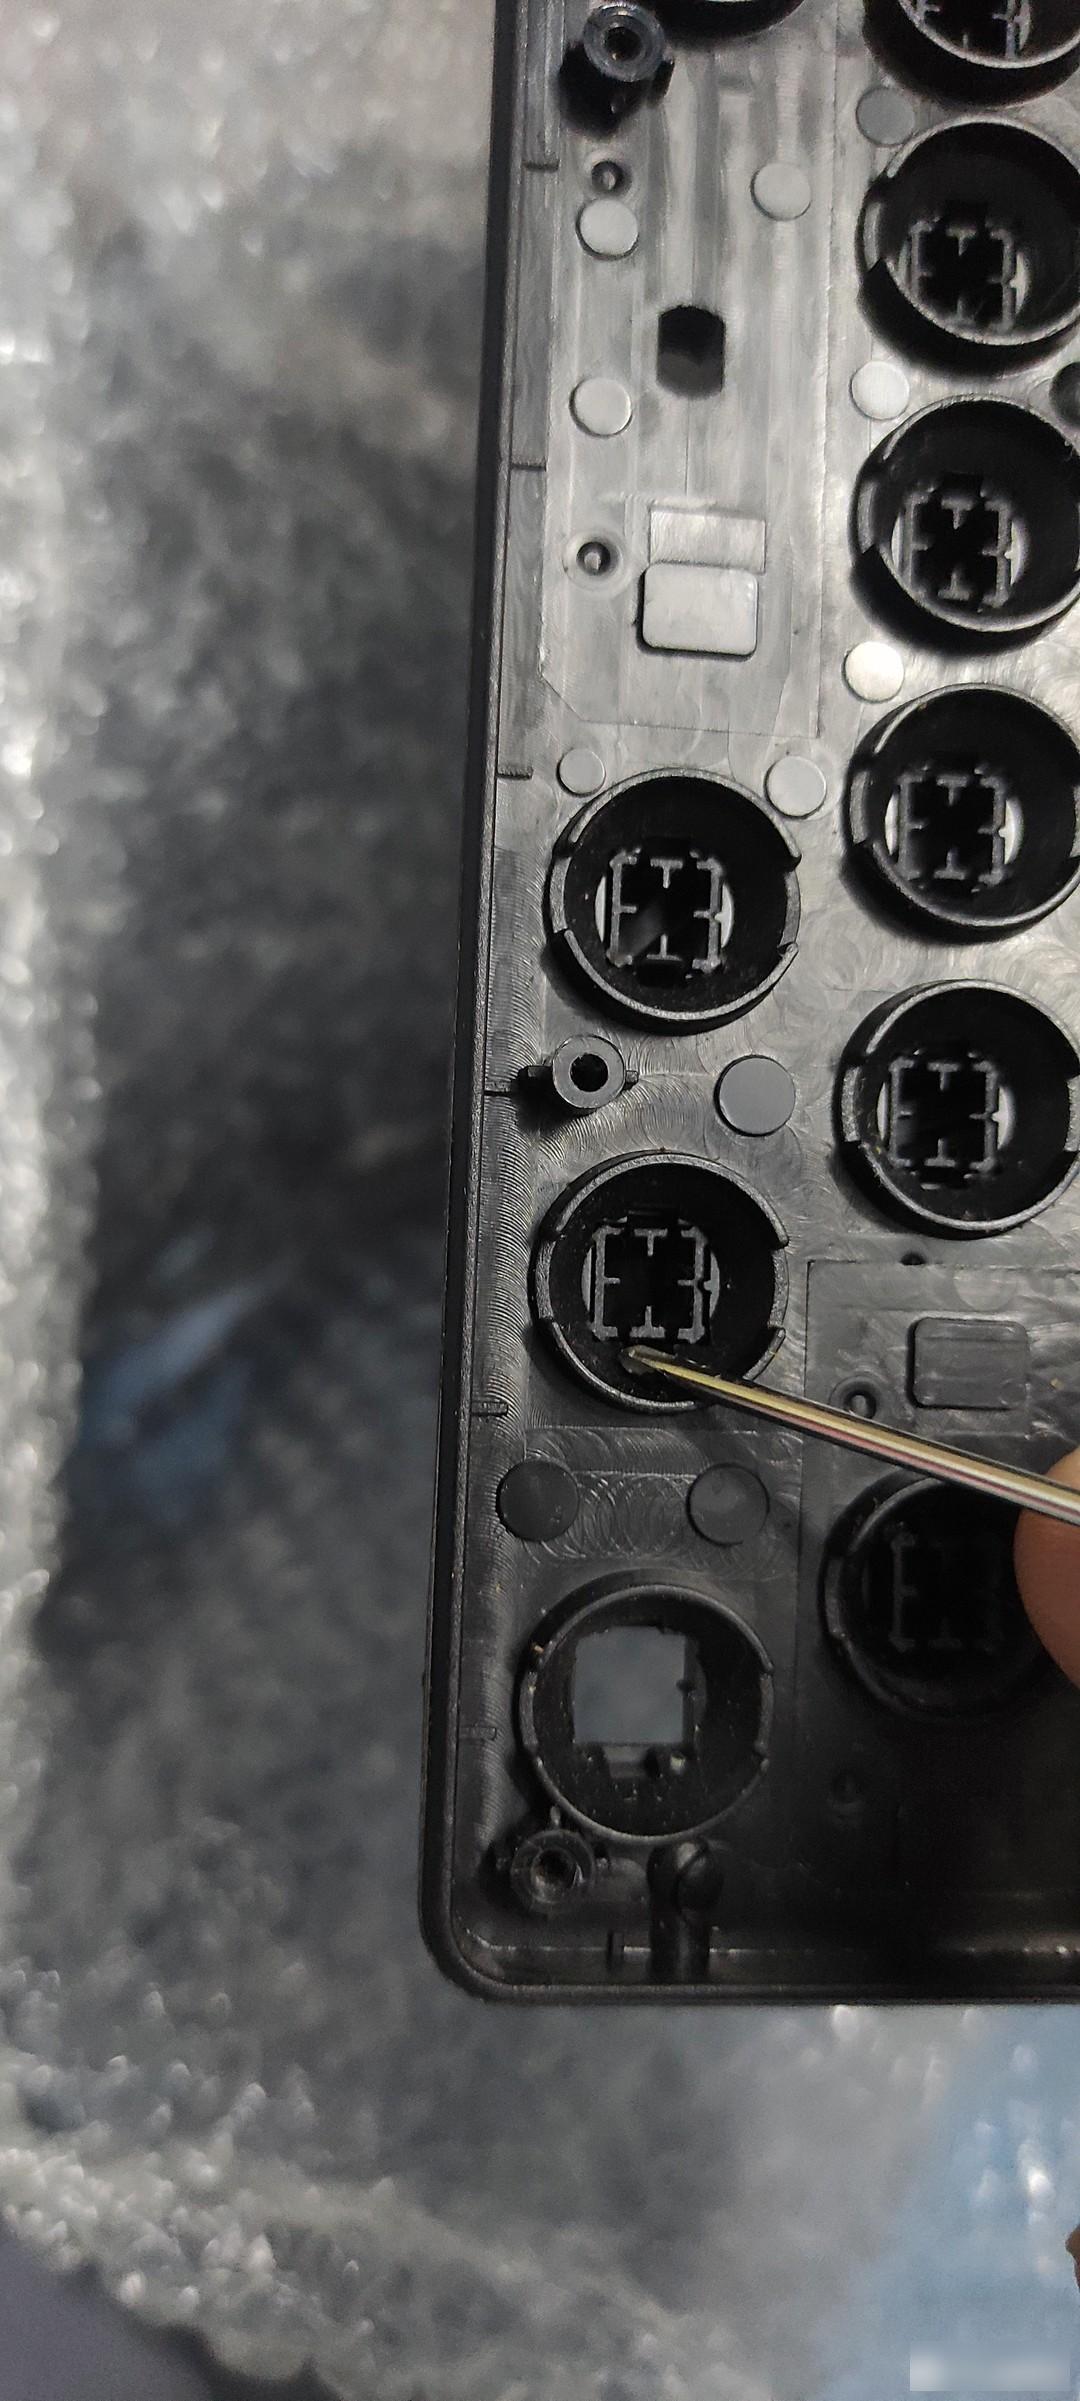 Just a small screwdriver
After a while, the prying was over.
 dirty bottom
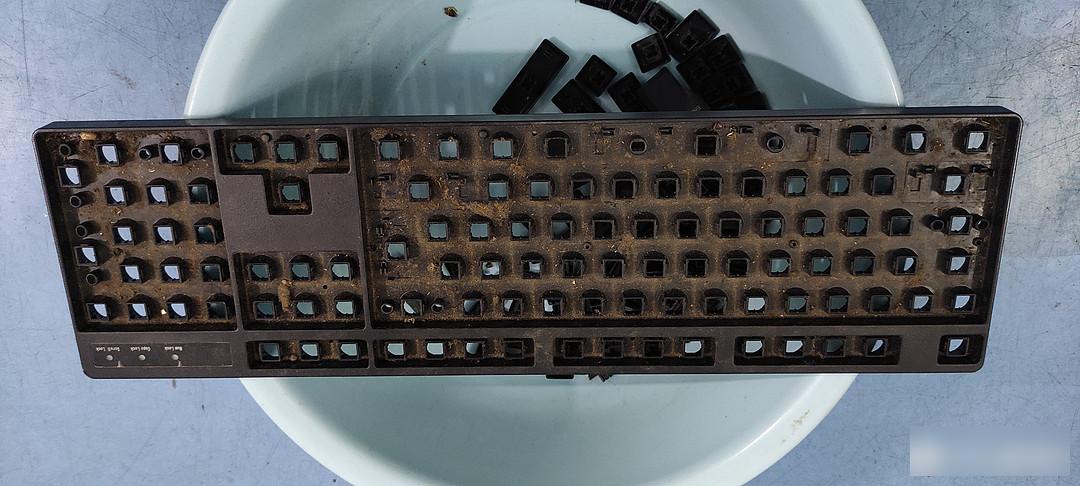
Find an unused pot. Installed. Ready to wash.
 plate
plate
 together
Run the tap first. get wet. Get a toothbrush that doesn't work.
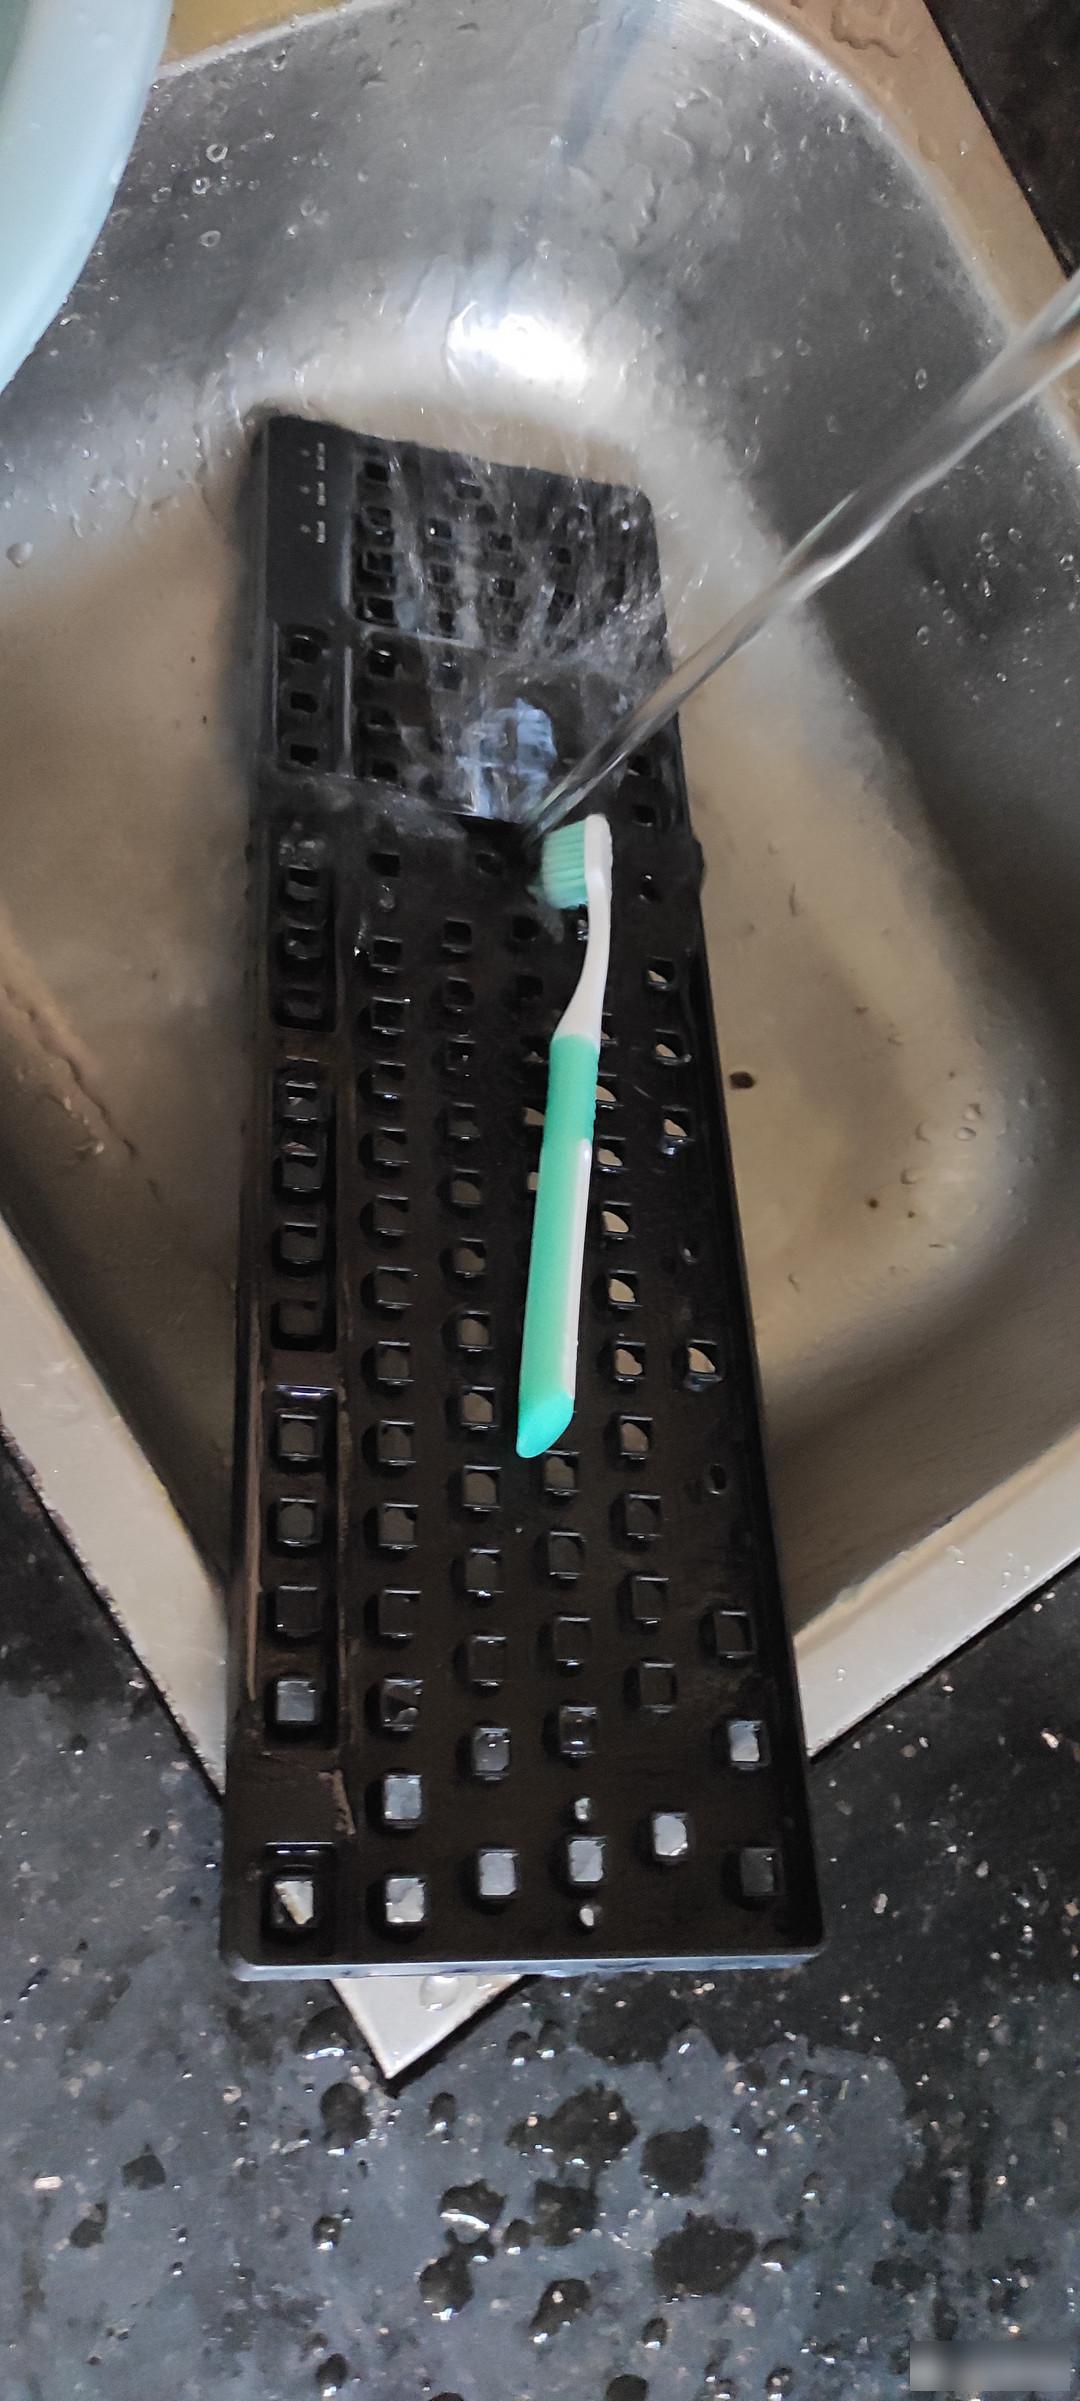 washed
After soaking for a while, Xiaoqiang's figure appeared in the basin.
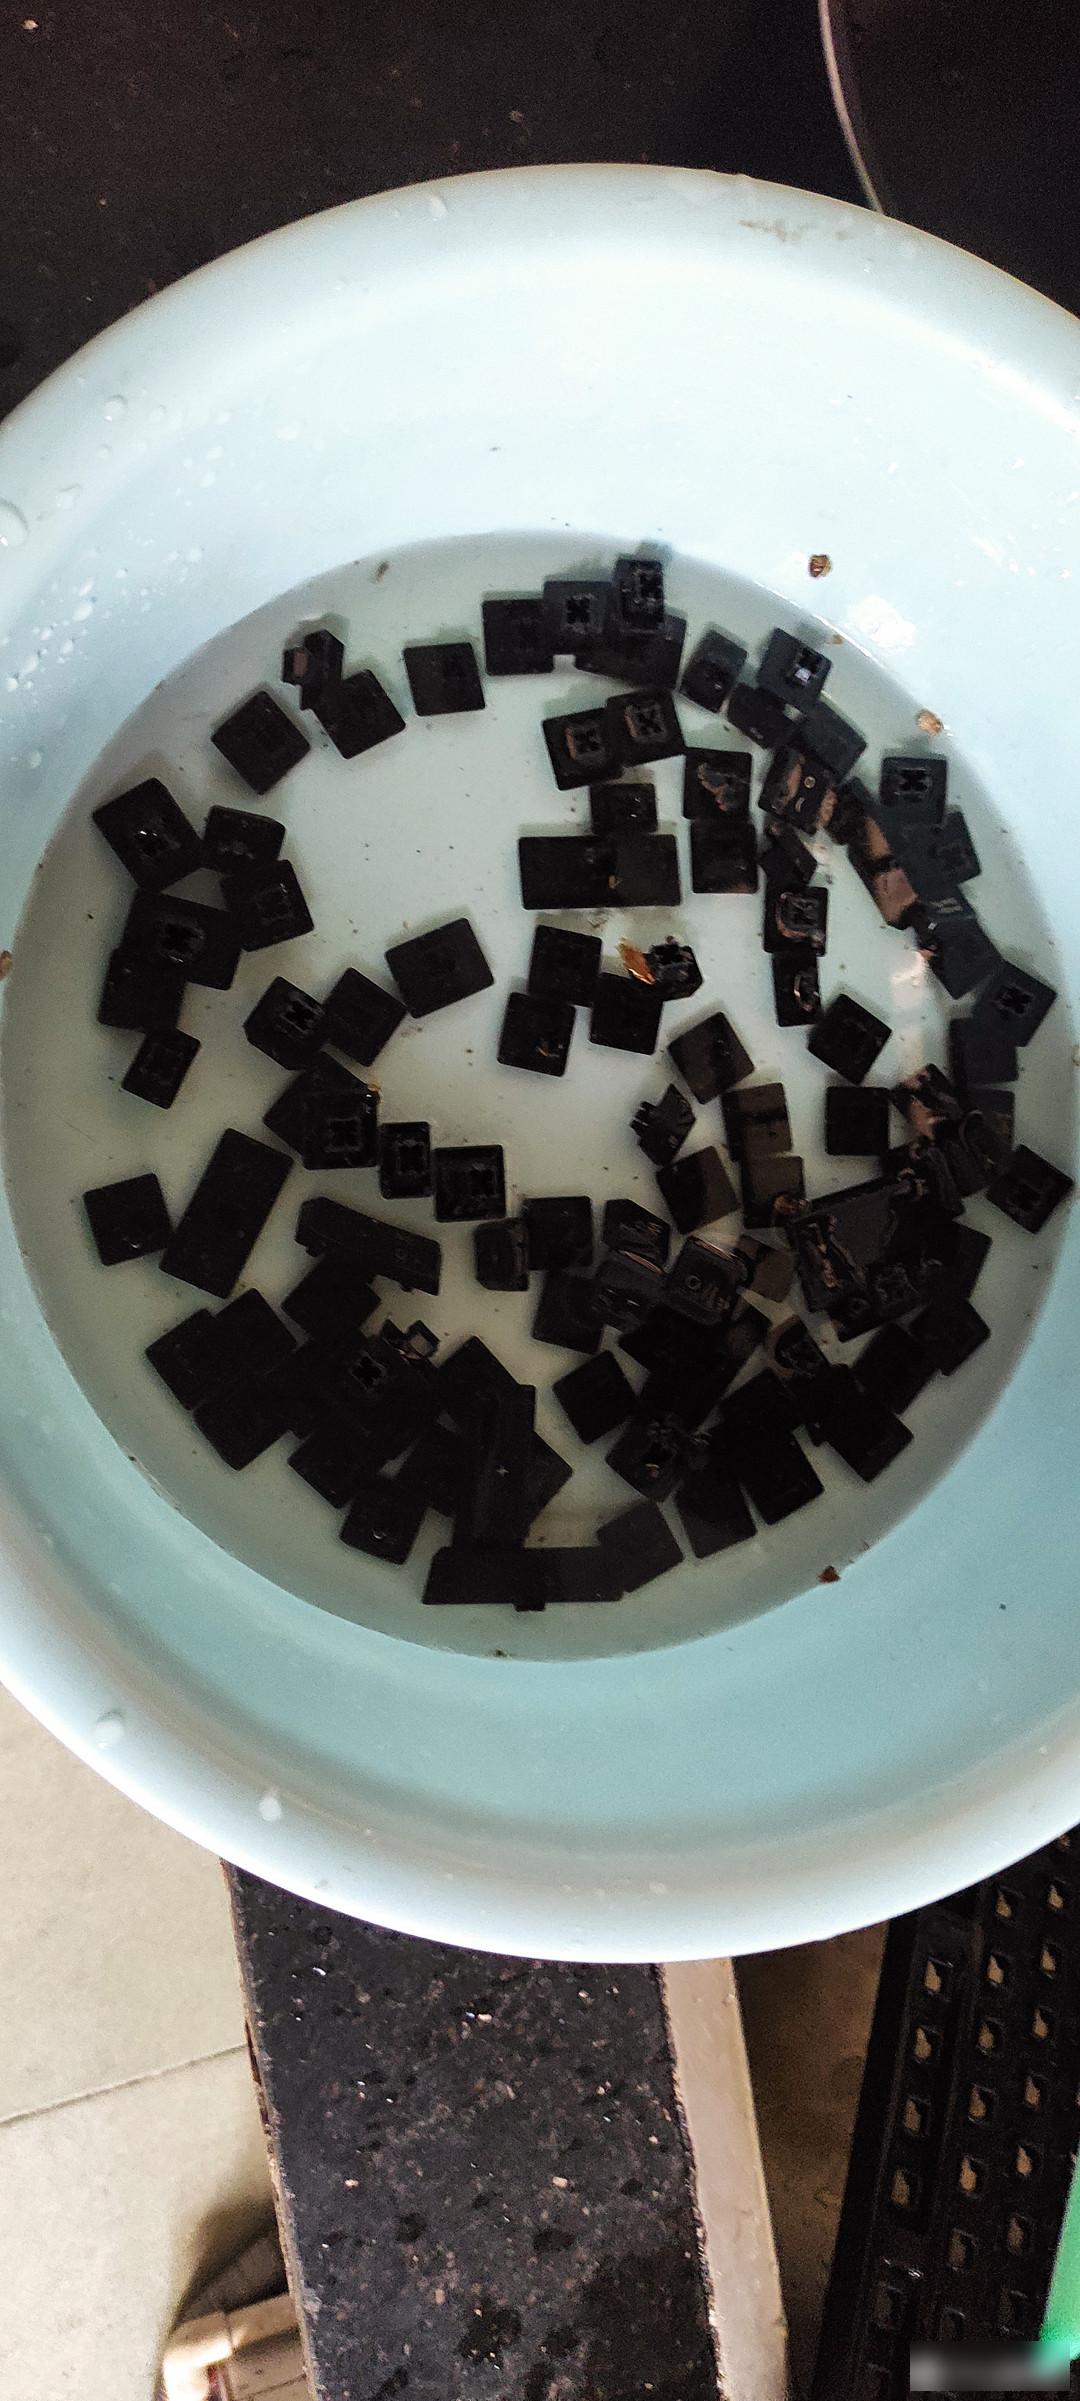 Dishwashing liquid
It's windy, so it's good to put it outside to dry.
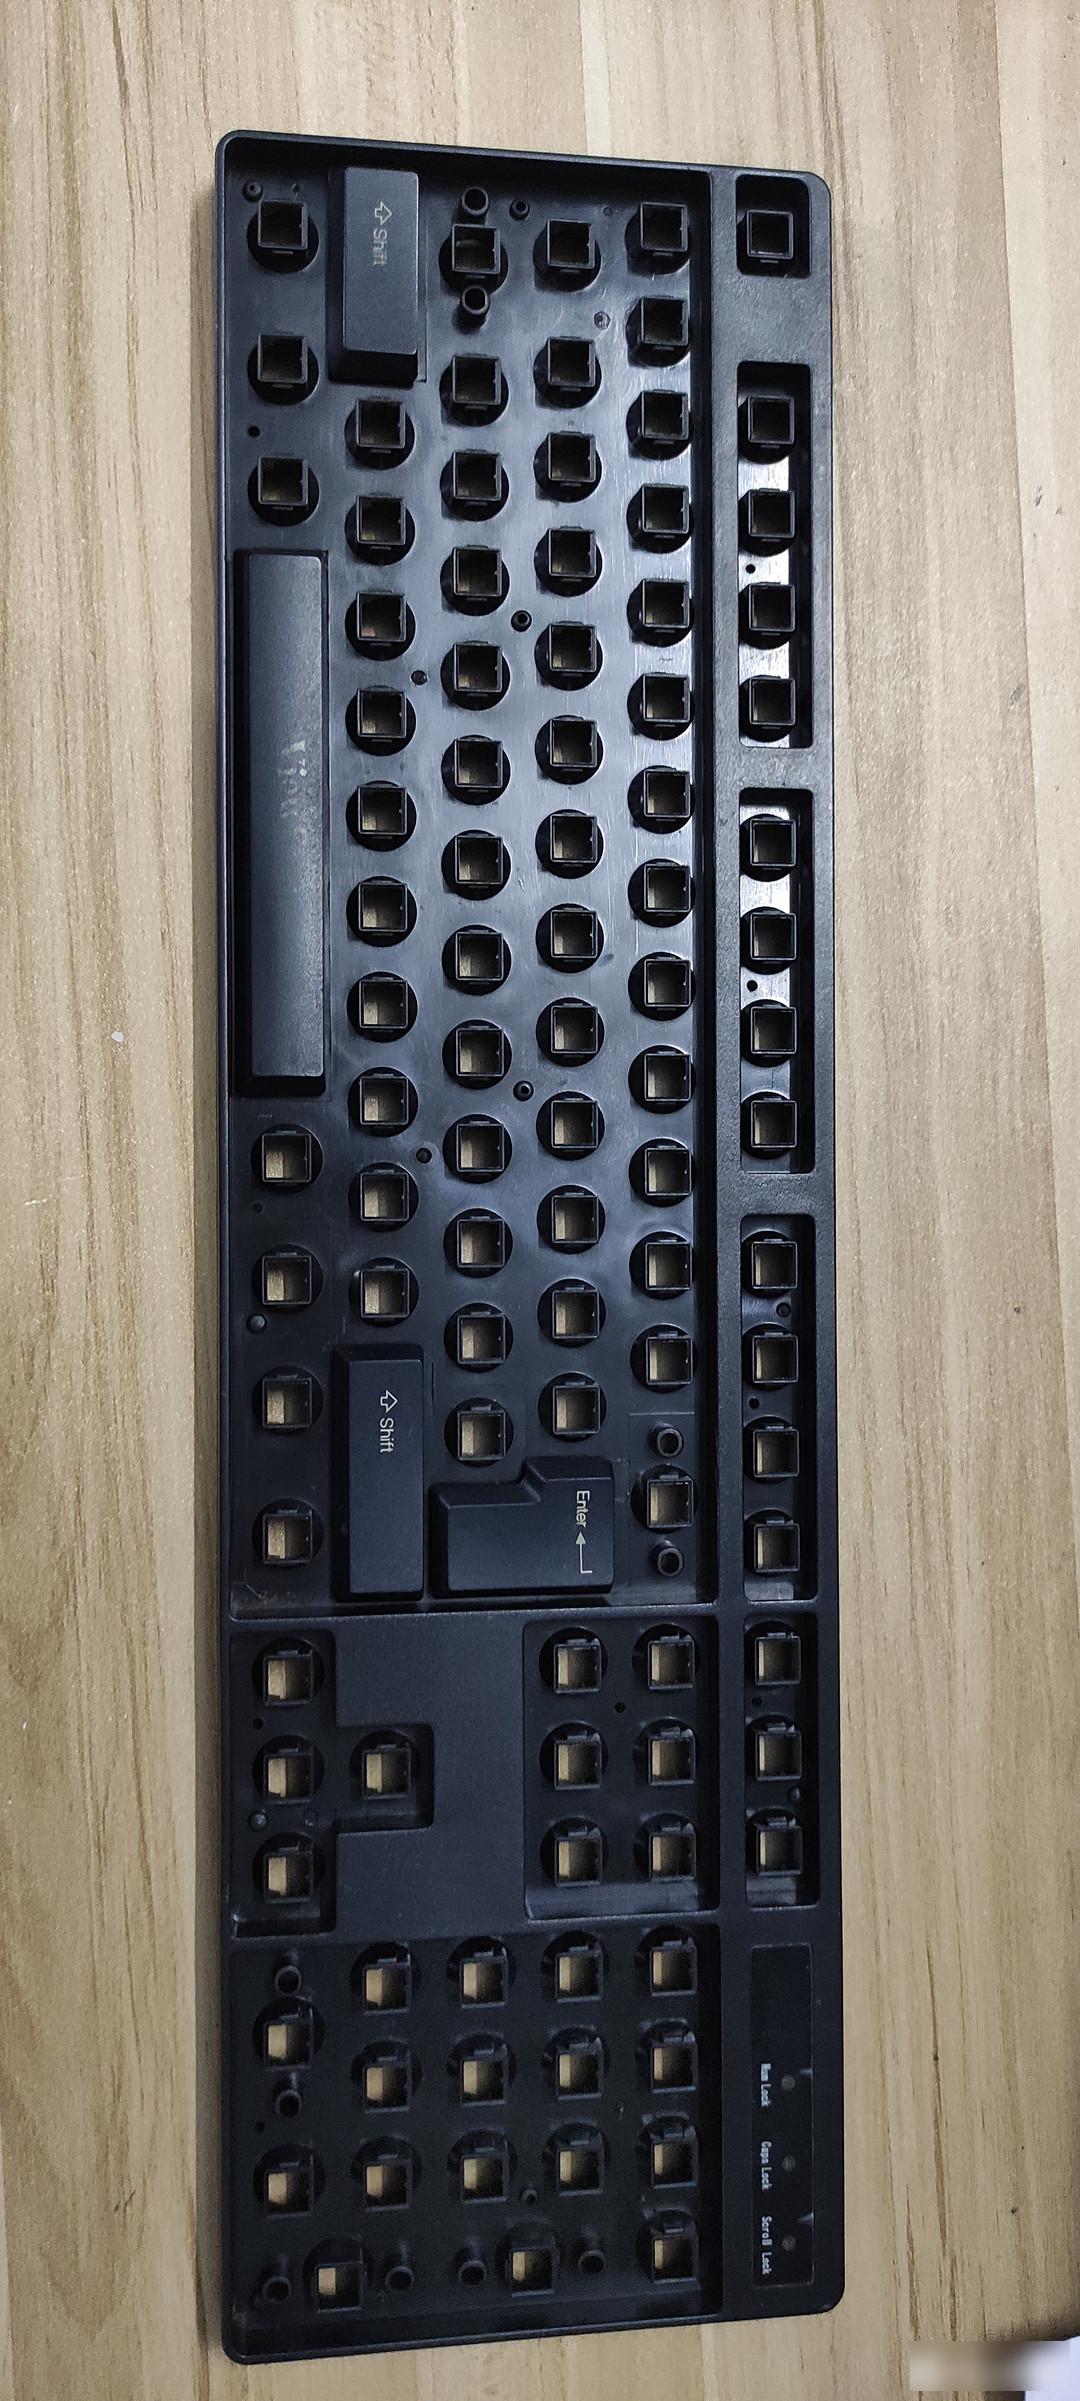
Put it back on, just follow the original path in reverse.
 Install the wire first
Install the long buttons first.
 four long keys
OK, all the buttons are installed. This was taken on my phone before dismantling. It's easy when you put it on.
 Install the buttons
Then install the small glue parts. It is best to fill in the blank below. In this way, the small plastic parts will not run around. This problem occurs when laying flat.
 Take your time.
This becomes brand new again.
 completed
Summarize:
Although the keyboard is not worth much, but this thing has been placed for a long time, and I always feel uncomfortable with some minor problems. It is good to have time to restore it to its original appearance. The most important thing is that it can be clean and hygienic. At the same time, you can also exercise your hands-on ability. It seems that the price is not worth the money, and everything can be dismantled and played with. Finally, I wish you all a happy life!
Factory Adress: No.11,FengpingRoad